September 24th Radio Show Recap

IMG_8884


Thank you Ms. Deborah Moore for having me on your show this morning! Until next time (OO)!

Here are the links and information for today’s radio show:

Casual Italian:

http://www.askforluigi.com/

Cream Puffs: Another new competitor in town!

http://chewyjunior.ca/

Happy Hour: Another new way to try out a restaurant?

http://theflyingpigvan.com/

Good read: Clean Eats and clean living

http://www.cleanprogram.com/clean-eats


Duck Breast Lettuce Wrap

IMG_2173
My lettuce wrap platter – “Pinkish” tone achieved!

The idea for this recipe spawned from three years ago when my friend “VG” brought back a bag of really delicious perilla flavored tea plums from her hometown (Kaohsiung); the moment I tasted the plums I immediately thought of using them for cooking and pair with duck, green tea and lychee to create an entree.

This was a work in progress and went through a few different versions, the idea of serving as lettuce wrap came this summer when I had a “Asian Food Fest ” gathering with some of my friends! I think by far it’s the best way to serve this duck breast and let it be the star with the perfect “supporting casts”. As I am  only an amateur home chef, the measurements are approximate and cooking methods are based on the knowledge I acquired through my home cooking experiments and the few cooking classes which I’ve attended.  Feel free to “tweak” it any way you think works best, and let me know if you have other suggestions.  Enjoy (OO)!

Ingredients: (Serves two as main course)

2 duck breast (small to medium size), 1 English cucumber, Bunch of green scallions, Head of butter lettuce 

Ingredients for the brine (which will be used to braise the duck breast and create the dipping sauce): 8 cups of cold water, 8 Tablespoons Organic Soy Sauce, 1 small knob of ginger (grated), 2 green scallions (roughly chopped), 1 green tea bag, 1 Tablespoon brown sugar (I’ve used rock sugar),I  8-10 lychee (fresh or canned, roughly chopped), 10-12 Taiwanese tea plums (remove seed, roughly chopped), 1-2 Tablespoons whole black peppercorn, juice and zest (grated) of 1 lemon,1-2 Tablespoons Japanese rice wine (sake), sea salt (for seasoning as required), 1-2 Tablespoons Taiwanese plum juice (optional)

IMG_1821
Left: Taiwanese Tea Plums (I found this at the Taiwanese supermarket in Richmond BC); Right: Taiwanese Tea Plum Concentrate (optional as it is difficult to find)

Preparation:

The day before: 

– Prepare the brine: With the exception of the green tea bag, put all brining ingredients into a 6 quart sauce pan. Using medium high heat, bring mixture to a boil.  Reduce to medium low heat, let the mixture simmer and reduce for at least 45 minutes to an hour, it will become more concentrated.

– Turn off the heat, add the green tea bag and let it steep for 10 to 15 minutes.  Remove from heat, remove tea bag, stir the mixture and let it cool down completely.

– Prepare the duck breast for brining: Place the duck breast on the chopping board skin side up, using a sharp knife, score the skin in a diagonal direction (45 degree angle), be careful not to cut into the flesh. Turn the duck breast around and score in the opposite direction.  Pat skin and flesh side dry and set aside.

This is a very important step as scoring the duck breast for cooking helps to render out the fat from the skin more effectively. It is best to score the skin of the duck breast when cold, as it becomes more difficult once the skin warms up.

– Pour cooled down liquid (including all ingredients) into a non-reactive container (BPA free plastic or glass with lid). Submerge the duck breasts into brining liquid, cover with lid and refrigerate overnight.

 Cooking Day:

In the morning:

– Remove the duck breasts from brining liquid, pat dry thoroughly (It must be completely dry) with paper towel, cover and refrigerate.

– Strain the liquid through a fine strainer, press hard on the solids to ensure you get every bit of the liquid.  Run it through a few times to remove any small bits.

– Sauce preparation: Pour liquid into 4 quart sauce pan, using medium high heat, bring liquid to a boil, reduce to medium low heat, and let it simmer and further reduce to approximately 2 cups, the consistency should only be a little “syrupy”.

When ready to cook and serve:

– Take the duck breasts from the refrigerator and let them come towards room temperature prior to searing.

– Wash all vegetables thoroughly: Pull of pieces of butter lettuce gently, wash thoroughly and pat dry with paper towel. Julienne the cucumbers (cut in thin slices) and shred the green scallions.

– Reheat the sauce, keep in low simmer (don’t let it burn).

– On different stove top, place duck breasts skin side down on cold dry skillet, do not add any cooking oil. Place the pan over medium to medium low heat, and slowly render down the fat, it will take approximately 6 to 8 minutes, using a spatula (be careful not to burn yourself), gently flip over and check if skin is browned evenly. Using a spoon, remove the duck fat.

IMG_2143
Duck breast skin side down on cold dry pan

– When duck breast is ready, flip over (skin side up) and remove from skillet, finish cooking by “braising” in the sauce (as shown in picture below), skin side up.  Adjust to medium low heat, Using a spoon, “spoon” the sauce constantly over the breast (this will help to cook the breast evenly), the liquid should be gently boiling (you can see bubbles).

IMG_2146

– Let them cook for approximately 5 to 6 minutes (depends on the thickness of the duck breasts), flip them over skin side down and cook for another 2 to 3 minutes. To test its doneness, the breasts should feel firm but tender, or you can should a

– Remove from heat, set aside and let them “rest” for at least 10 minutes prior to slicing.

– To finish the sauce, add a little duck fat (which you rendered earlier when browning the skin), Japanese sake and lemon juice, stir and mix well, taste and adjust the seasoning if required, finish off with a few grinds of black pepper. Strain the sauce one more time for a smoother texture.

– Slice the duck breasts thinly, it should be “pinkish” in colour.

– Assemble the platter and serve immediately.

Notes:

– I purchased the duck breasts from Armando’s at Granville Island.  The smaller ones are not as thick and easier to cook.

– This website has lots of good duck recipes and references:

http://www.greatbritishchefs.com/


Lemongrass Pork Meatball with Thai Green Curry

IMG_2092

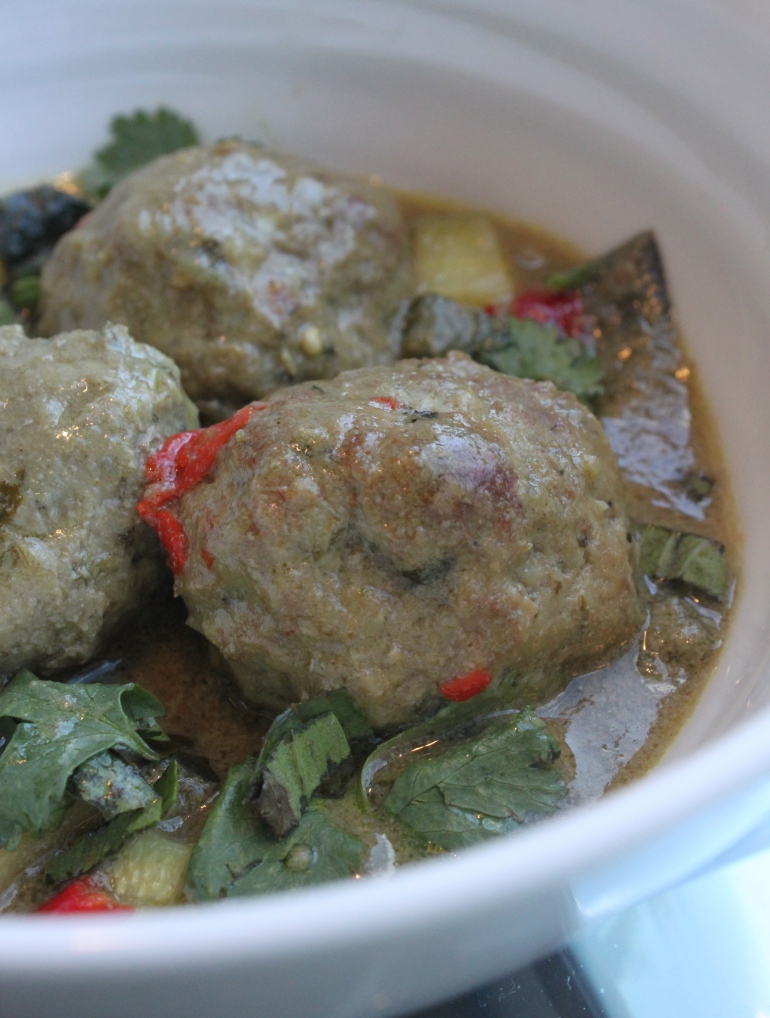
Fall is in “full swing” here in Vancouver and it’s the season when we crave for scrumptious and hearty meals; I decided to combine two of our favourite foods together: Meatballs and Thai Green Curry with Zucchini and eggplant.

Almost two years ago I took a cooking class at the Blue Elephant Cooking School in Bangkok, the green curry recipe is a combination of what I’ve learnt at Blue Elephant and a partial adaptation from Andy Ricker’s Green curry with fish and eggplant recipe (from POK POK, see also blogger “Lady and Pup”‘s great adaptation (also pork meatball), it’s a great interpretation and I love the photos!).

Instead of jasmine rice, I decided to serve this dish with a cauliflower “fried” rice, a wonderful recipe (see separate posting) from my friend “PPQ”; it is a great way to include more vegetables into your meals and a very good option for “carb” conscious individuals; the flavors all worked wonderfully together. Enjoy (OO)!

Ingredients for the Lemongrass Meatball:

500 grams organic lean ground pork, 2 garlic cloves (finely minced), 1 stalk finely chopped lemongrass, 1 Tablespoon fresh galangal (or ginger, peeled and finely grated), 3 green scallions (white and green part finely chopped), 1/4 cup chopped cilantro (roughly chopped), 1/4 (up to 1/2 cup) of Japanese panko (as required), unsweetened almond or coconut milk (as required, approximately 1/4 cup), 1 large egg, 2 Tablespoon fish sauce, 1 Tablespoon coconut nectar (optional), 1 teaspoon sea salt and 1 teaspoon white ground pepper (seasoning can be adjusted own taste).

Ingredients for the Green Curry: 

1 Tablespoon olive oil, 1/2 cup Thai green curry paste (store-bought or you can prepare your own), 1/4 teaspoon cumin seeds (roasted and grounded), 1/4 teaspoon coriander seeds (ground roasted), 1 1/2 cup coconut milk, 1/2 cup unsweetened almond milk** , 1 medium Japanese eggplant (cut into 1 inch pieces), 2 medium zucchini (cut into 1 inch pieces), 1 (or 2) fresh Thai red chillies (sliced, seeds removed), 6 kaffir lime leaves (slightly torn by hand), sweet Thai basil leaves (1/4 – 1/2 cup for garnish), 1 Tablespoon fish sauce (more to adjust taste and seasoning) and 1 – 2 teaspoon grated palm sugar (for seasoning), coconut cream (for garnish), lime juice, chopped cilantro (for garnish).

**Almond milk is my own preference as I do not want the curry to be overly creamy. Andy Ricker’s recipe calls for 1/2 cup coconut cream and the preparation method is different.

To prepare the meatballs:

– In a large mixing bowl, using your hand, combine and gently mix ingredients (except panko and almond milk). Cover with wrap, marinade and refrigerate for at least one hour.

– Pre-heat oven to 375 degrees F.

– When ready to cook meatballs, add panko and almond milk (adjust the quantity pending the

– Lightly oil your hands, shape into 1 inch balls

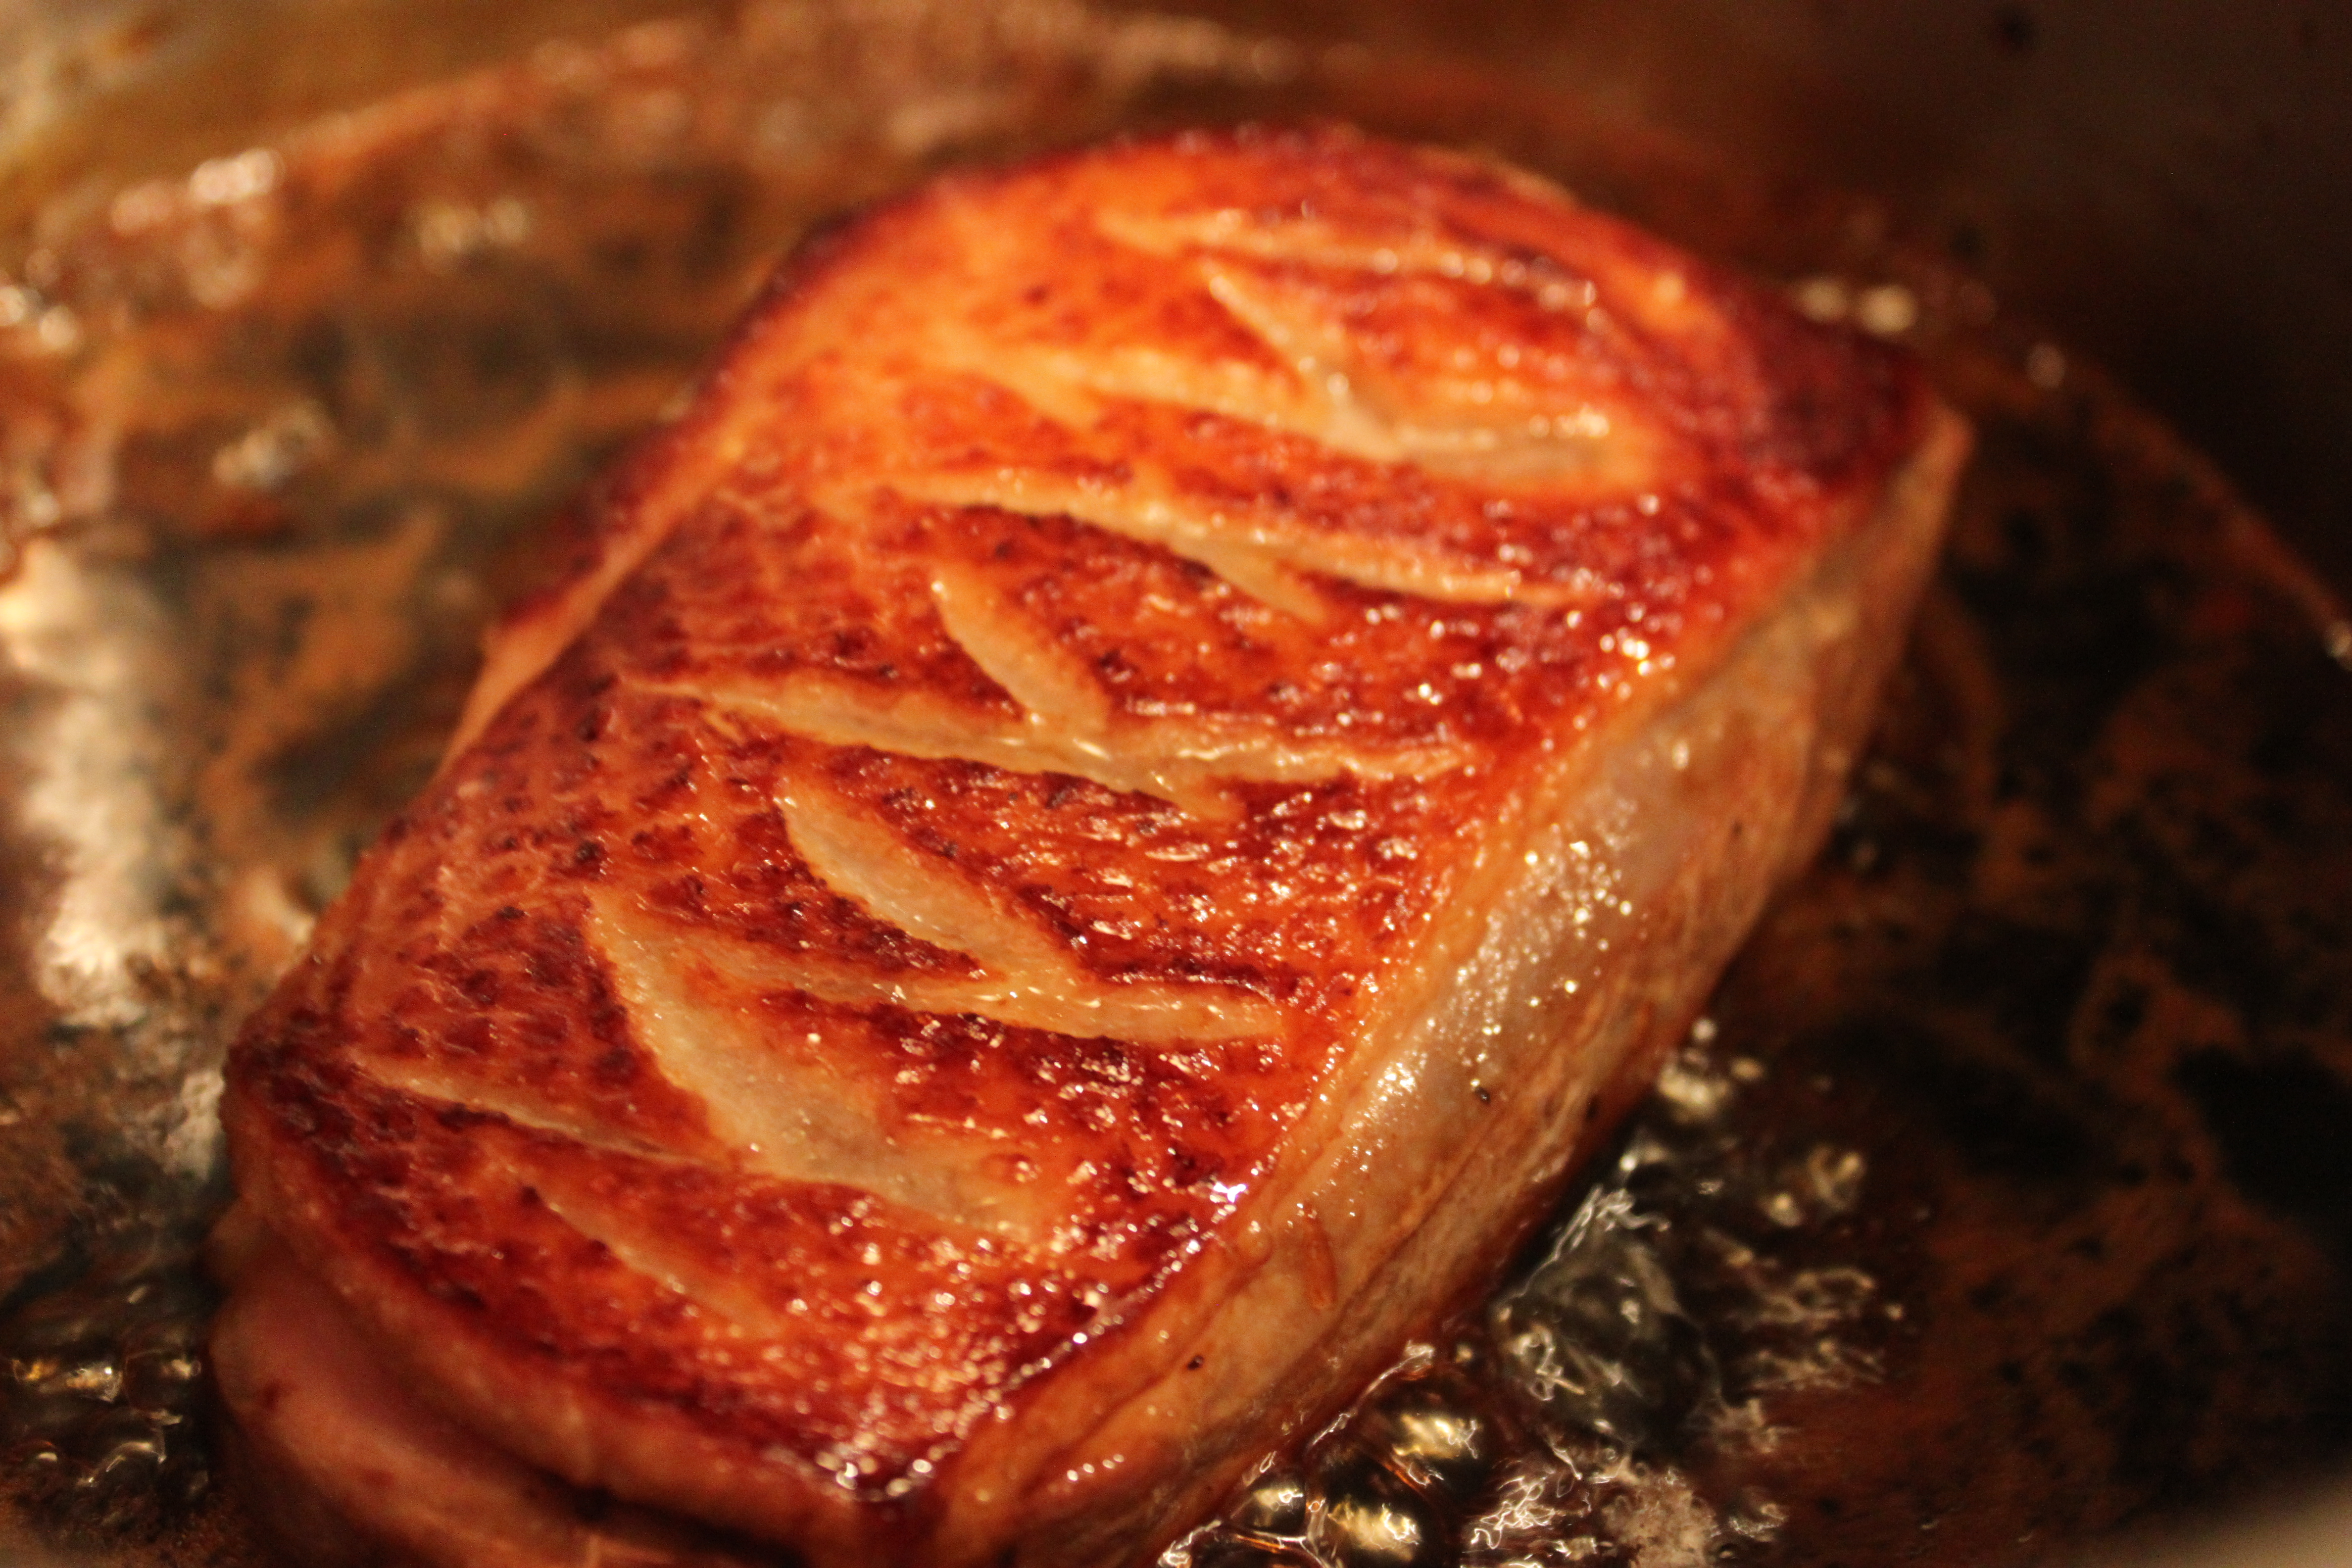
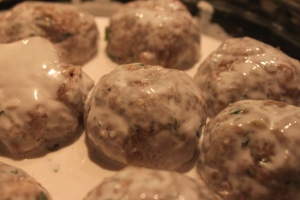
– (**This step is optional – I “soaked” the meatballs in coconut milk for 20 minutes first, pat them dry then bake in the oven – see picture below).

– Lined your baking tray with foil and space them so they are not touching. Bake for approximately 20 to 25 minutes; then change to “broil” and “brown” for approximately 5 minutes, remove from the oven and set aside.

– Proceed to prepare the green curry once you place the meatballs in the oven.

IMG_2040

To prepare the zucchini and eggplant green curry:

– In large 6 quart pan, heat olive oil over medium. Add the green curry paste, ground roasted coriander and cumin seeds, stir-fry until an aroma develops and ingredients are slightly browned.

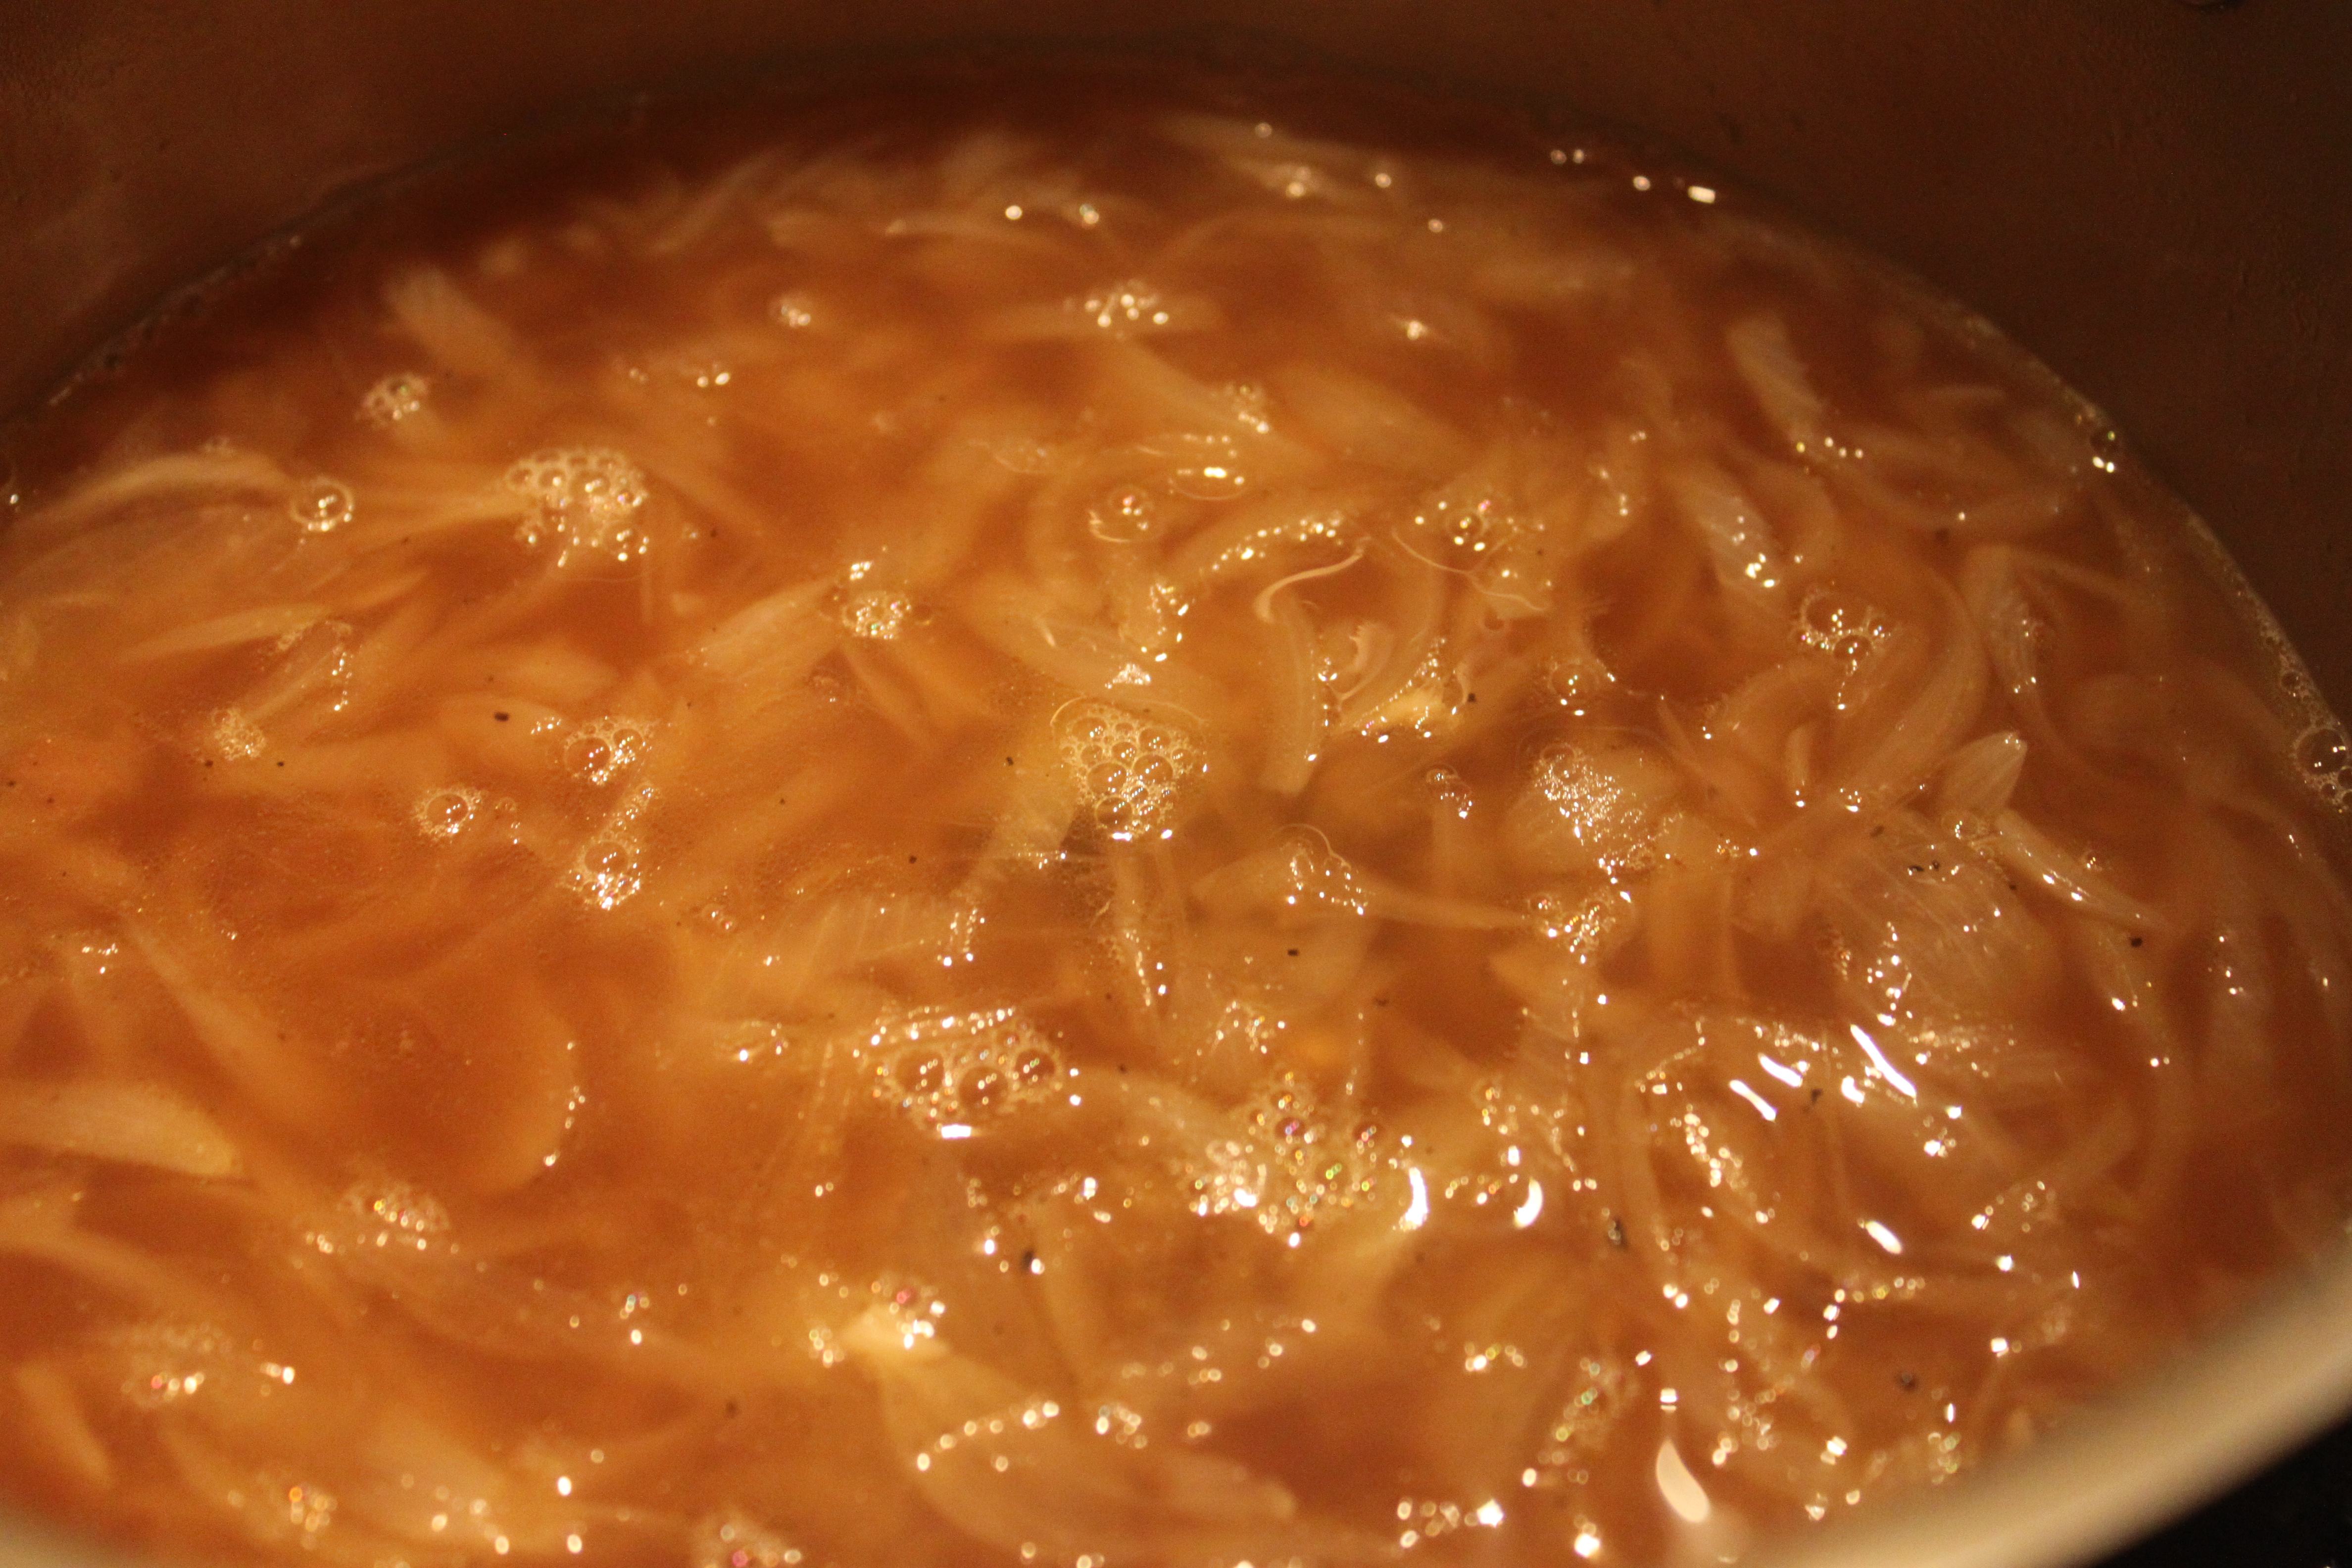
– Add 1/2 cup of the coconut milk, cook and stir occasionally, allow it to simmer until oil is extracted

– Add the rest of coconut milk and almond milk.  Bring to a boil, add eggplant then reduce the heat to medium low.  Cook for 10 minutes, stirring occasionally, then add zucchini and pork meatballs, cook until all vegetables are tender. Adjust the thickness of curry with water if necessary.

– Stir in fish sauce, palm sugar, kaffir lime leaves and chillies.  Taste the curry and adjust the seasoning if necessary.

– Remove from heat, stir in the basil leaves and a squeeze of fresh lime juice.

– Garnish with a drizzle of coconut cream, fresh sliced chillies (add more if you want more “heat”) and chopped cilantro. Serve immediately with rice on the side.

Additional notes:

– Omit the pork meatball and this becomes a great vegetarian dish.

***Here’s the recipe for Green Curry Paste from Blue Elephant Cooking School; the class was fun and informative, it’s worthwhile to attend if you happen to visit Bangkok.

10 pieces green birds eye chillies, 1 big green Serrano chilli, 1 coriander (or cilantro) root (omit if you are unable to find, use chopped coriander stems/leaf instead, approximately 1-2 tablespoon), 1/2 tablespoon kaffir lime zest (can use regular lime), 1/2 tablespoon finely sliced galangal (use ginger if you are unable to find), 1 Tablespoon lemon grass (finely sliced), 4 cloves of garlic (peeled), 3 shallots (peeled), 1 teaspoon salt, 1 teaspoon ground roasted cumin seed, 1/2 teaspoon ground roasted coriander seeds, 1/2 teaspoon white ground pepper, 1/2 teaspoon shrimp paste, 10 sweet Thai basil leaves.

To prepare the green curry paste: Dry roast the cumin seed and coriander seed in skillet until seeds begin to pop, let cool slightly and place them in spice grinder and grind finely. Using the mortar, apply a “pushing” motion and pound kaffir lime zest, coriander root, lemongrass, galangal (1/2 and all chillies together. Add the remaining ingredients (add basil leaves last) and continue to pound until everything is blended into a smooth paste. **If you find this too labour intensive, ready-made Thai green curry paste are available almost everywhere. Unused paste can be kept in an airtight container for two weeks in the refrigerator or last up to 1 month in the freezer.


Cauliflower Fried Rice

IMG_2070

More than two weeks ago, my friend “PPQ” was over at our place for mid-Autumn Festival Dinner and she made her simple version of cauliflower fried “rice” which paired surprisingly well with our semi traditional (Chinese steamed fish, roast pork belly, sautéed pea sprouts, sake steamed clams, duck breast lettuce wrap) dinner. She actually has modified the recipe based on the original posted on the award-winning site Nom Nom Paleo!  

We added garlic stems (I’ve seen them at our local Farmer’s market during early Fall season and readily available at most Asian Supermarkets); it adds a very delicate flavour and a nice crunch to the fried “rice”.

I made this again the other day and added shallots to the recipe. “PPQ”, thank you very much for your garlic stem idea! I’ve served the “rice” with Thai Green Curry, we didn’t miss the jasmine rice at all!  Basically anything goes with this excellent low carb option, same as any other recipes, feel free to modify and make it your own, Enjoy (OO)!

Ingredients:

1 small head of organic cauliflower, 1-2 Tablespoons olive oil, 1 small yellow onion (finely diced), 2 small shallots (finely diced), bunch of garlic stems – 1/2 to 1 cup (finely chopped), kosher salt and fresh ground pepper.

Preparation:

– Clean the cauliflower, core and trim the florets off the stems, cut off any blemishes (sometimes you see little brown spots). Place florets in the food processor and process until they resemble the texture and size of rice grains.

– Prepare garlic stems: wash thoroughly in cold water, pat dry, cut off end of stems and chop them finely

– In a large skillet, heat 1/2 Tablespoon of olive oil over medium high heat, add onions and cook until they become soft and translucent, add shallots and garlic stems; mix ingredients well and cook for another 3-4 minutes to bring out the flavours and aroma. Remove mixture from skillet and set aside.

– Adjust to medium low heat, using the same pan heat remaining olive oil, add cauliflower, season lightly with salt and pepper, stirring gently for approximately 5 to 10 minutes until the oil is evenly distributed and each “grain” is coated.

– Put the lid on the skillet, adjust to low heat (to avoid burning) and cook the cauliflower “covered” for another 5 minutes (to 10 minutes) until they become tender.

– Remove the lid, readjust to medium high heat, return onion/garlic stem/shallot mixture to skillet, using a spatula, gently stir fry all ingredients until mixture is slightly browned.

IMG_2050

– Taste and season with salt and pepper as required.


Wafu “French” Onion Soup

IMG_2230 - Version 2
Bon Appetite!

I love soups; I basically can have soup every day as a meal especially during the Fall and Winter season. This idea came from a wonderful Japanese soup cookbook, I’ve combined the recipe (and translated into English) with some elements from a classic French onion soup preparation; the base is made with Japanese soup stock (dashi) which is a great option for non-beef eaters; Japanese rice cake is used instead of classic baguette toasts. You will be pleasantly surprised…Enjoy (OO)!

Ingredients (serves 2 as a hearty meal, 4 as a starter)

Two medium size yellow onions (thinly sliced), 1 teaspoon unsalted organic butter, 2 teaspoon olive oil, 1 bay leaf, Japanese mochi (store-bought packaged rice cake – 2 to 4), Gruyère cheese (finely grated – 1 to 2 Tablespoons), 4 cups dashi (I made my own using kombu (kelp) and katsuobushi (bonito flakes), can use instant bonito stock packages), Japanese sake 2 Tablespoon, 2 Tablespoon organic soy sauce, pinch of sea salt and ground black pepper to taste

***see my June 16th ” Napa Shiitake Mushroom Tomato Soup” notes on Japanese soup stock (dashi)

Preparation:

– In a 6 quart pot over medium heat, melt butter and add olive oil.  Stir in the onions and season lightly with sea salt and few grinds of black pepper.

– Reduce to low heat, press a piece of foil onto the onions to cover them completely and cover the pot with the lid.  Stir occasionally (lift the foil) and cook until the onions are very soft but not falling apart, it takes approximately 30 to 40 minutes.  Remove the lid and foil, raise the heat to medium high and add Japanese sake (rice wine), gently stir often and cook onions until they are deeply browned (not burnt), approximately 10 minutes.

– Over medium high heat, add dashi broth, soy sauce and bay leaf to the caramelized onions and bring the soup to a boil. Reduce heat to medium low and simmer for 15 to 20 minutes to blend the flavours. Discard the bay leaf, season to taste with sea salt and black pepper.

IMG_2140
Soup is Simmering and Flavours developing!

– While soup is simmering, prepare the Japanese mochi – remove rice cake from individual packages, using a paring knife, make a small “slit” (or X mark) in the middle of each rice cake.

Fill the saucepan (make sure it’s big enough for 2 to 4 mochi and there’s enough room they won’t stick together) with cold water, submerge the mochi and turn on the heat to medium high. Gently stir and move the rice cakes around to ensure they don’t stick to the pan.  Once the water comes to a boil, turn the heat to medium low and let it simmer for a couple minutes.  Take them out when they begin to melt.

– Place the rice cakes in shallow baking dish and be sure to allow sufficient space between them without touching (the rice cake will expand as it bakes in the oven). Sprinkle the grated Gruyère cheese over the rice cakes,  place baking dish in oven, position the rack from the broiler and heat broiler to high. At this point you have to be very careful not to burn them; keep very close watch and after a while they will start to puff, broil until they are browned and bubbly. Remove from oven.

– Ladle the hot soup in each bowl and gently place baked rice cake on top. Serve immediately.

Notes:

– The soup can be made up to 2 days ahead and store in refrigerator; reheat soup and bake Japanese rice cake when ready to serve.

– You can find the rice cakes at Japanese food stores; in Vancouver, my go to place is Fujiya (912 Clark Drive, Vancouver, BC ).

– As always taste the dish while you’re cooking and adjust the seasoning according to your own taste and dietary requirements. For cheese lovers, be generous with the Gruyère!  I bought my aged Gruyère from one of my favourite stores, Les Amis Du Fromage (843 East Hastings Street, Vancouver, BC).

IMG_2213
Packaged Rice Cake