
Korean Food Wave Revisited: Two weeks ago on the Thanksgiving long weekend, I went “work-clothes shopping” with my friend “Mui Mui”, a fairly level-headed “youngster” who recently got a new job and need a little assistance with wardrobe selections.
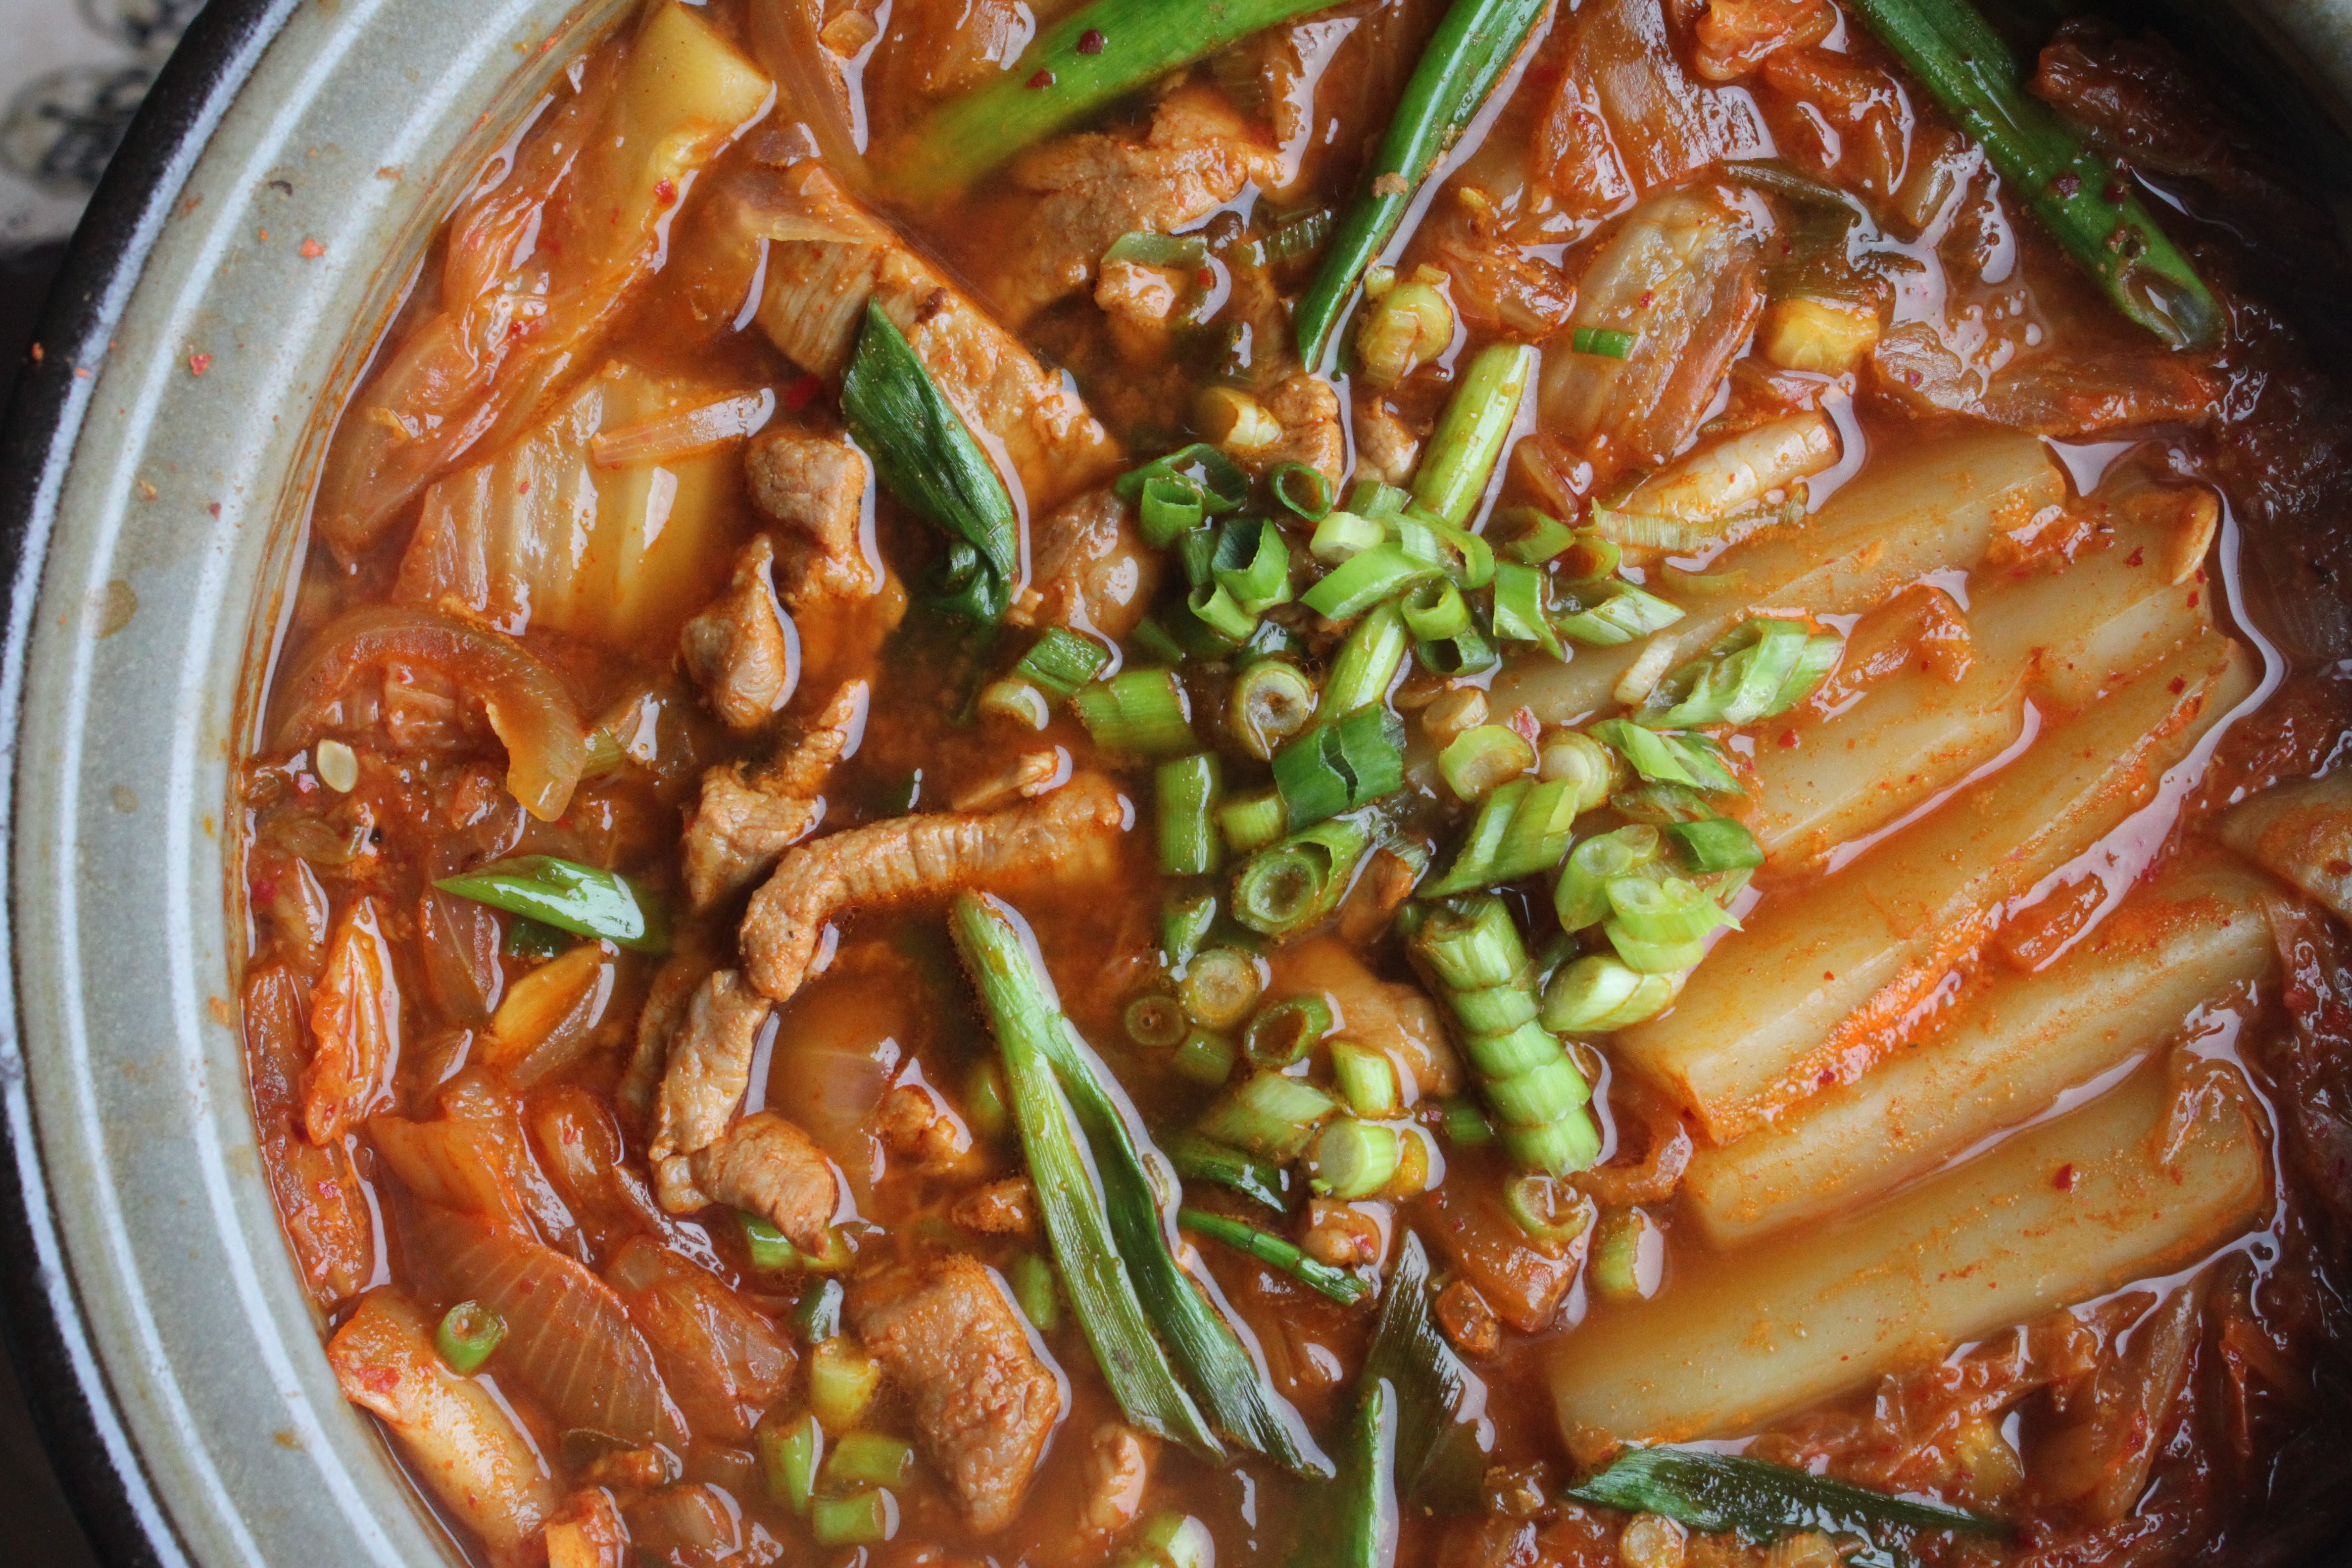
She can only have soup or congee (braces!!); we popped into H-Mart food court (on Robson Street) for a casual dinner (shopping is just about the only time I’m willing to forgo a proper “sit down” meal, taste is important still); it was great to revisit Wang Ga Ma food stand, where I had one of my all time favourite Korean dish, Kimchi jjigae. It was absolutely delicious, just “hit the spot”, perfect dinner on a rainy Friday night.
I like Jjigae for its simplicity and heartiness, it is what it is. Unlike SoonDuBu (Tofu soup), this dish is not readily available anywhere. Whenever I have a sudden craving, I must make my own at home. It’s my “go-to” dish during the gloomy Vancouver winter months.
The taste brought back many fond memories, the years (since 2005) of my absolute fascination with my third “adopted” culture (behind Japanese/French)…Korean language classes (at SFU Continuing Education)…My three trips to Seoul, especially travelling with my language class schoolmates (who remained in touch as good friends until this day)…dinner outings to different establishments with our wonderful teacher Anne…Korean cooking classes…
Upon returning home, I “dug out” an old cookbook – “Korean cooking” by Han Chung Hae; In 2005 and 2007, I was very fortunate to have had the opportunities (yes twice!) to attend her cooking school while I travelled to Seoul for leisure! I’ve learnt some interesting basic dishes – kimchi jjigae (by special request), Japchae, Bulgoogi (secret marinade), seafood pancake, just to name a few! The cookbook and a few copies of recipes written in Korean (yay have not forgotten everything entirely!) are prized souvenirs, I treasured most the experiences and friendships, they will always remain very dear to my heart.

Last night on the way home we made a quick stop at T & T (Asian supermarket) to pick up the pork and konnyaku (kimchi is always in our fridge!)…Here you go!
| 잘 먹겠습니다 |
!!! (OO)
Ingredients:
2 cups (packed) kimchi (readily available at most supermarkets, chopped in bite size), 150 grams organic pork shoulder (thinly sliced or bite size, trim excess fat), 1 small onion (thinly sliced), 3 teaspoons grated ginger, 1 teaspoon finely minced garlic (can always add a little more), 1/2 cup kimchi juice (squeezed from kimchi), 2 to 2 1/2 cups of anchovy stock (*similar to Japanese dashi made of dried kelp and dry anchovies boiled in water), 2-3 teaspoons of gochujang (Korean chili paste), 150 grams konnyaku, 2 scallions (thinly sliced for garnish), 2 teaspoon grapeseed oil, 1-2 teaspoon of soy sauce (preferably Korean, Japanese soy will work also) for marinade and season to taste; 2 teaspoon Japanese sake (rice wine).
*You can use water if you do not have any stock handy, the anchovy stock adds more depth and flavour to the soup. I always have Japanese dashi stock (kelp/bonito) ready at home and it works just as well.
It’s my personal preference to use mostly organic products, the pork shoulder (it’s less fatty) and konnyaku (a Japanese zero calorie product made of plant from taro family) instead of the usual tofu (OO). For other versions, skip the meat and add other vegetables for vegetarian, or use canned tuna for chamchi jjigae.
Preparation:
– Slice onions, grate ginger, mince garlic and chop scallions, set aside.
– Trim excess fat off pork shoulder, slice thinly or bite size; marinade with 1 teaspoon of soy sauce, 1 teaspoon rice wine, 1 teaspoon of Korean chilli paste (gochujang), 1 teaspoon grated ginger and a smidgen of garlic at least for 30 minutes.
– Prepare the kimchi juice: Remove 2 cups (fully packed) kimchi from jar, squeezed hard into a bowl to obtain “juice” (approximately 1/2 cup), set aside.
– Bring a small pot of water to boil, add the whole block of konnyaku to parboil for approximately 10 minutes. This will get rid of the “smell”, slice konnyaku into 1/2 inch thick.
– Using medium high heat, heat a hot-pot (nabe – remember to follow instructions if you using one) or 5 quart heavy bottom stock pot, heat 1 teaspoon of grapeseed oil, when hot add the pork slices. Saute for approximately 2 to 3 minutes (do not cook pork entirely) and allow the fat to render. Remove pork from pot.
– Using the same pot (add a little more oil only if necessary) over medium high heat, add the onions, saute for 2 to 3 minutes until translucent, add remaining ginger and garlic and 1 teaspoon of gochujang, saute until the mixture is very fragrant. Add the kimchi juice and a splash of Japanese sake to “deglaze” (you will hear it sizzling) and scrape off the little brown bits (don’t burn) from the bottom.
– Add kimchi, konnyaku and soup stock (or water) to the pot, stirring everything together to combine.
– Bring to a boil and taste for spiciness, adjust with gochujang (Korean chilli paste) if you want to increase the spiciness, season to taste with soy only if necessary.
– Turn the heat down to a low simmer and let the soup cook for at least 15 minutes. Let the flavours develop further.
– Return the half-cooked pork slices to the mixture, cook until meat is tender.
– Add the scallions and quickly stir to incorporate. Turn off and remove from heat, serve immediately straight out of the pot with rice. Enjoy!


