You must wonder what’s with the faux “Omurice” and Tomato Caramelized Onion “Jam-chup” (see other posting)?
Last month’s cauliflower “fried rice” was a food “jackpot”; I decided to continue to run with the idea and see what other variations I can come up with…
Over a dinner gathering with friends, we were talking about childhood comfort foods and our favours we love..my hubby Andy mentioned “Omelet Rice”….and voila!
I must give him full credit for coming up with this idea; It’s not a surprise at all as the Japanese “yoshoku” omelet is one of his all time favourite comfort foods! As an adult his tastes may have evolved in many ways but some things just never change – wonderful food memories and tastes just stay with us forever, we all have our own short list of “go-to” comfort foods.
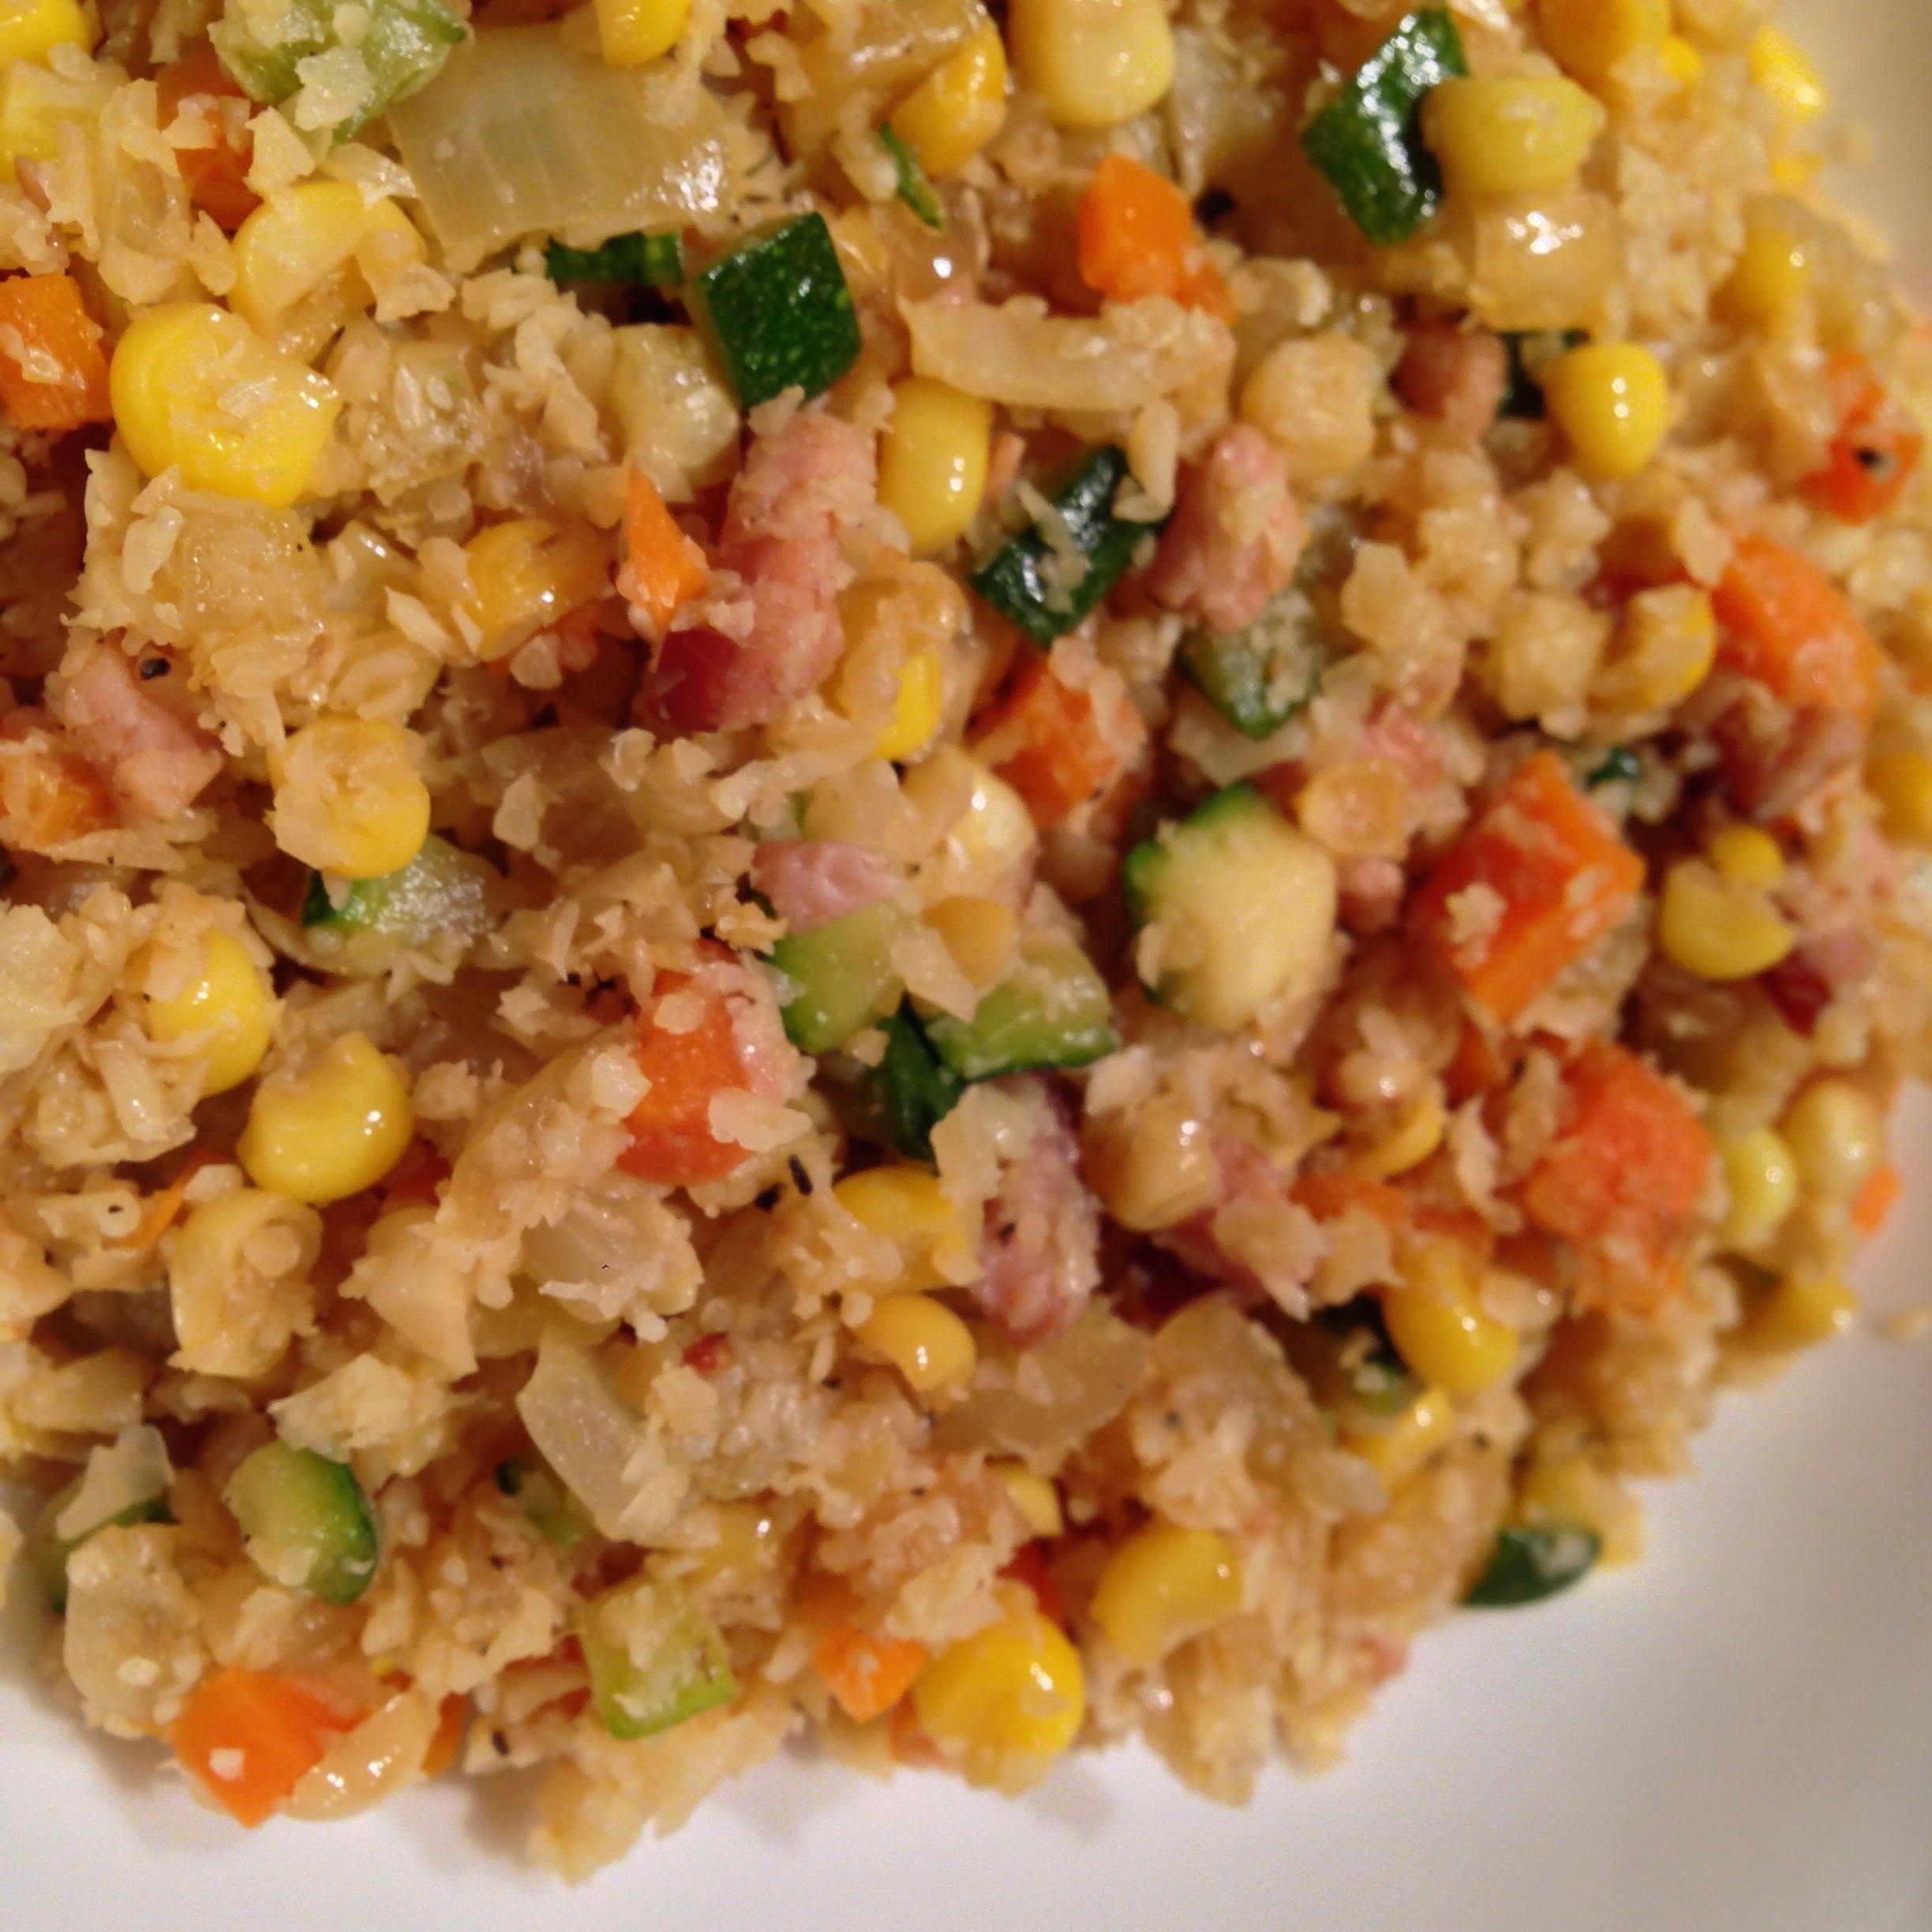
As for the choice of vegetables: I picked carrots, corn and zucchini for their crunchy texture! Although we are treating the cauliflower as “fried rice”, overall the texture is still a bit soft, it needs the “crunch” to add textural interest. The onions adds a sweet flavour and the Canadian back bacon lends a subtle smoky flavor, it is also leaner and I added just enough to satisfy a meat lover’s (like my husband) craving.
Canadian back bacon is also one of Andy’s favourites; this dish actually celebrates who he is, and pays homage to both his Japanese and Canadian roots.
The Tomato caramelized onion jam “jam-chup” (Andy calls it as it’s a replacement for ketchup, just a play on words) is a very lucky find (Serious Eats), I’m so happy and proud that I “tweaked” the original recipe and made it work for my dish.
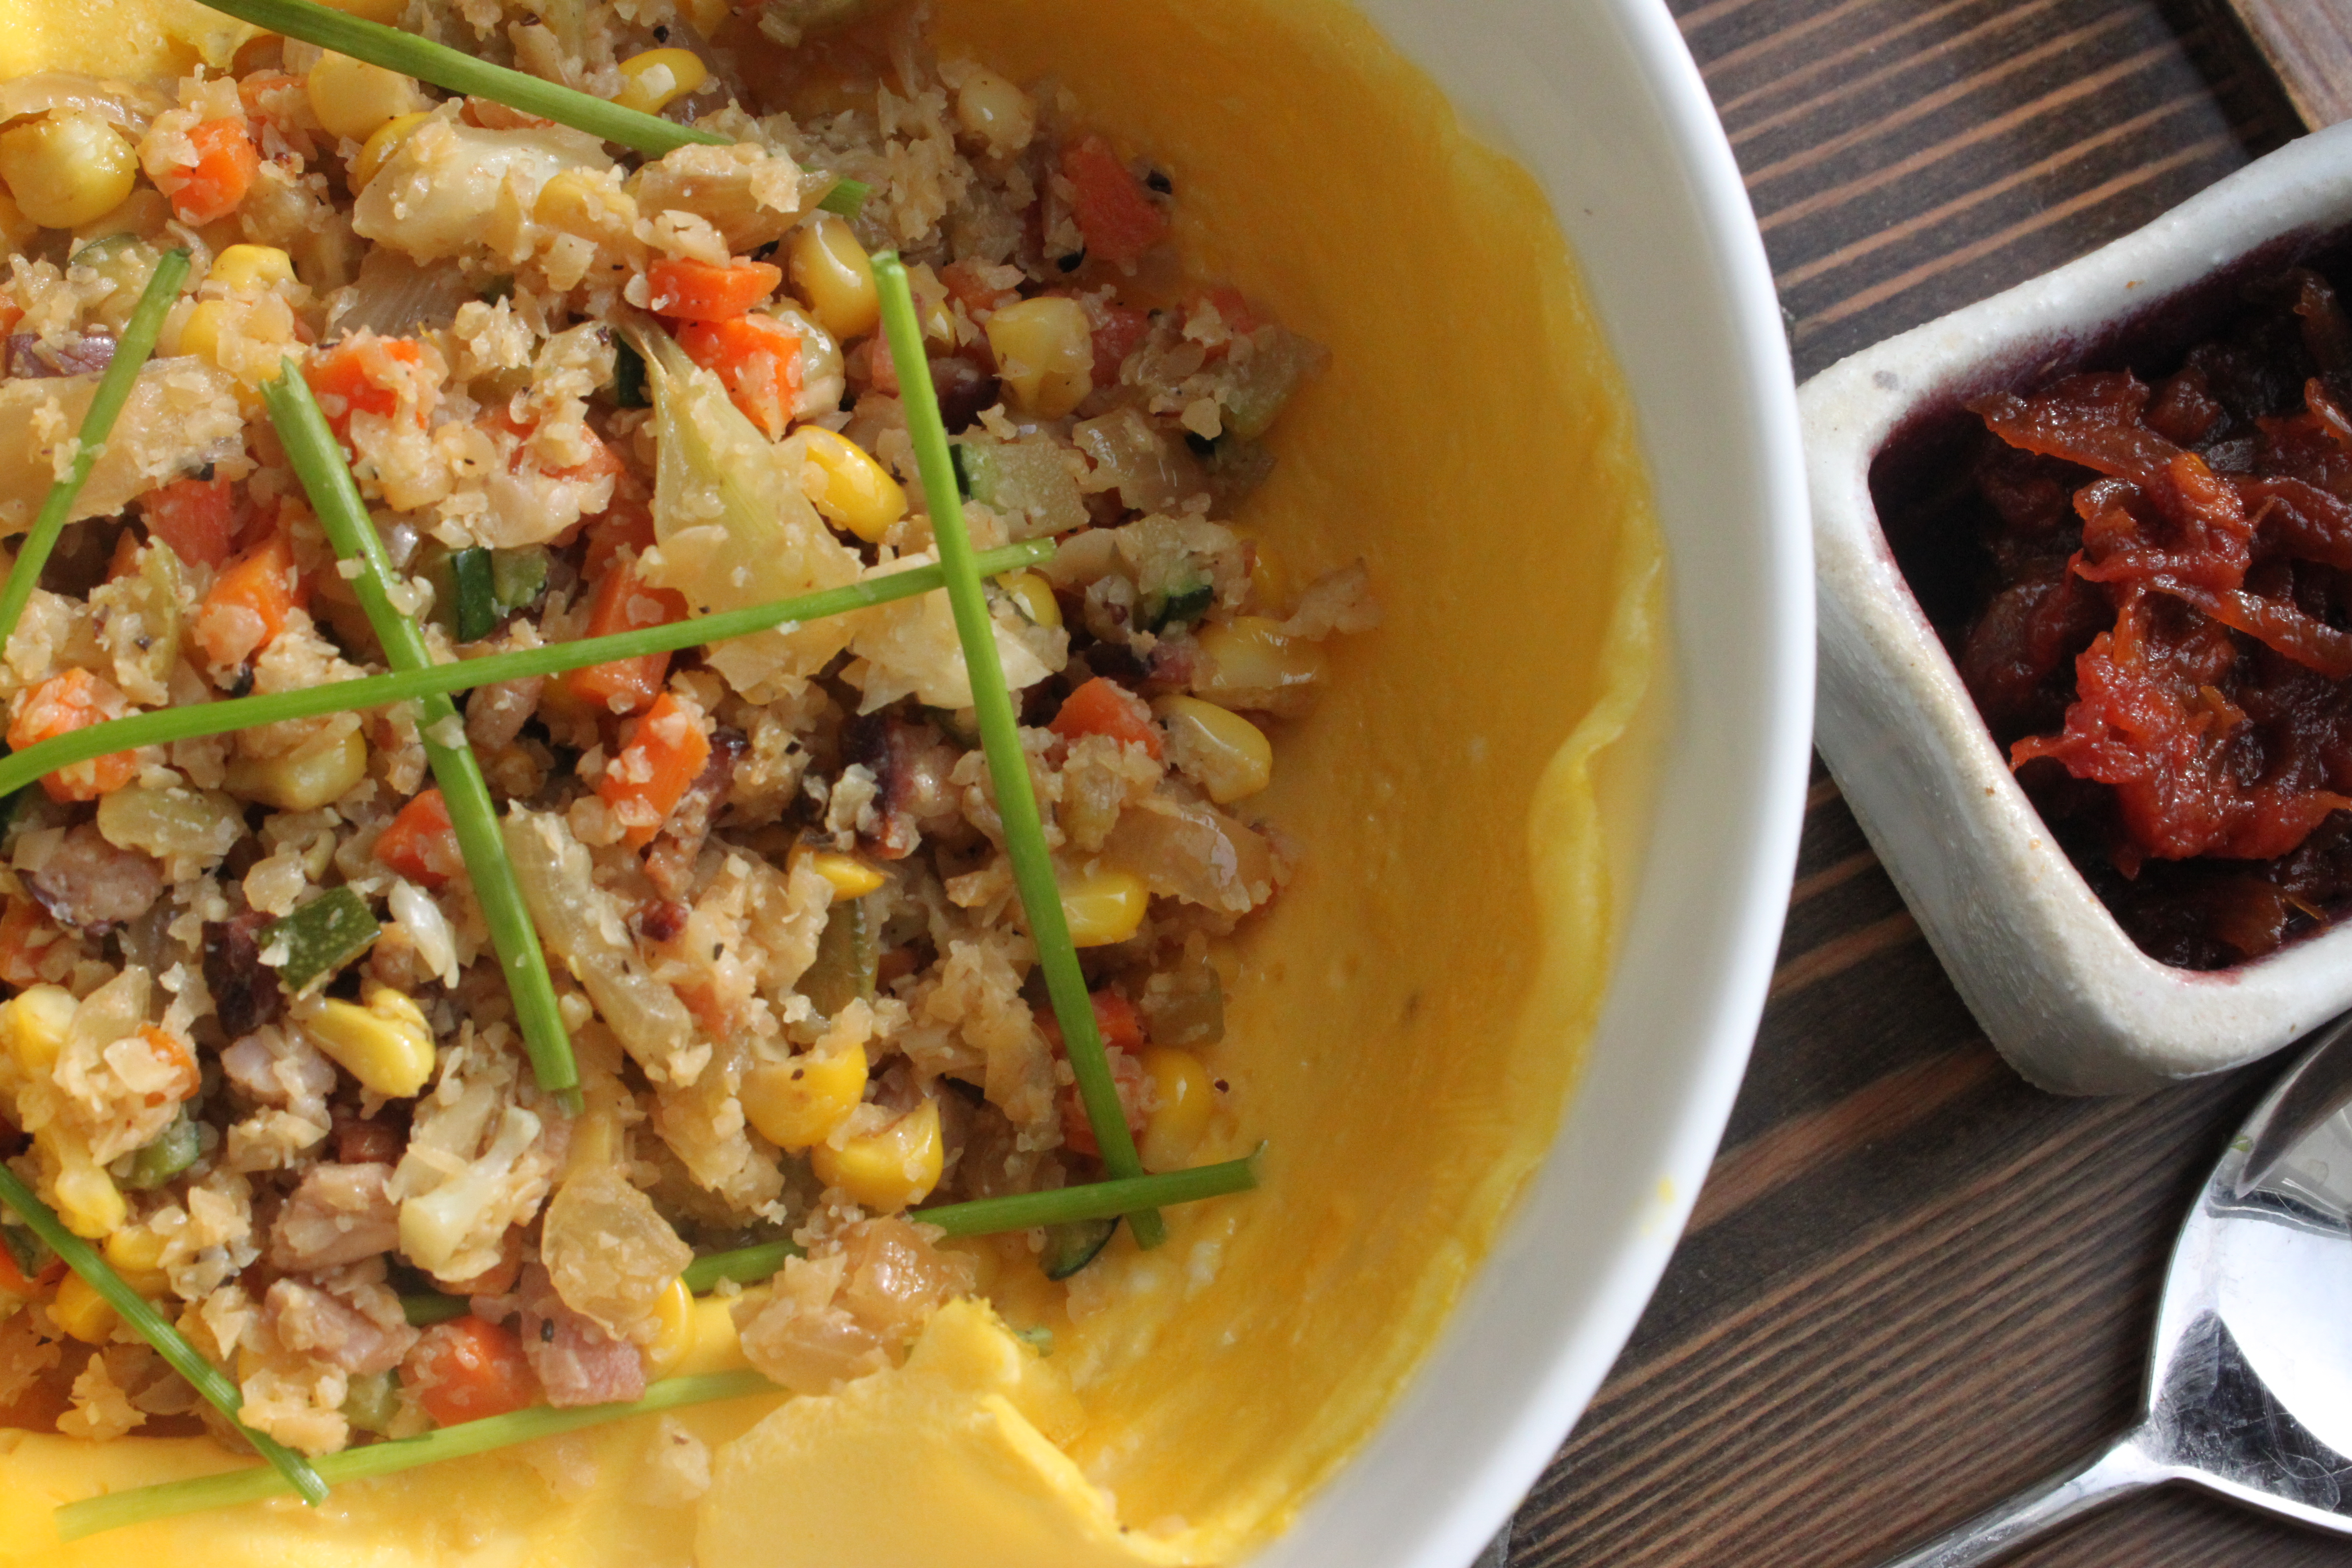
You may wonder how I came up with this Deconstructed version in a bowl? Aesthetically this works beautifully; it’s practical and easy to serve. The cauliflower “rice” is actually quite filling and since it’s in small bits, you need to put a lot to “stuff’ the omelet to make it “full”, I think the serving will become too big.
Besides…It’s time for me to practice flipping omelets!! Enjoy (OO)
Ingredients: (serves 2-4)
1 small head of organic cauliflower, 3-4 teaspoons grapeseed oil, 1 medium yellow onion (finely diced), 1 large carrot (peeled and finely diced), 2 ears of fresh corn (husked and kernels removed), 1 large zucchini (finely diced), 2 slices of Canadian back bacon (diced), organic eggs (1 for each serving), unsweetened almond milk (1 Tablespoon for each portion), 2 Tablespoons of stock (I’ve used homemade Japanese dashi stock, you can substitute with chicken broth or vegetable broth), organic Japanese soy sauce (season to taste), sea salt and ground black pepper, chives for garnish (optional).
**For a vegetarian version – omit the Canadian bacon, substitute the Japanese dashi stock (from kelp and bonito flakes) vegetable broth. I find the dashi adds a very nice flavor to this dish.
Preparation:
– Clean the cauliflower,core and trim the florets off the stems, cut off any blemishes (sometimes there are brown spots!). Process florets in the food processor until they resemble the texture and size of rice grains.
– Chop the onion finely, dice carrot and zucchini finely, husked and removed corn kernels, set aside.
– Slice and dice the Canadian back bacon into small bits separately, set aside.
– In a large pot (I used a 5 quart pot with lid) or wok/saute pan, using high heat, heat 2 teaspoons of grape seed oil; add 1/2 the diced onion and cook until they become soft and translucent. Add carrots, saute for 2 minutes; add corn and saute for another 2 minutes; add zucchini and 1 Tablespoon of dashi stock (you will hear a “sizzling” sound), saute and mix the vegetables well (takes approximately 2-3 minutes). The entire process takes less than 10 minutes; vegetables should be cooked yet crunchy in texture. Remove from pan and set aside.
– Using the same pot, adjust to medium low heat, add another teaspoon of oil, add the remaining diced onion, again cook until they become soft and translucent. Add cauliflower, stirring gently for 5 minutes until the oil is evenly distributed and each “grain” is coated.
– Add 1 Tablespoon of dashi stock, put the lid on, adjust to low heat (to avoid burning) and “steam” the cauliflower for 3 to 4 minutes. If you like it softer, cook a little longer.
– Remove the lid, readjust to medium high heat, add Canadian back bacon bits, saute for 2 minutes; return carrot/corn/zucchini mixture to pot. Using spatula, gently fold and stir fry ingredients until mixture is slightly browned, taste and season with soy sauce and black ground pepper, Turn off heat and set cooked mixture aside.
– Whisk the egg, add a pinch of sea salt and almond milk (1 Tablespoon to 1 egg) together in small bowl, you are preparing each portion individually.
– Lightly greased a small frying pan (I’ve used an 8 inch), coat the surface with a thin coat of grape seed oil.
– Heat the pan over medium high heat, when pan gets hot, pour the egg mixture and tilt to cover the pan evenly; once the egg has set, turn off and remove from heat.
– Gently remove “omelet” from frying pan and lay in a round bowl (find one that fits the omelet perfectly!), ladle the filling on top of “omelet”. (At this time you can decide whether you would like to make this version or a real omelet**).
– Garnish with chives (optional) and serve immediately with tomato caramelized onion jam “jam-up” (see separate recipe).
Notes:
– Namiko Chen’s website “Just One Cookbook” has an excellent “traditional” Japanese Omelet Rice Recipe with very clear instructions and excellent demonstration on how to assemble the omelet.
http://www.justonecookbook.com/recipes/omurice-japanese-omelette-rice/
– I always try to keep oil usage to minimum; you can always add a little more to adjust.
– In a regular omelet rice recipe, ketchup is added to rice directly. It’s my humble opinion that it will not work and make the cauliflower soggy and taste funny, besides we don’t use ketchup much these days and decided to look for a healthier option.
– This is an anything goes recipe; You can choose whatever vegetables you have or to your liking to substitute the corn, zucchini or carrots. I chose them because they add a crunchy texture. Feel free to use chicken (in regular recipe) instead of back bacon. Be creative!
– To all Moms: this may be a great option to encourage (or “fool”) your kids into eating more vegetables (OO). It makes a great bento box lunch and a wonderful one-dish dinner.
– I choose Canadian back bacon as it is leaner. If you are using regular bacon, render the fat and use it to saute the vegetables to add more flavor. As bacon is salty, adjust the seasoning as required.
– As always, remember to taste and season according to your liking and dietary needs!