Raincouver, Love you to the Moon and Back

IMG_8984
Gastown in the Rain; beautiful as ever

“Raindrops keep falling on my head…I ain’t gonna stop the rain by complaining.

I’m dancing and singing in the rain…why am I smiling?

Because I am living a life full of you.” – I love Vancouver.

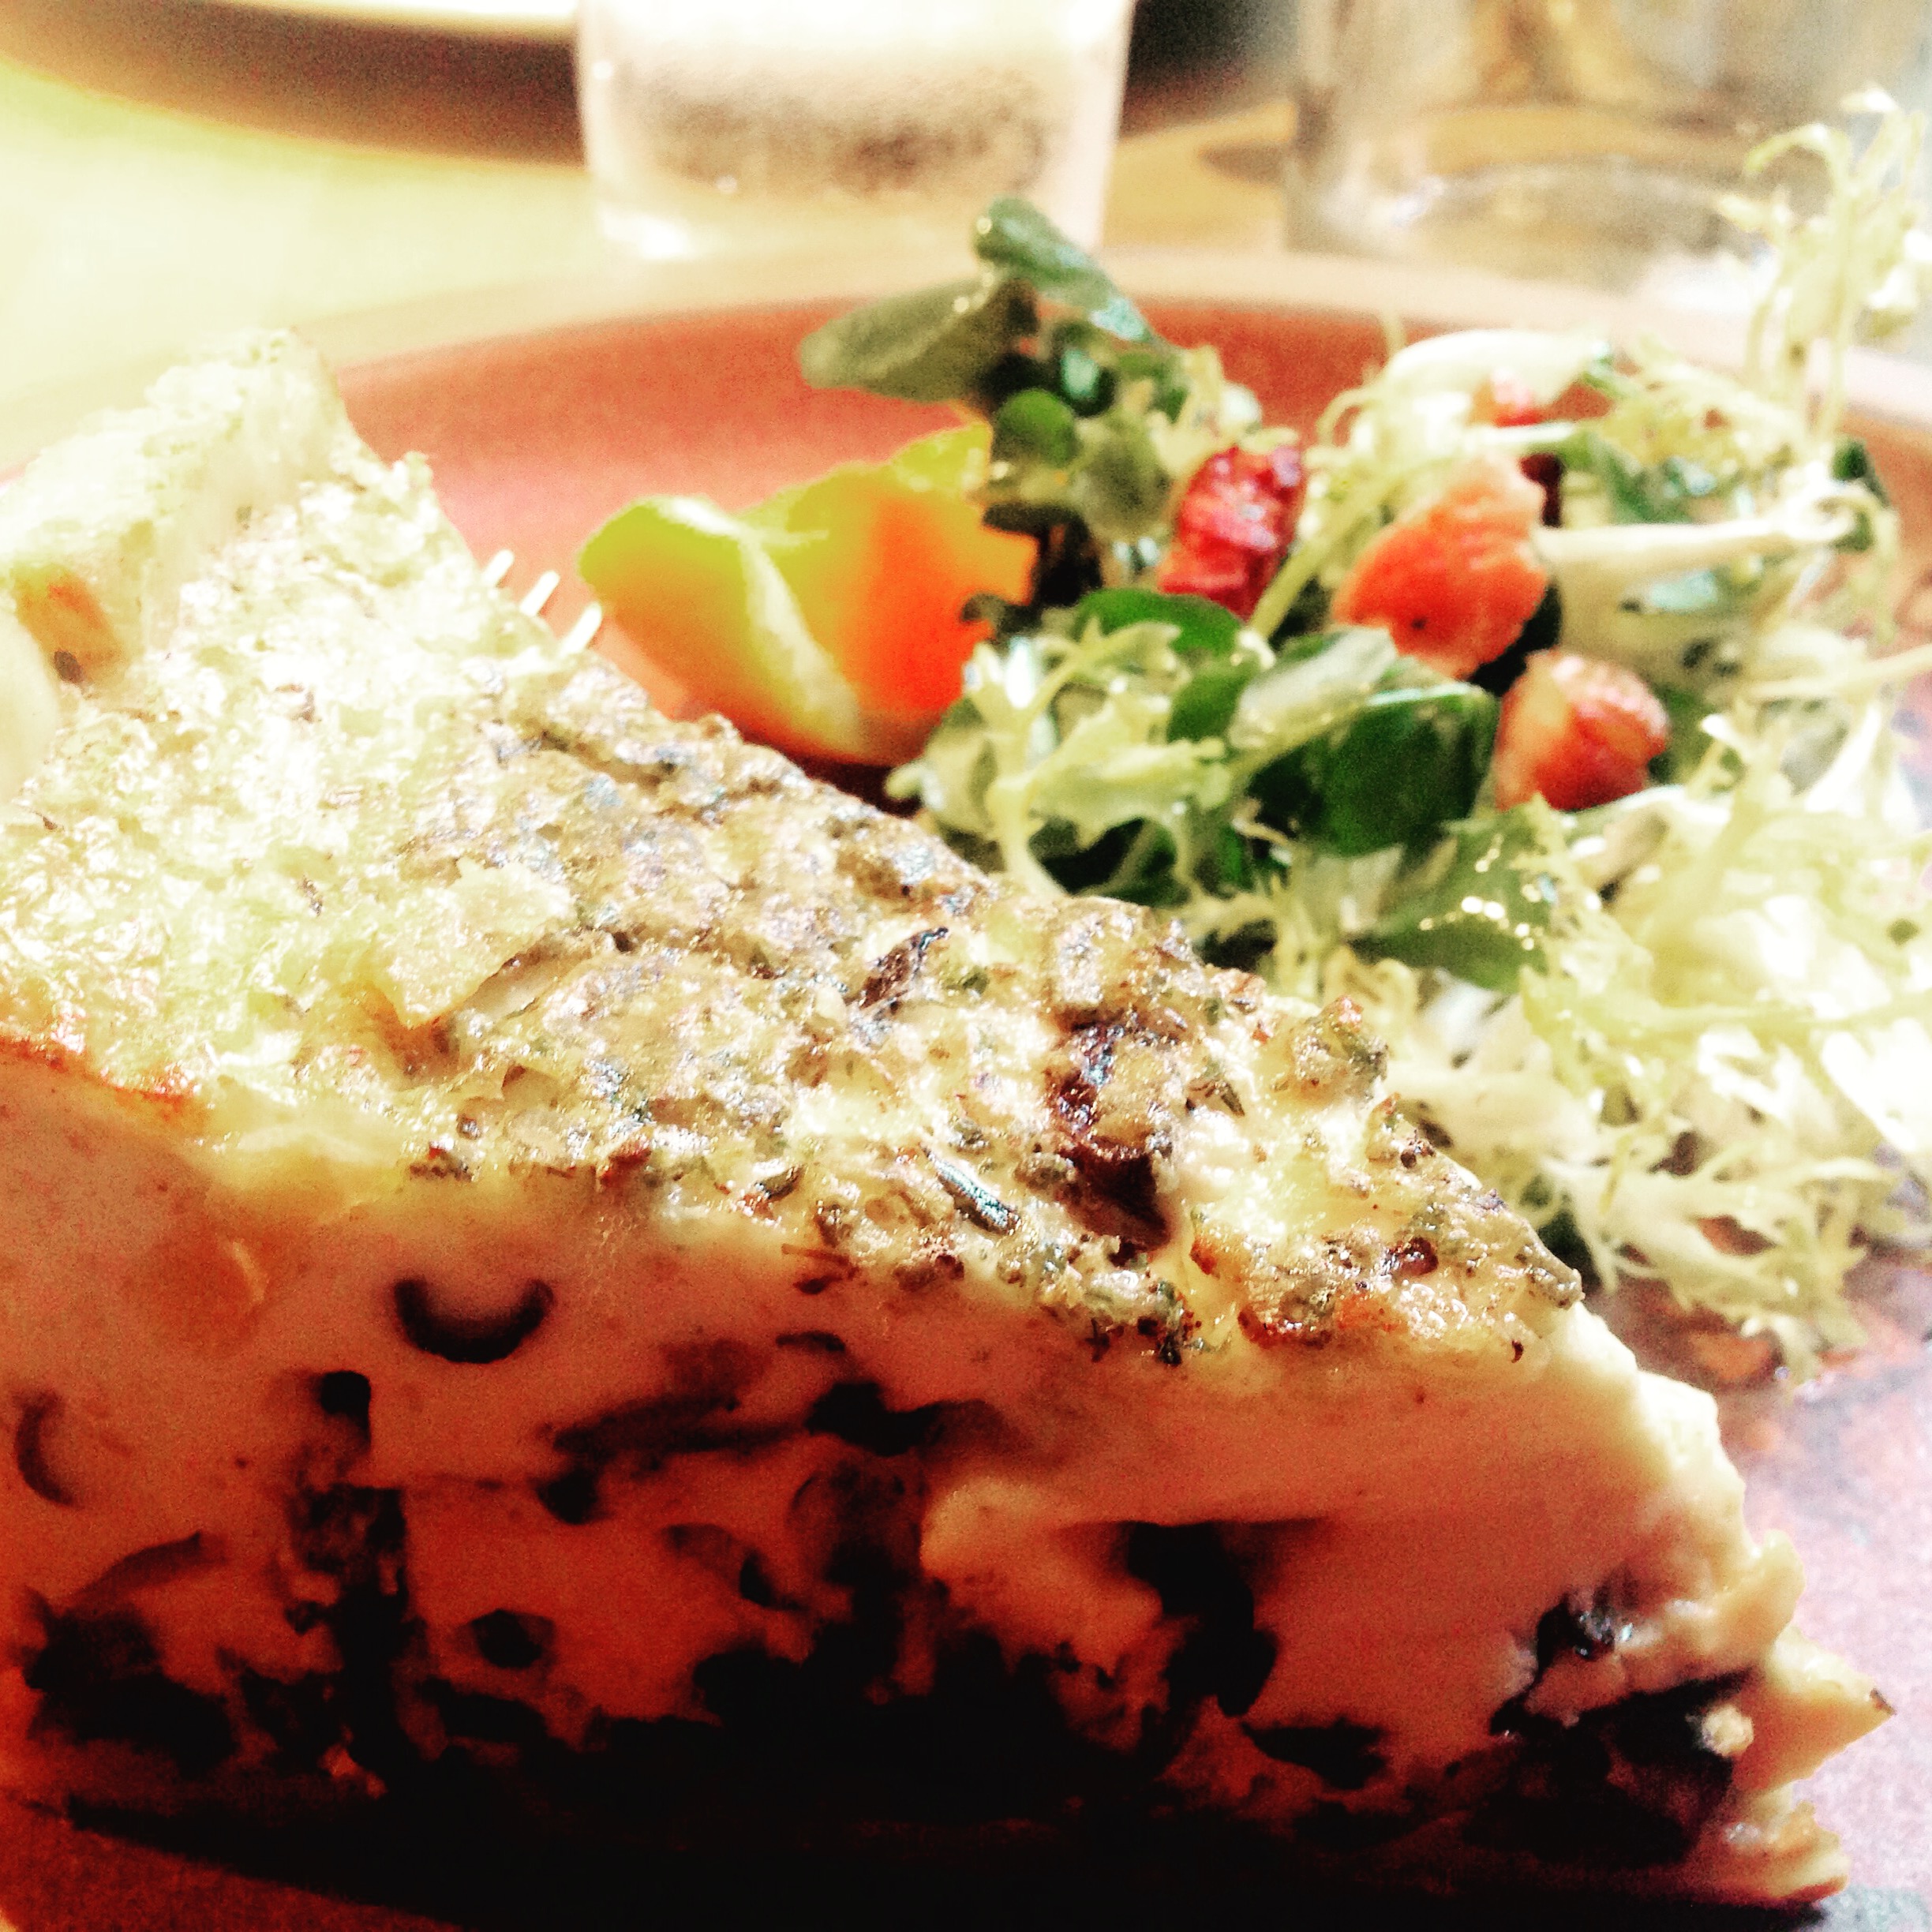
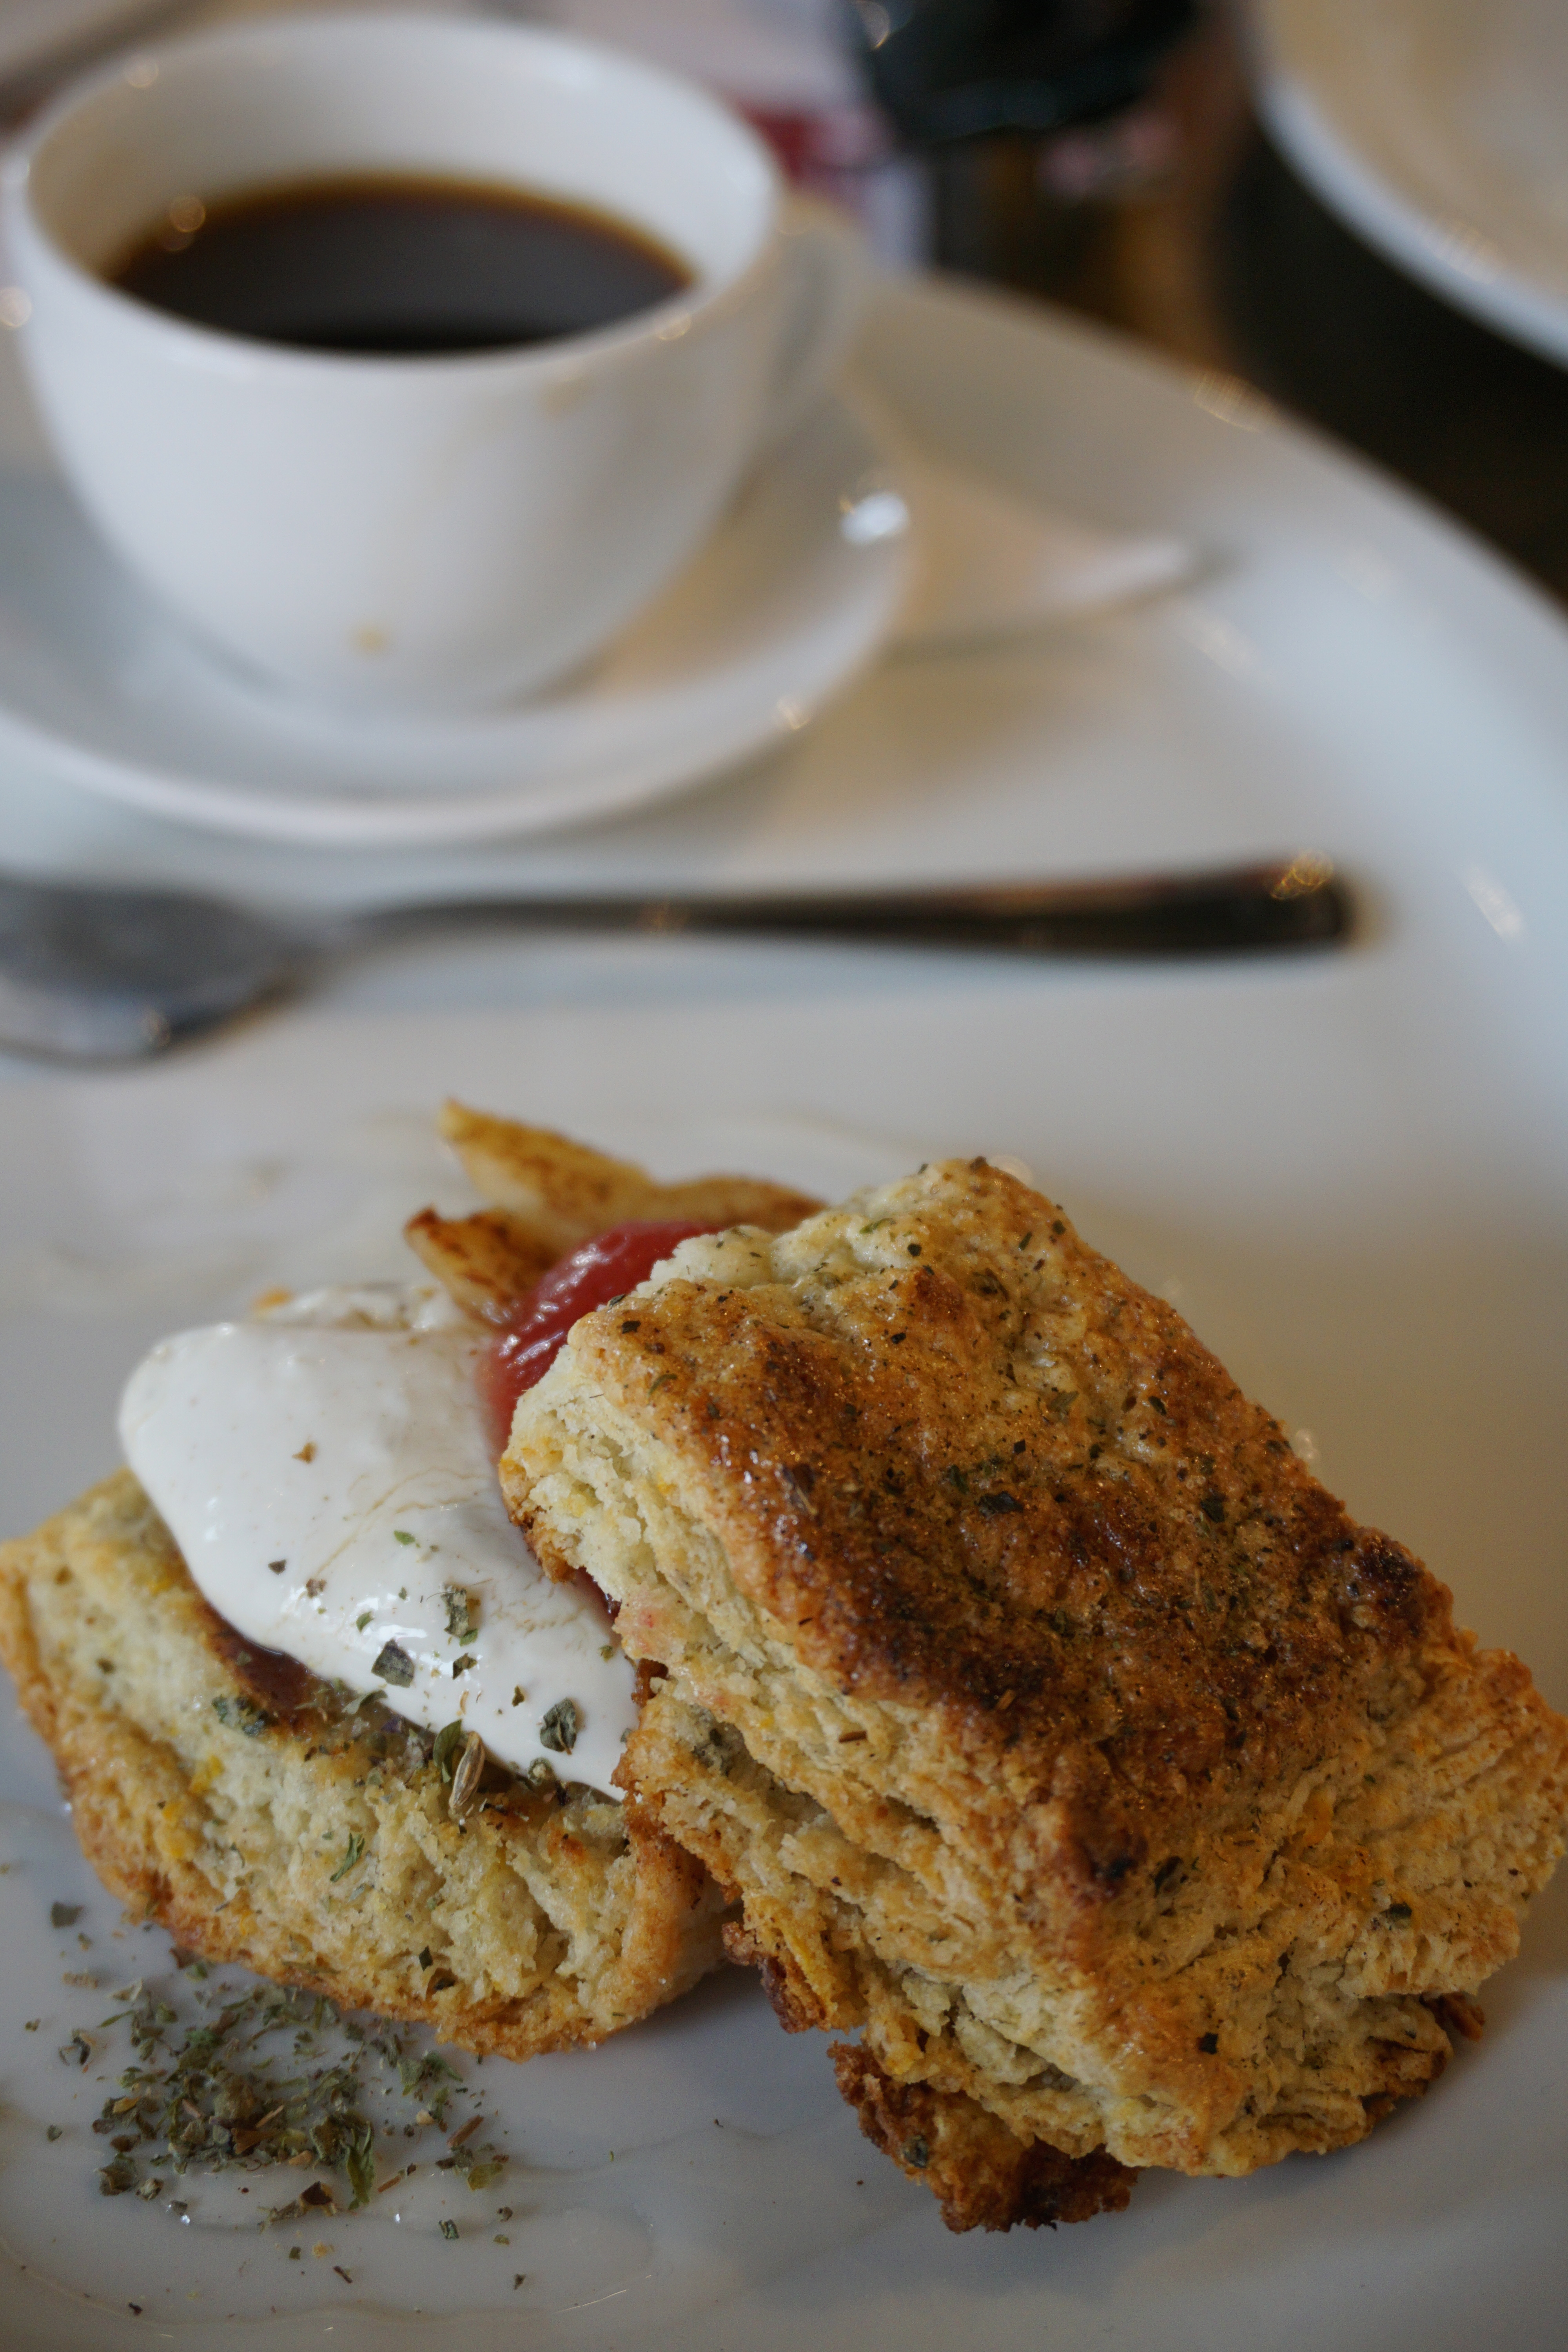
Brunching in “Raincouver”….walking in the rain in Gastown and brunching at L’abattoir…it’s always great to revisit old favourites.

http://www.labattoir.com

IMG_8983
Enjoyed the wild mushroom Quiche!!

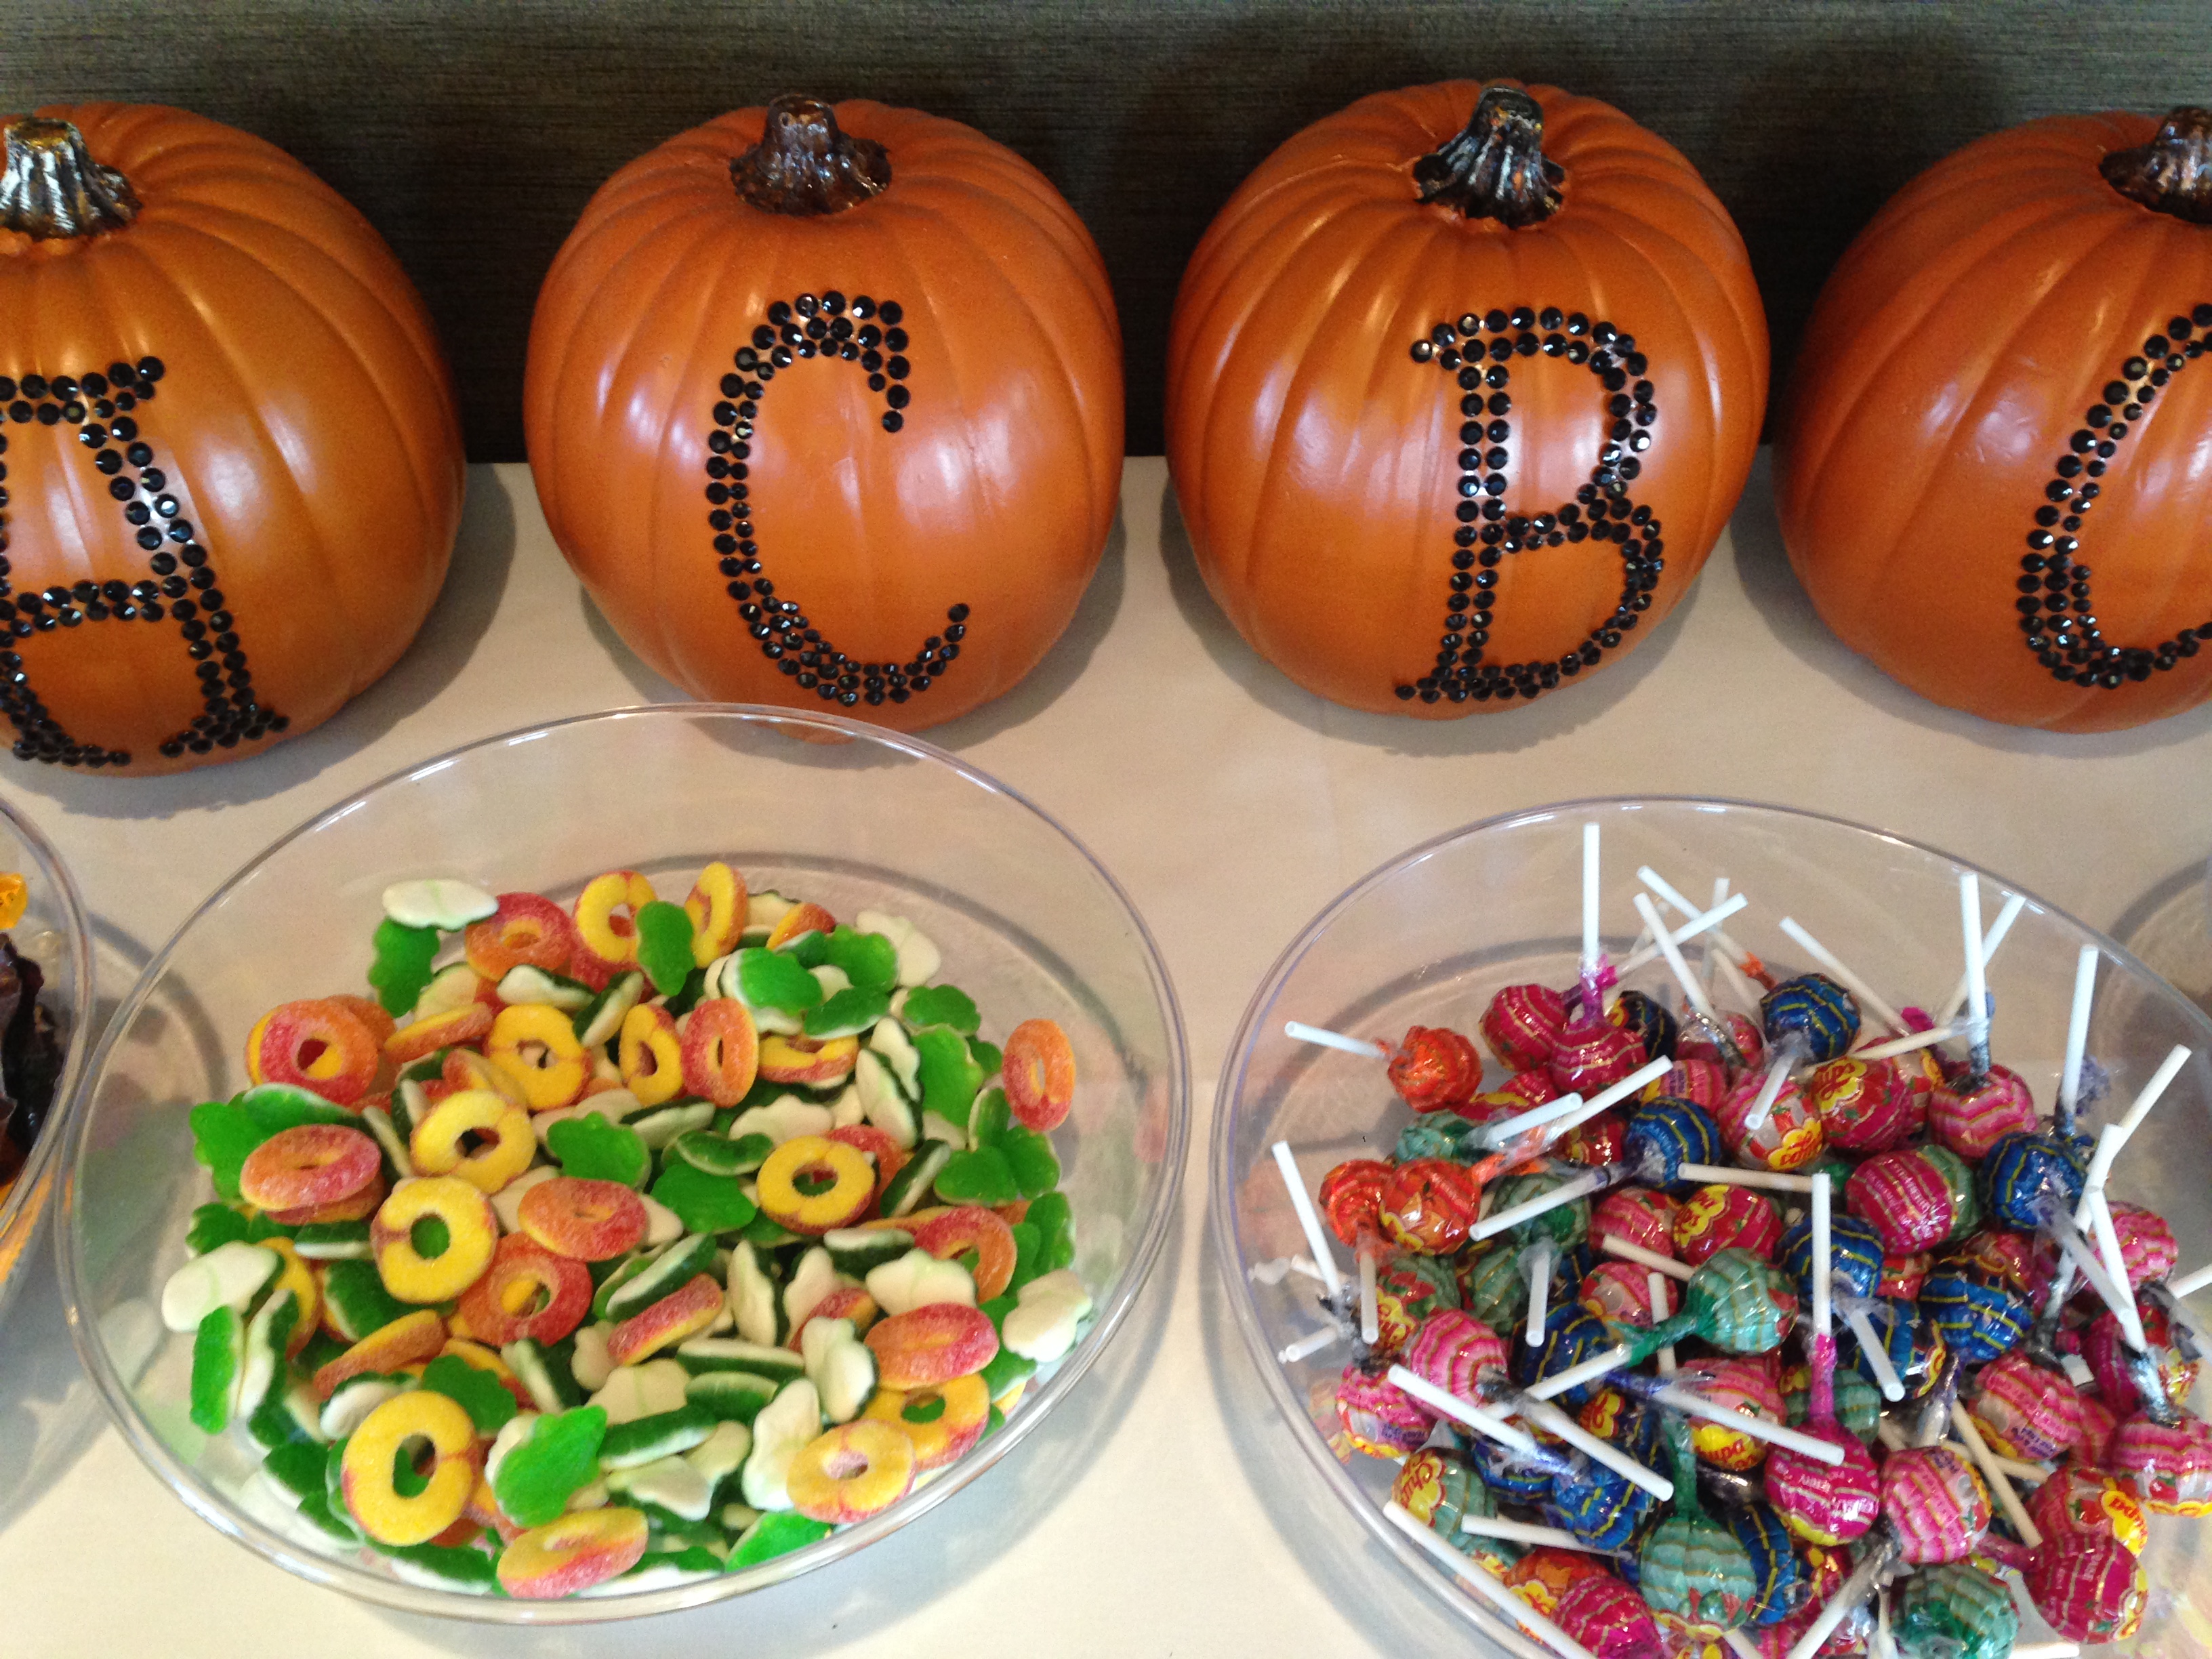
Attended our friend’s wedding (congratulations Bryan and Adelphie) on Halloween (that’s a first!!)


IMG_9269

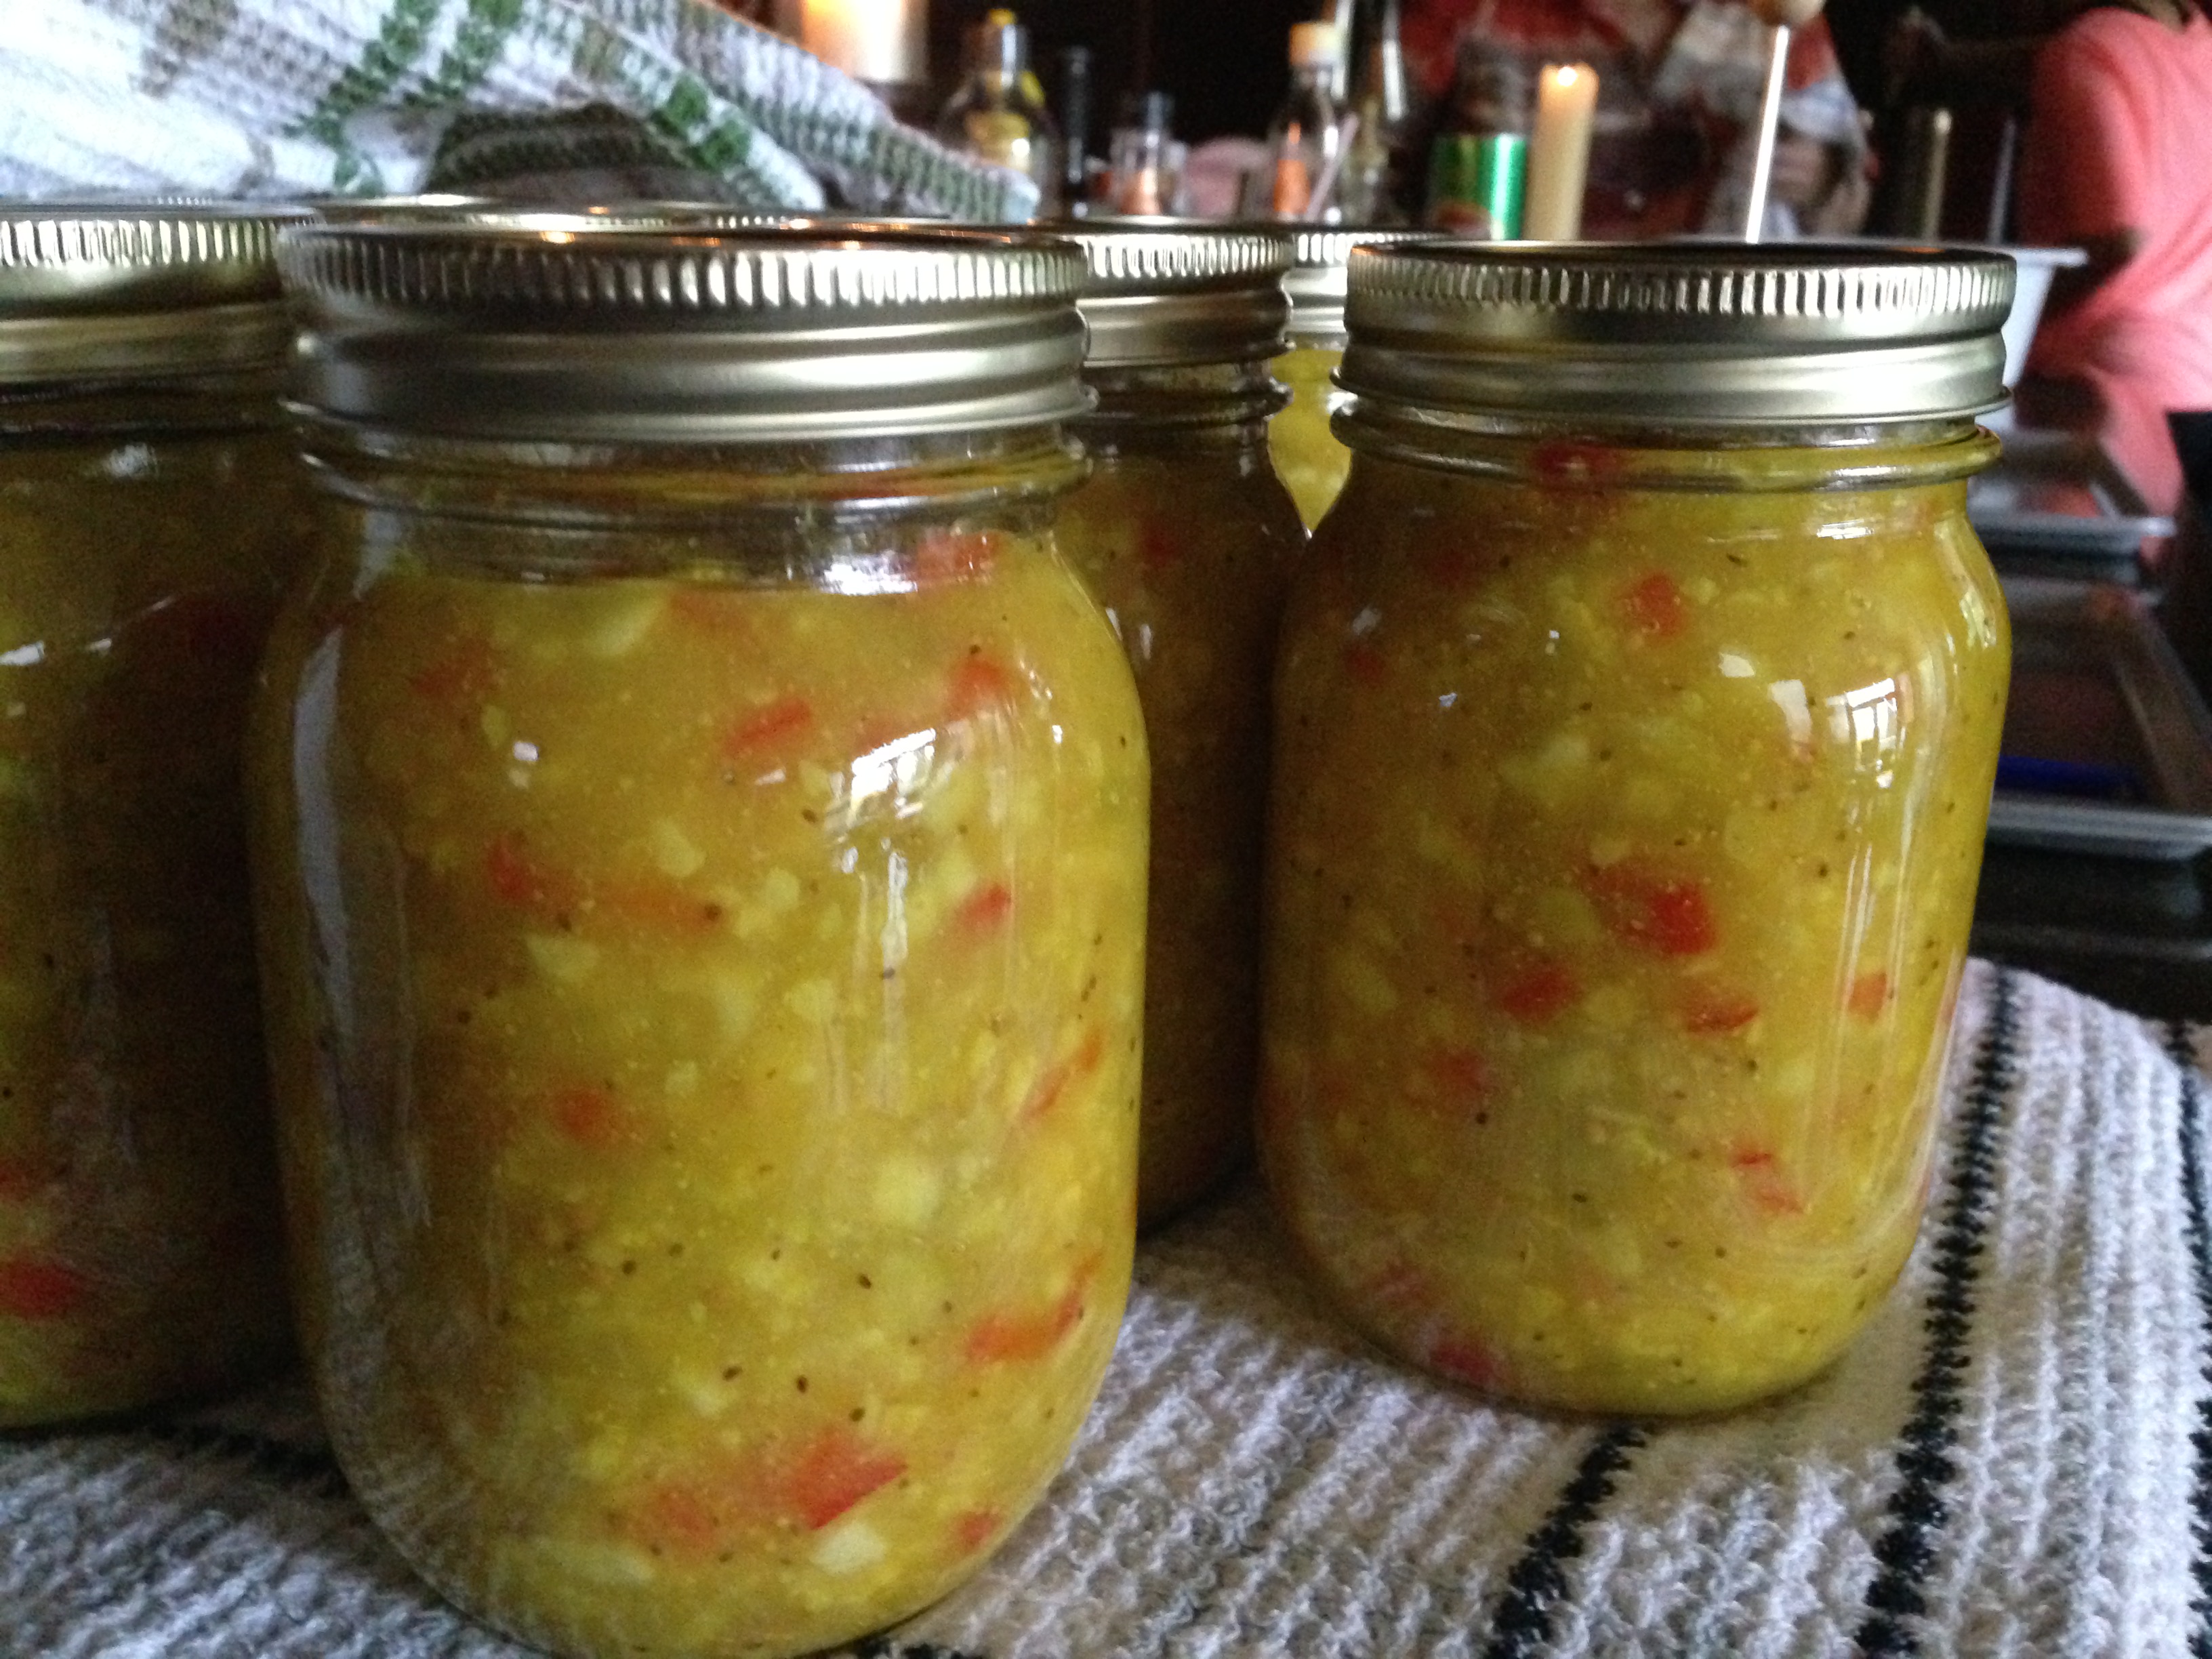
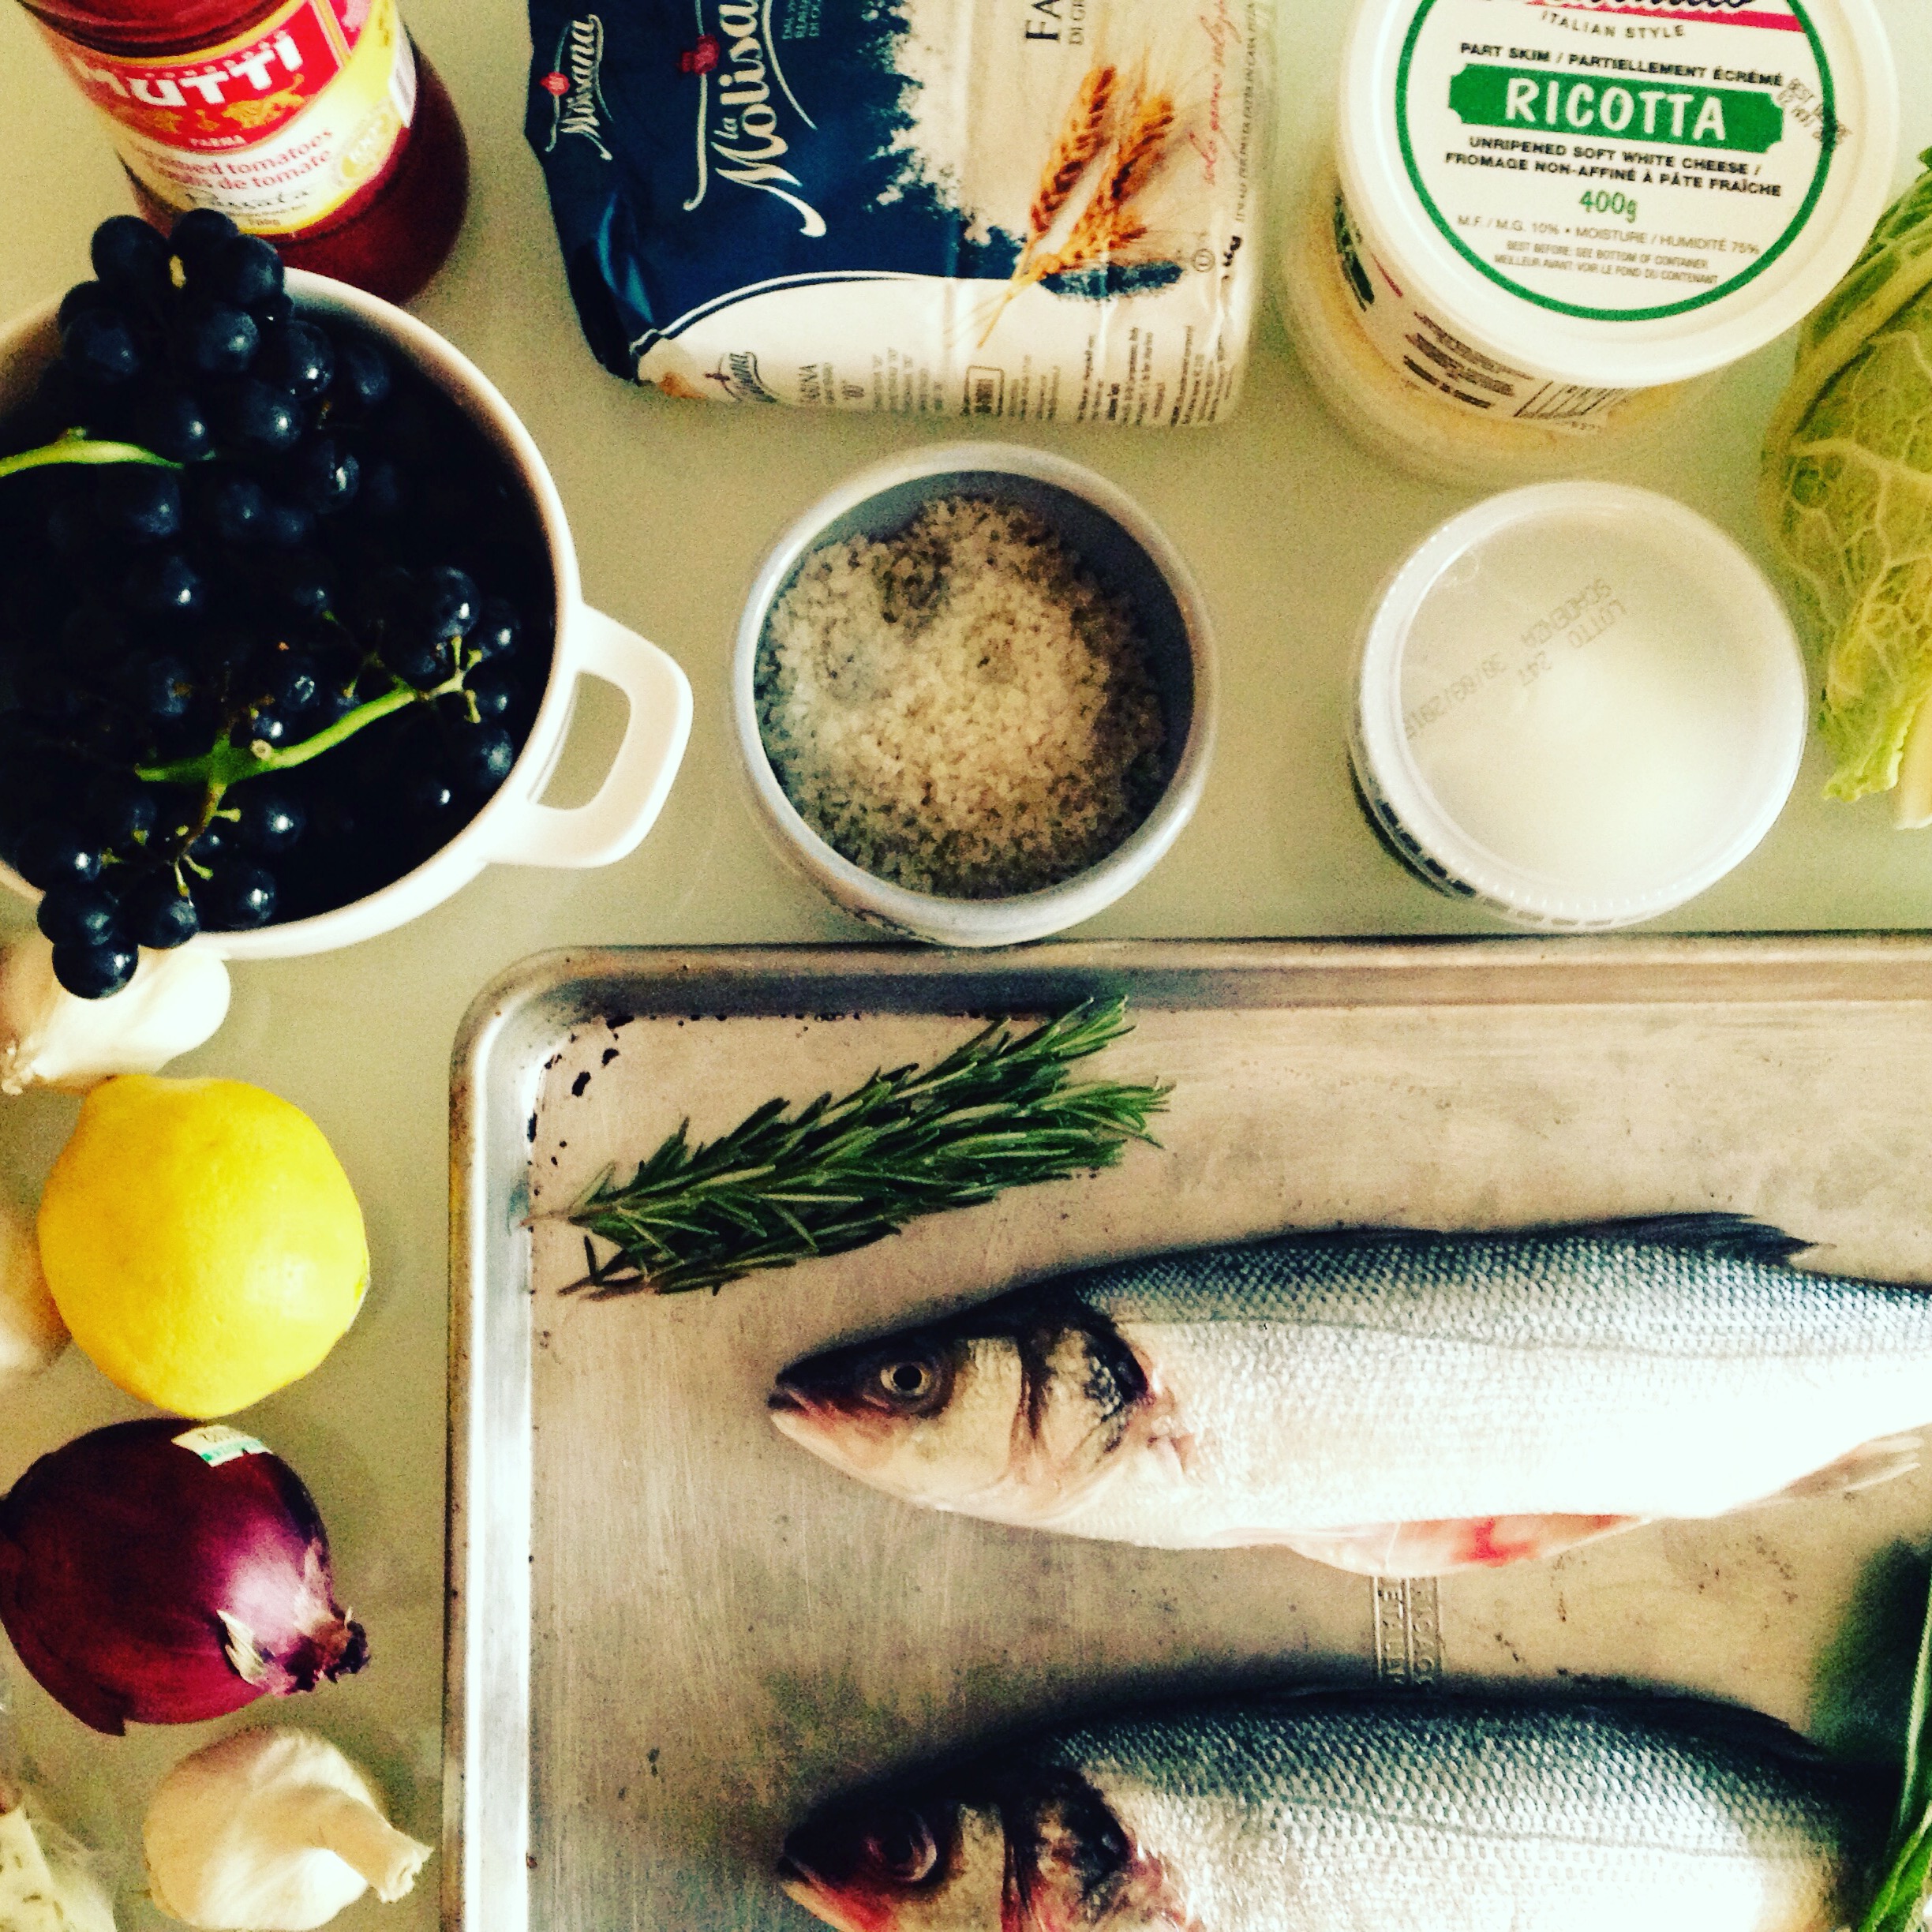
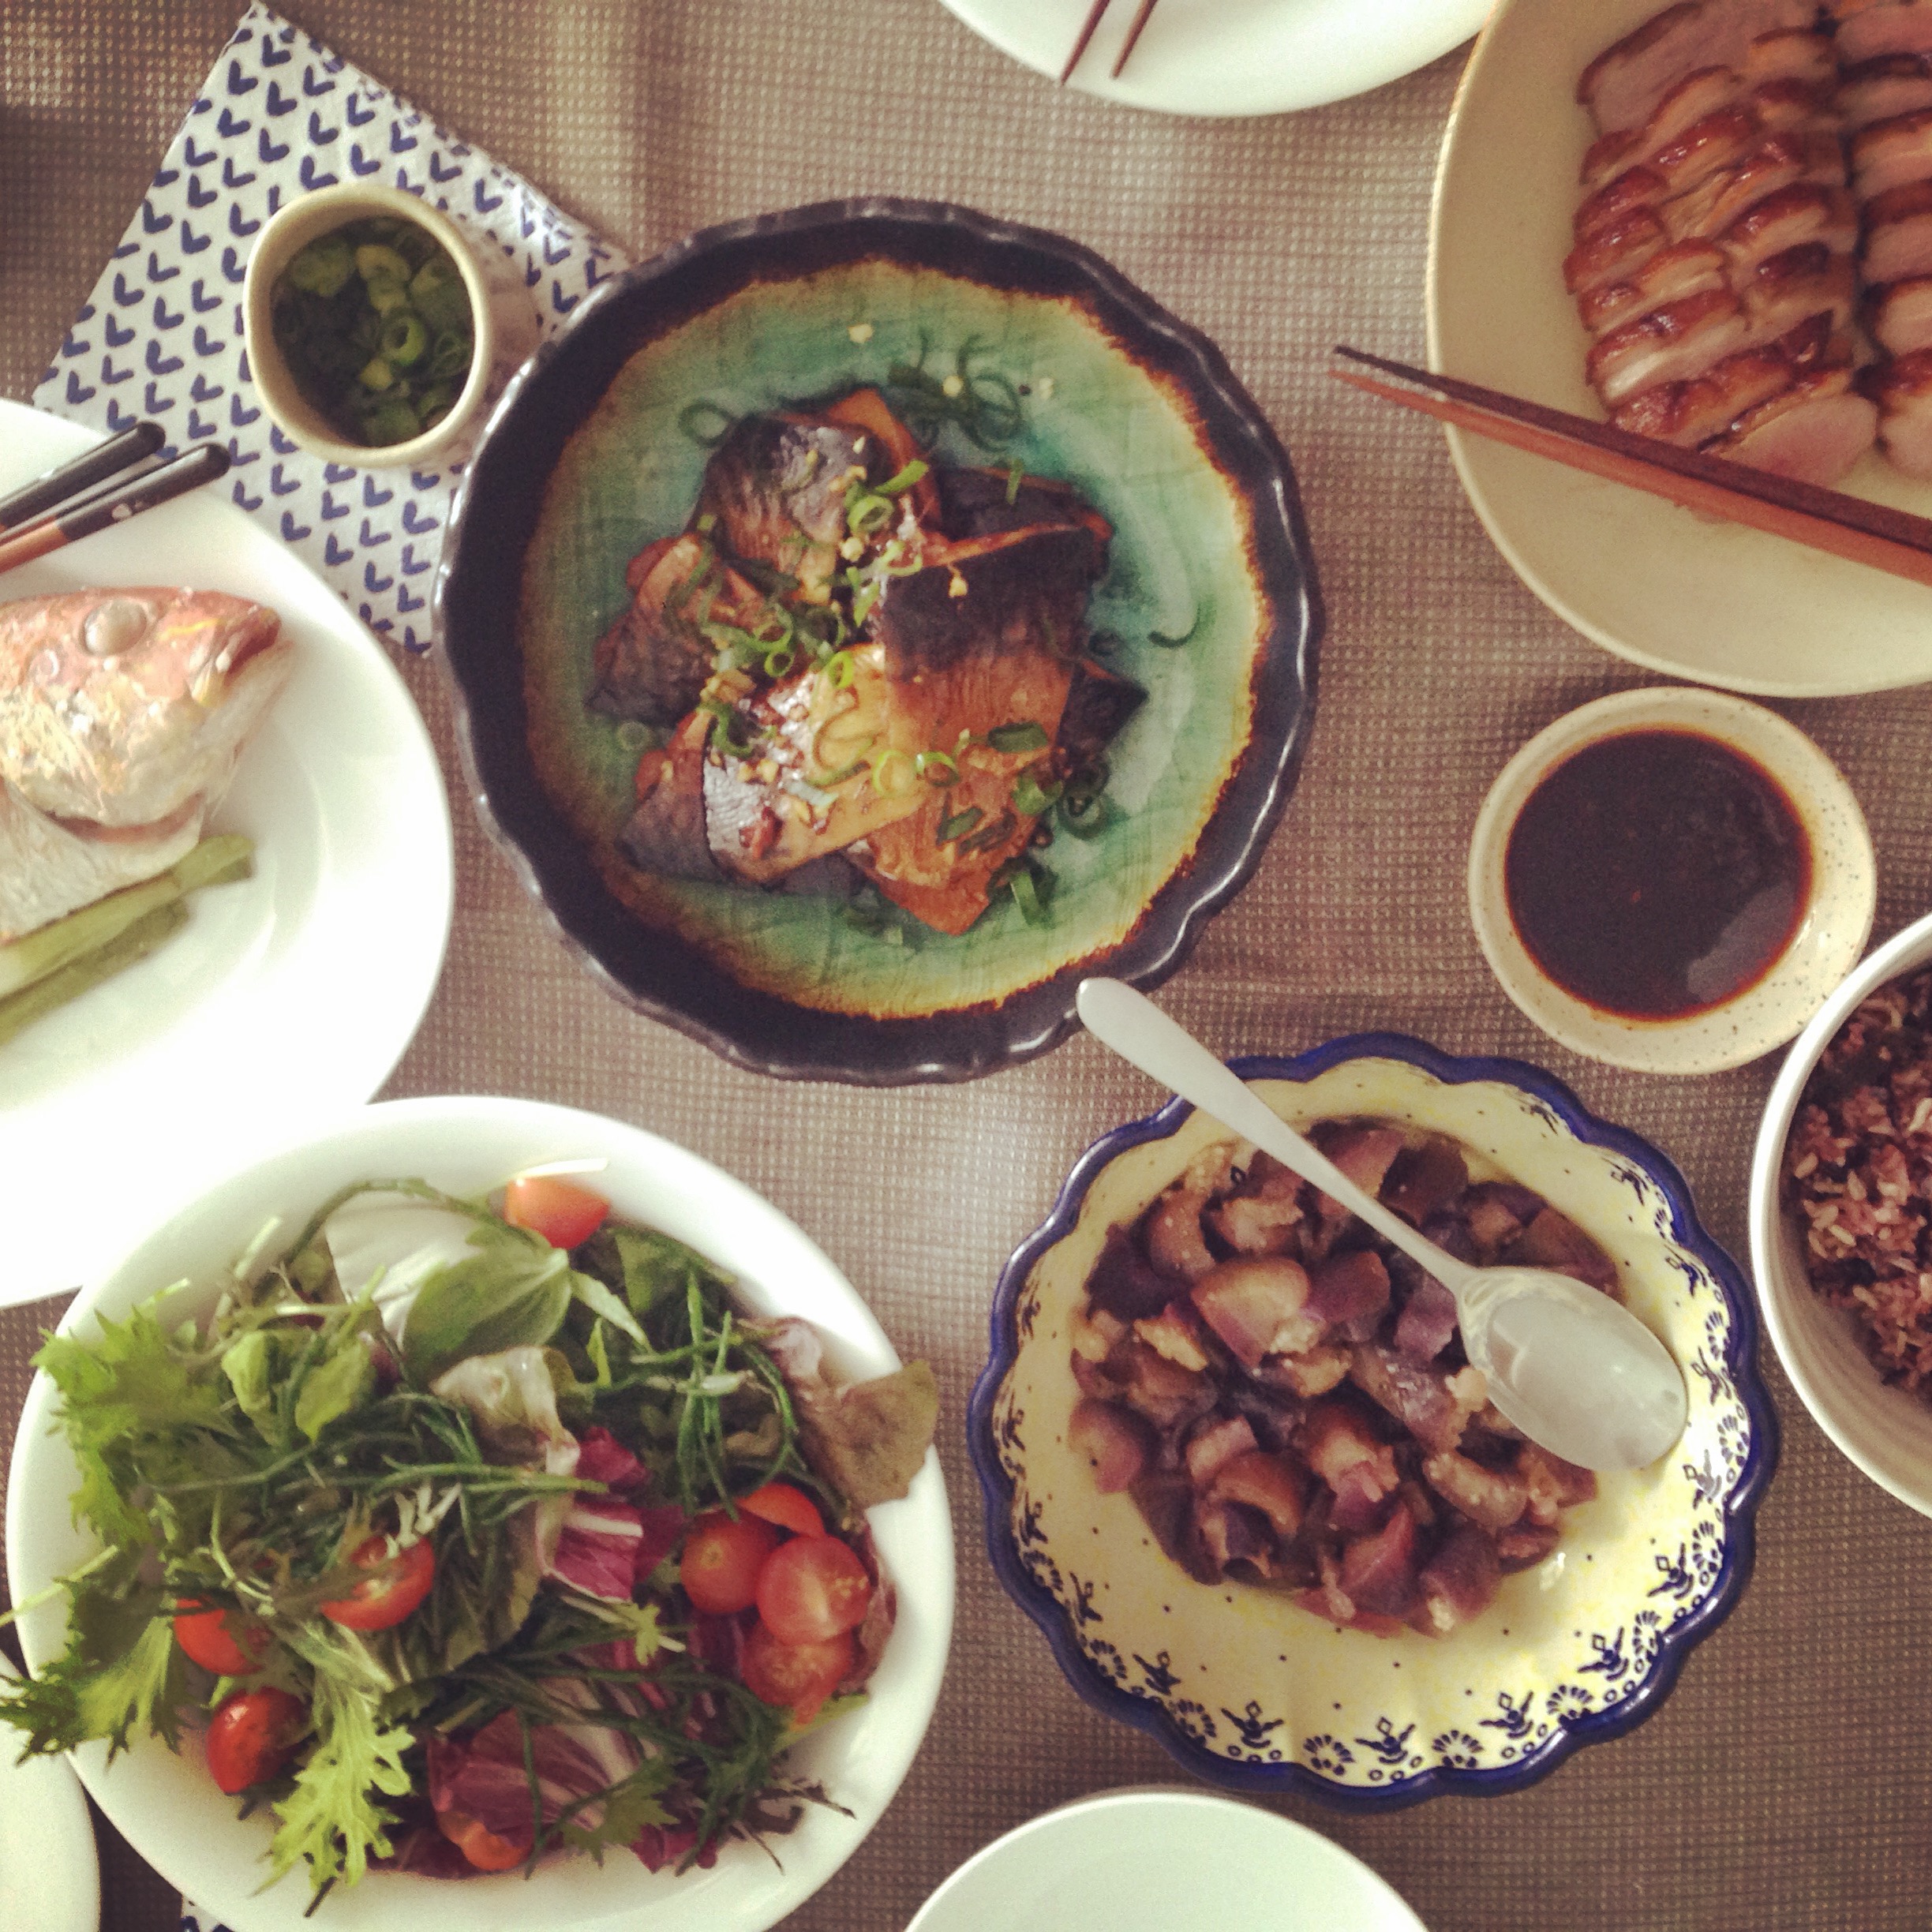
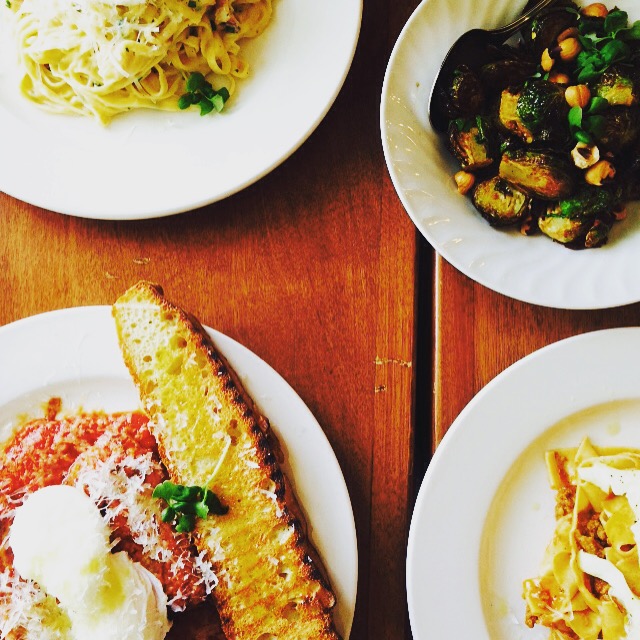
Spent time cooking and experimenting at home….

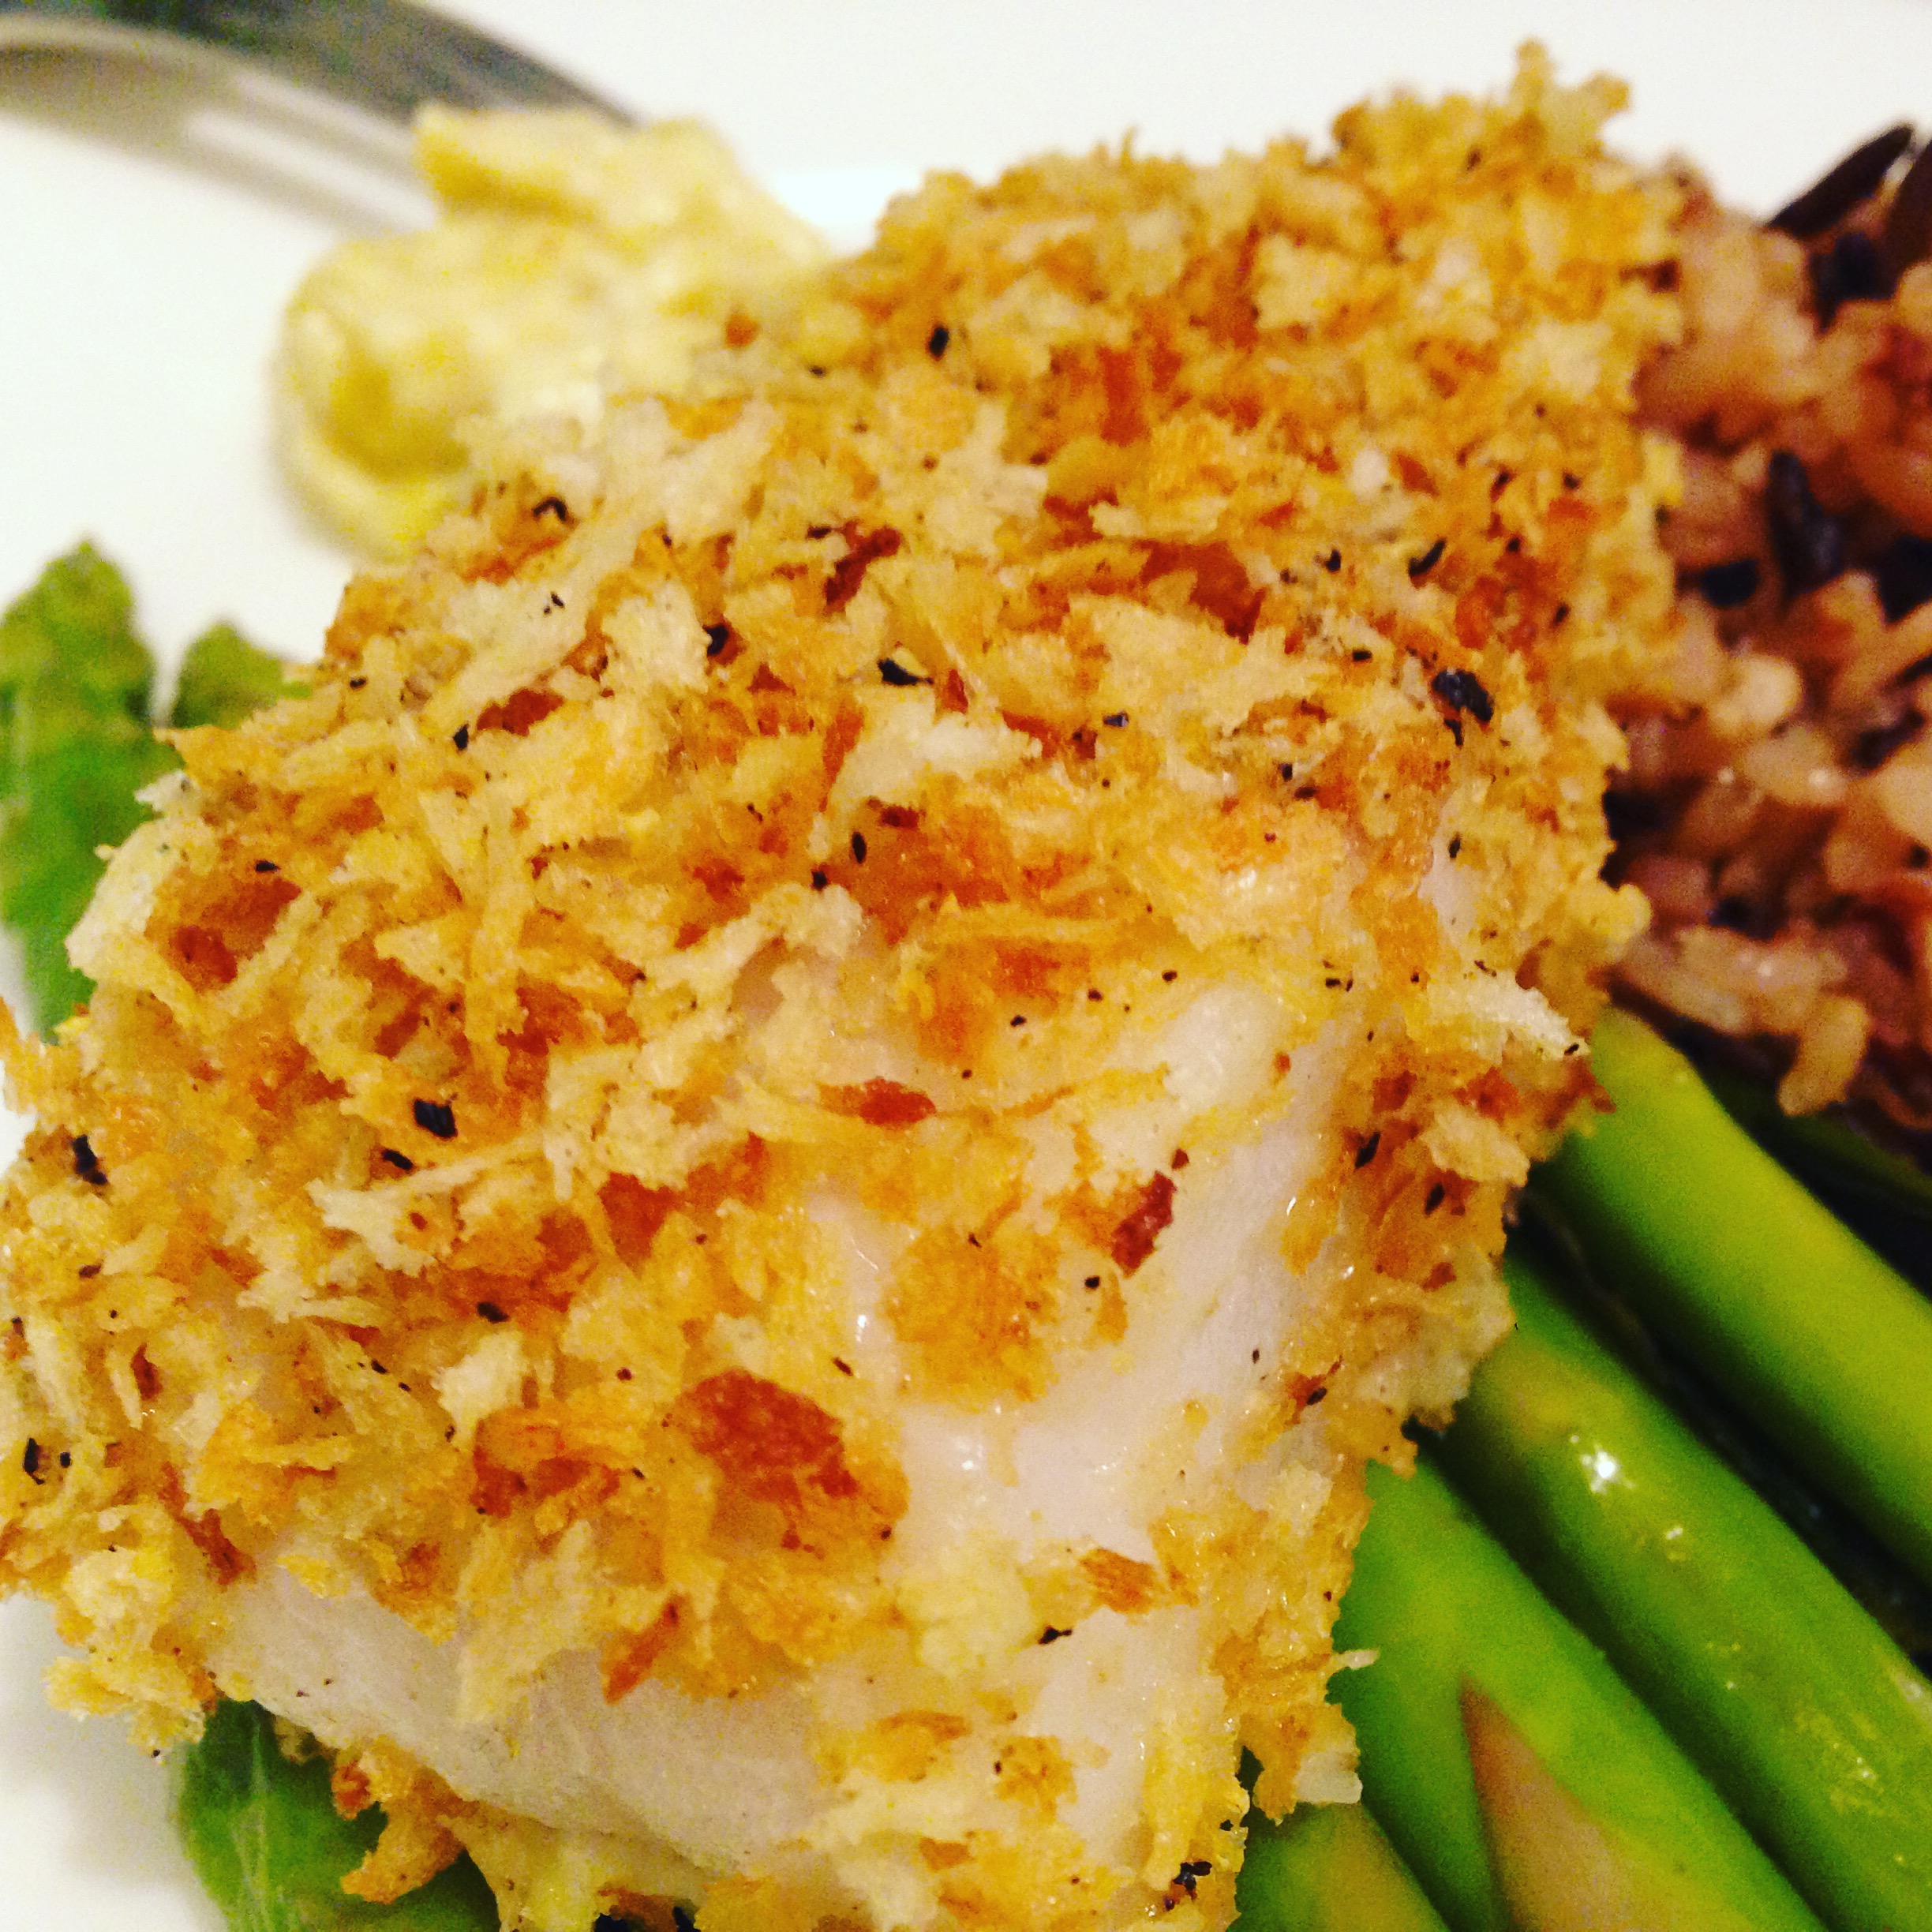
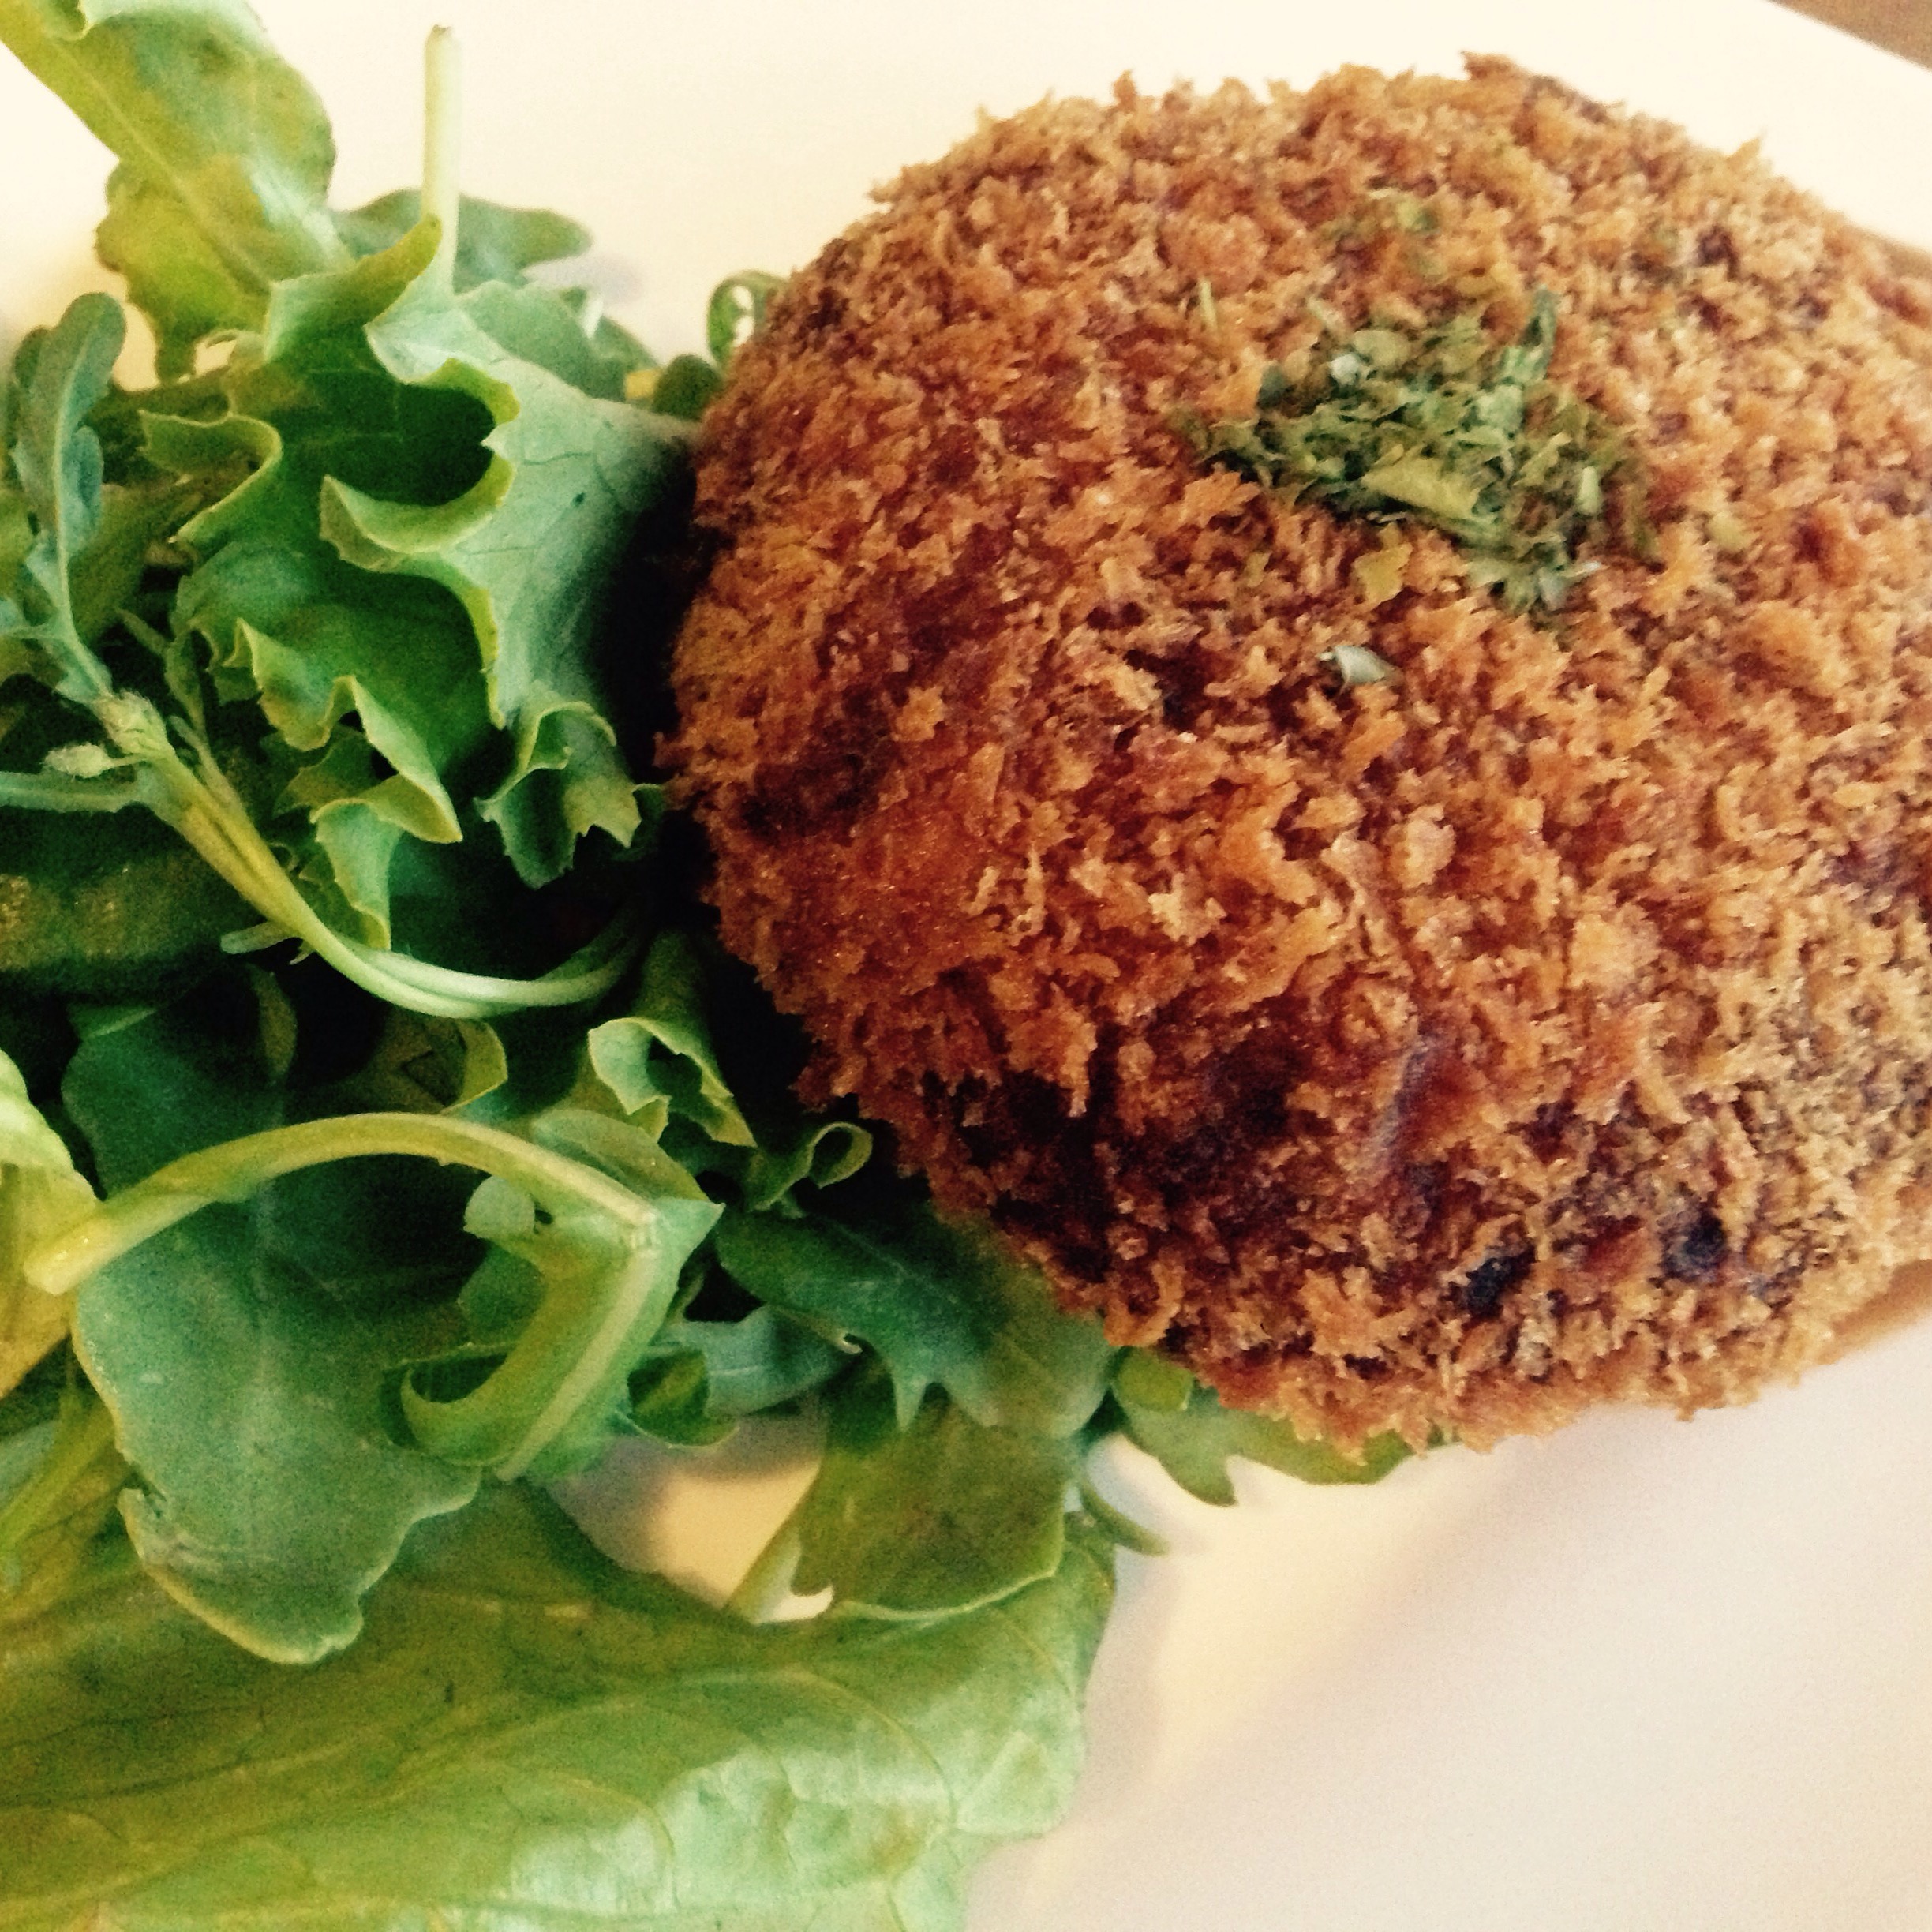
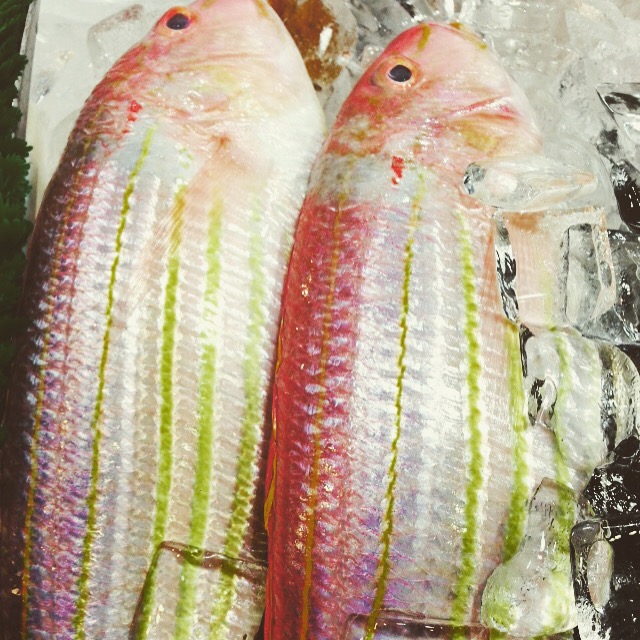
My take on “Fish without Chips”: Baked lemon pepper panko crusted cod : Last month I adapted Just One Cooking’s baked croquettes method and made some fabulous kabocha edamame croquettes at home; using the same stove-top browning method to prepare the panko (a little olive oil and medium low heat on a frying pan), I encrusted the beautiful cod I got from Seafood City (Granville Island Public Market) with lemon rind browned panko mix (flour/egg/panko), baked the fish in 350 degree F oven for approximately 10 minutes..served piping hot on a homemade relish mayo sauce (OJAI lemonaise + greek yogurt + homemade relish)…now I just have to get those “yam fries” in next time (OO)

IMG_9242

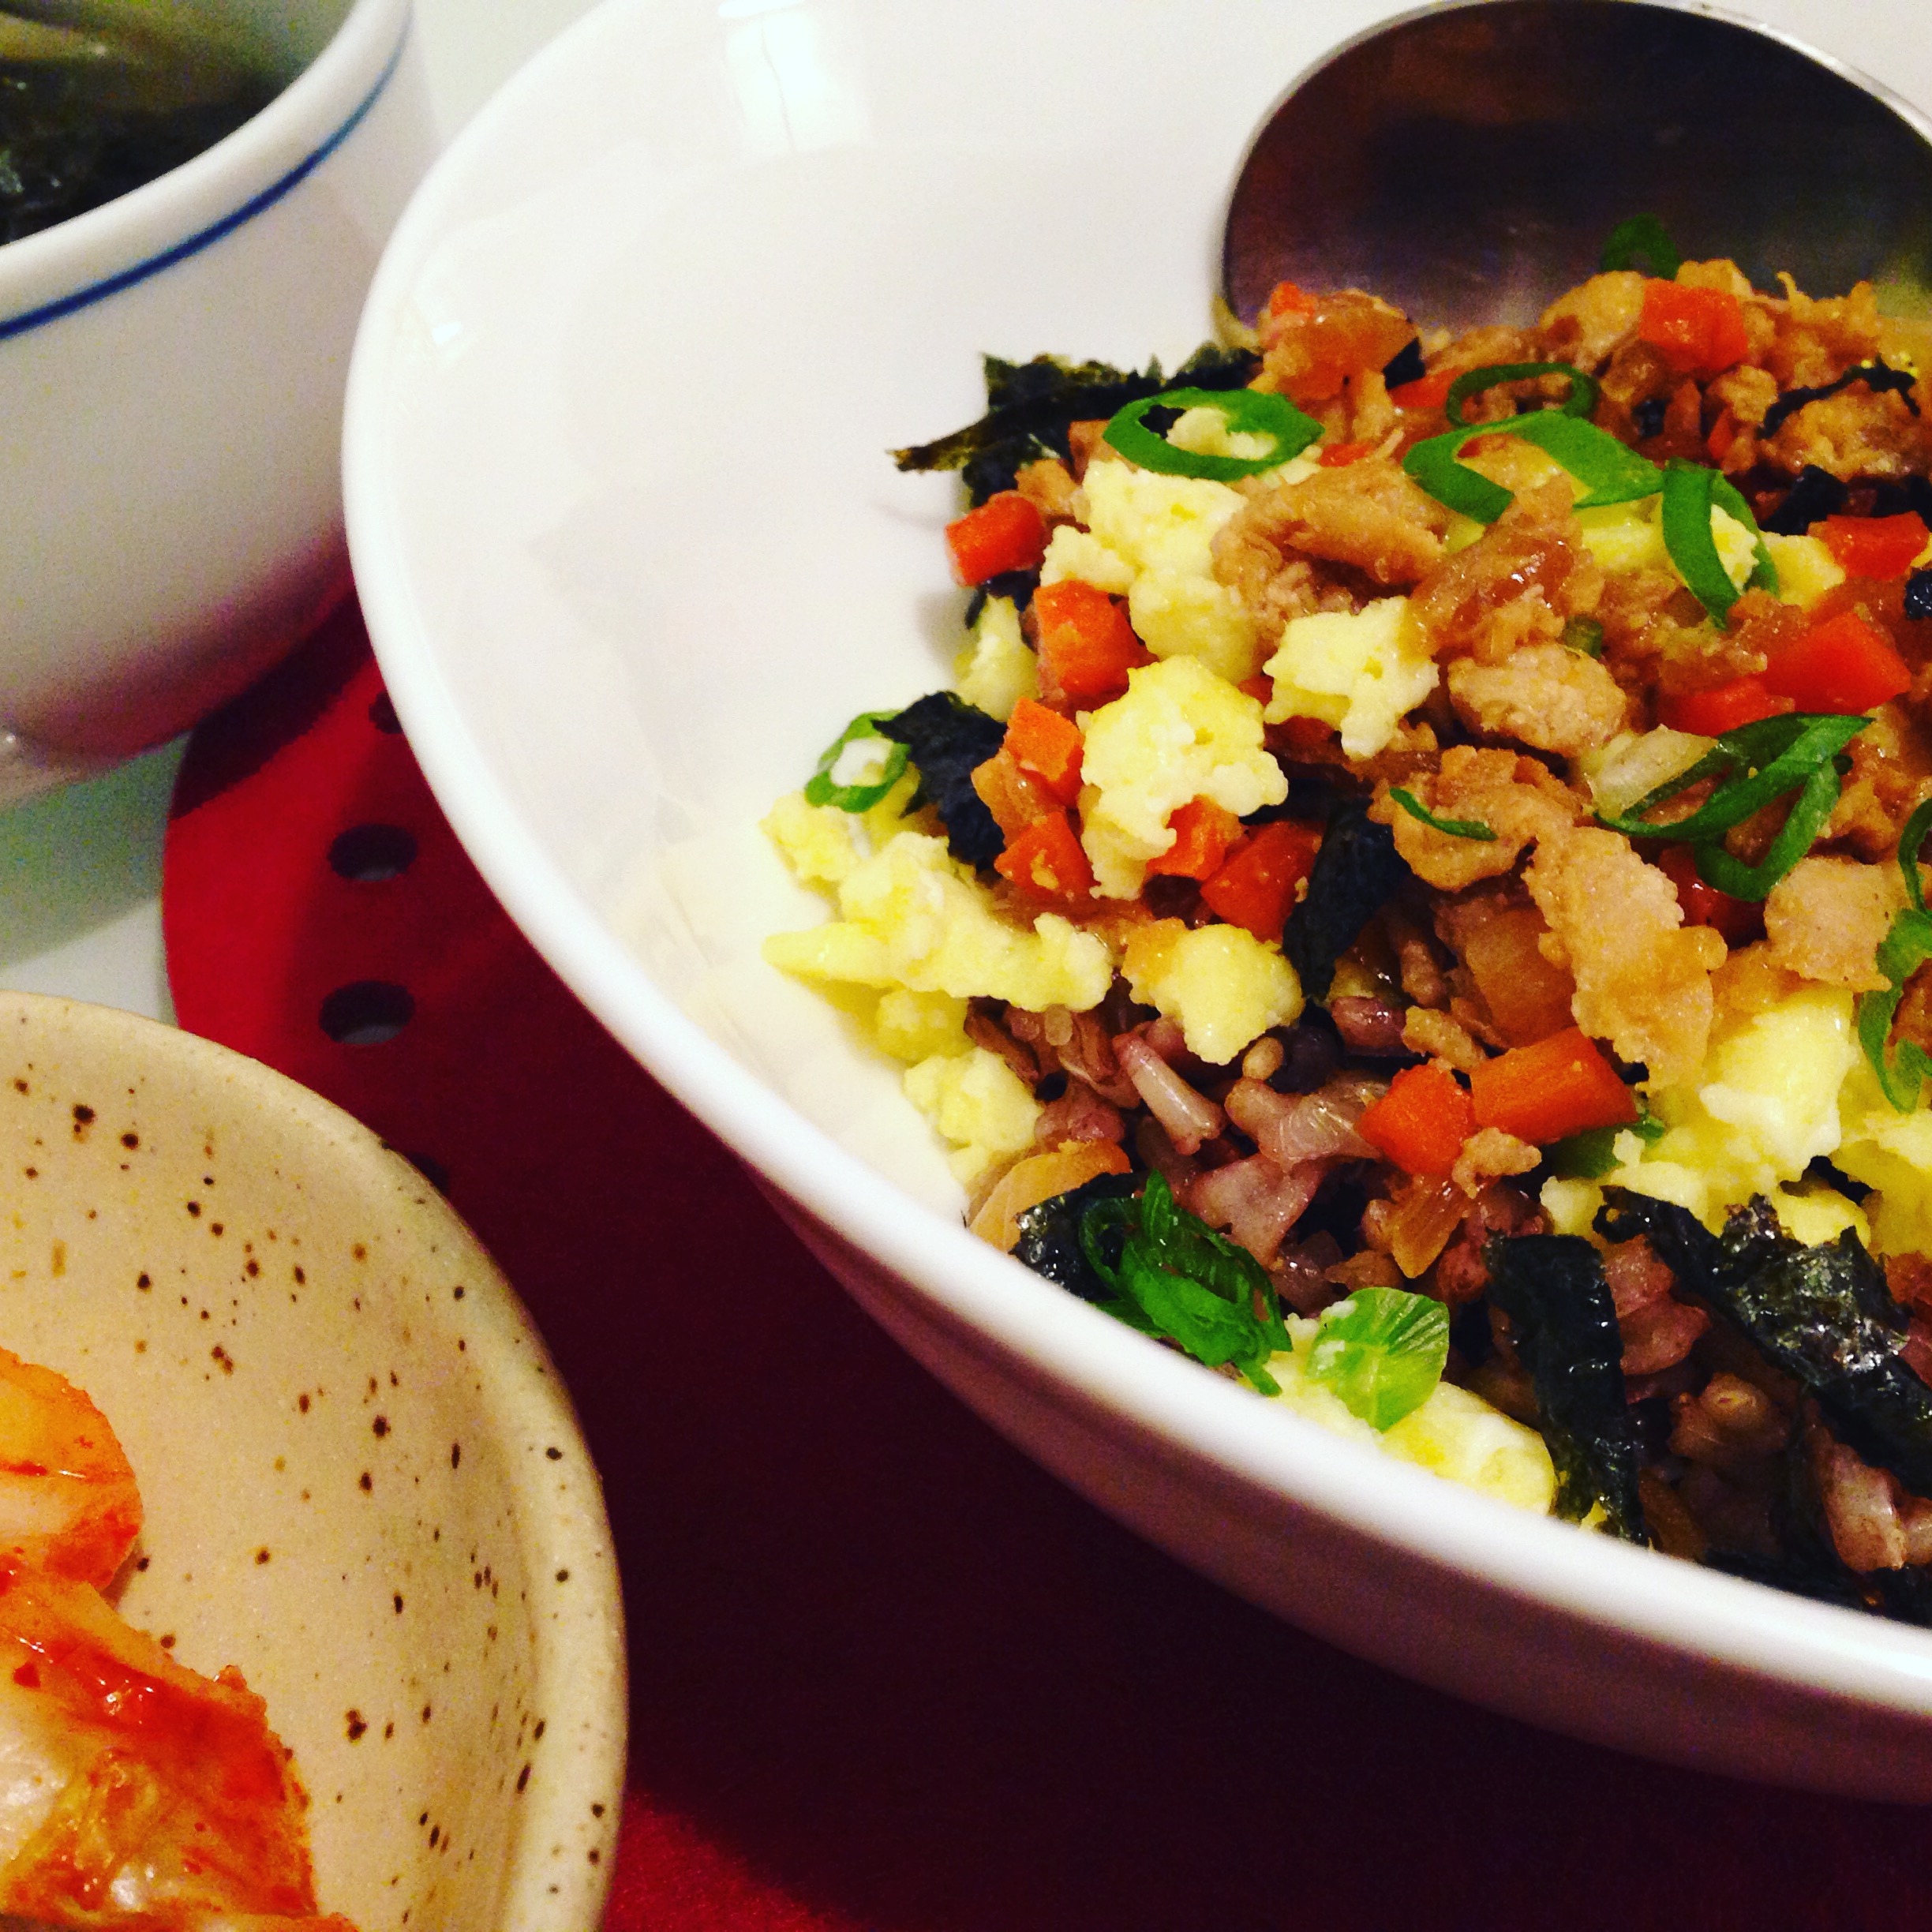
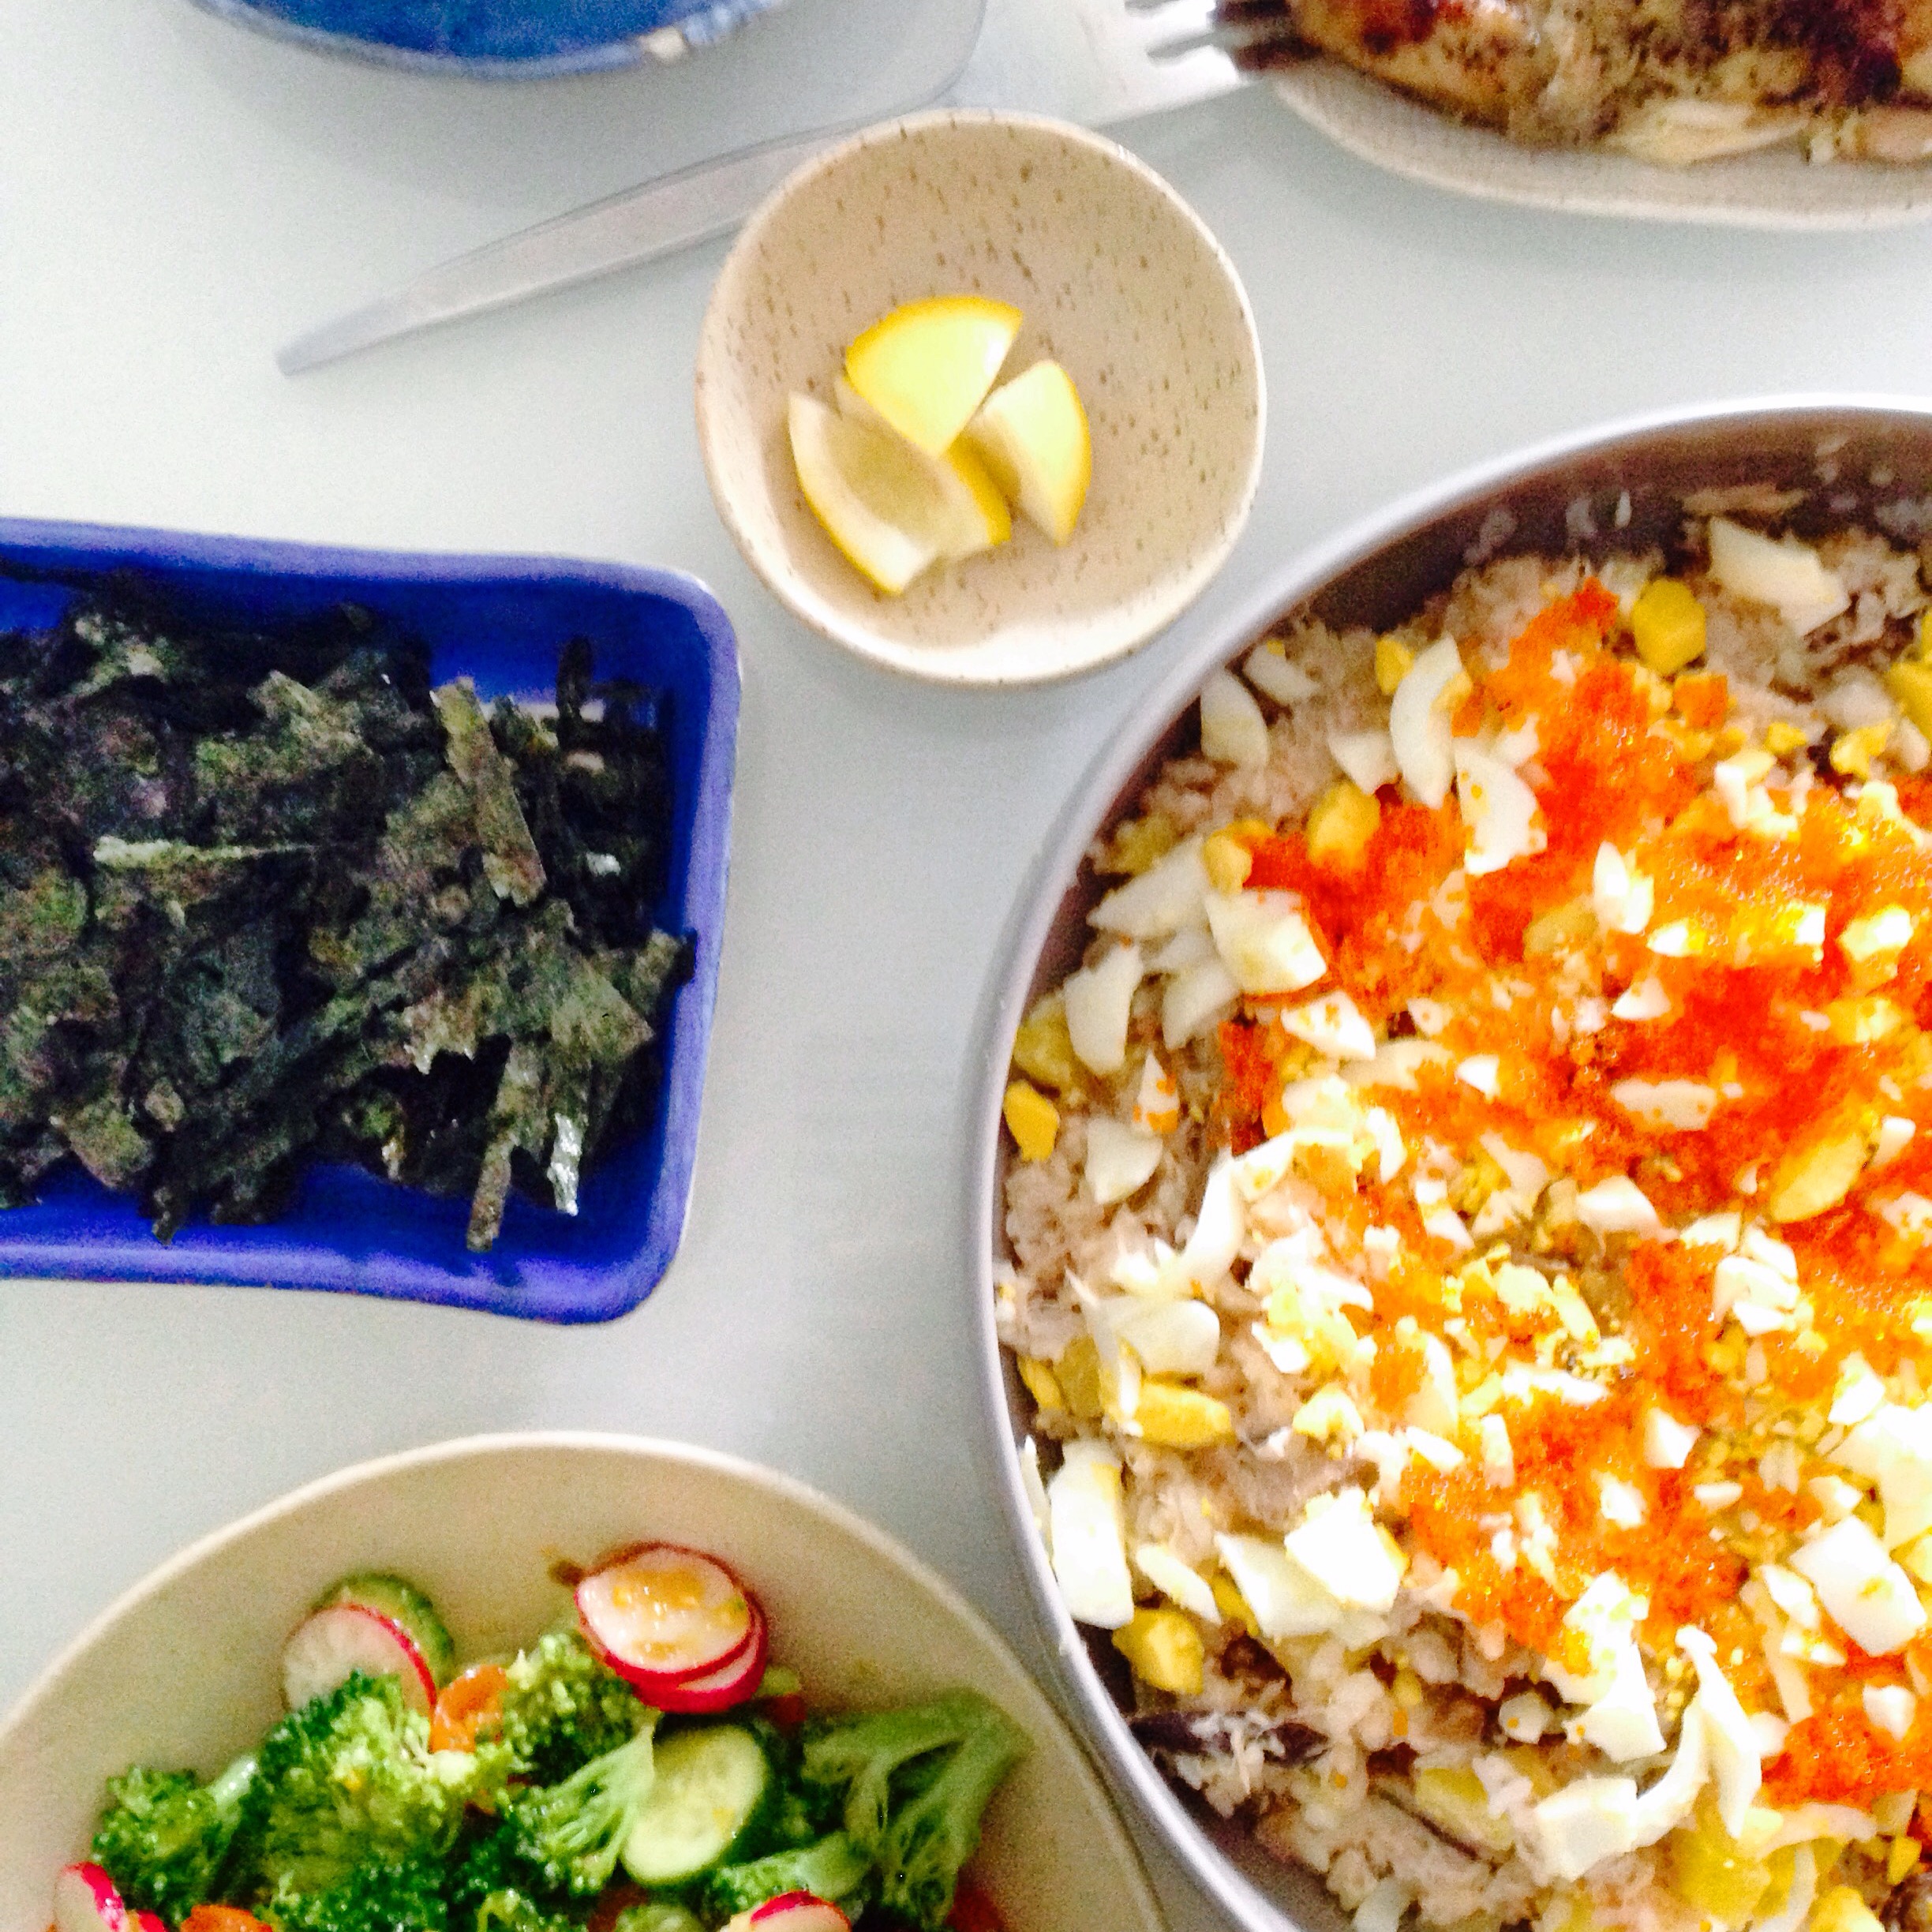
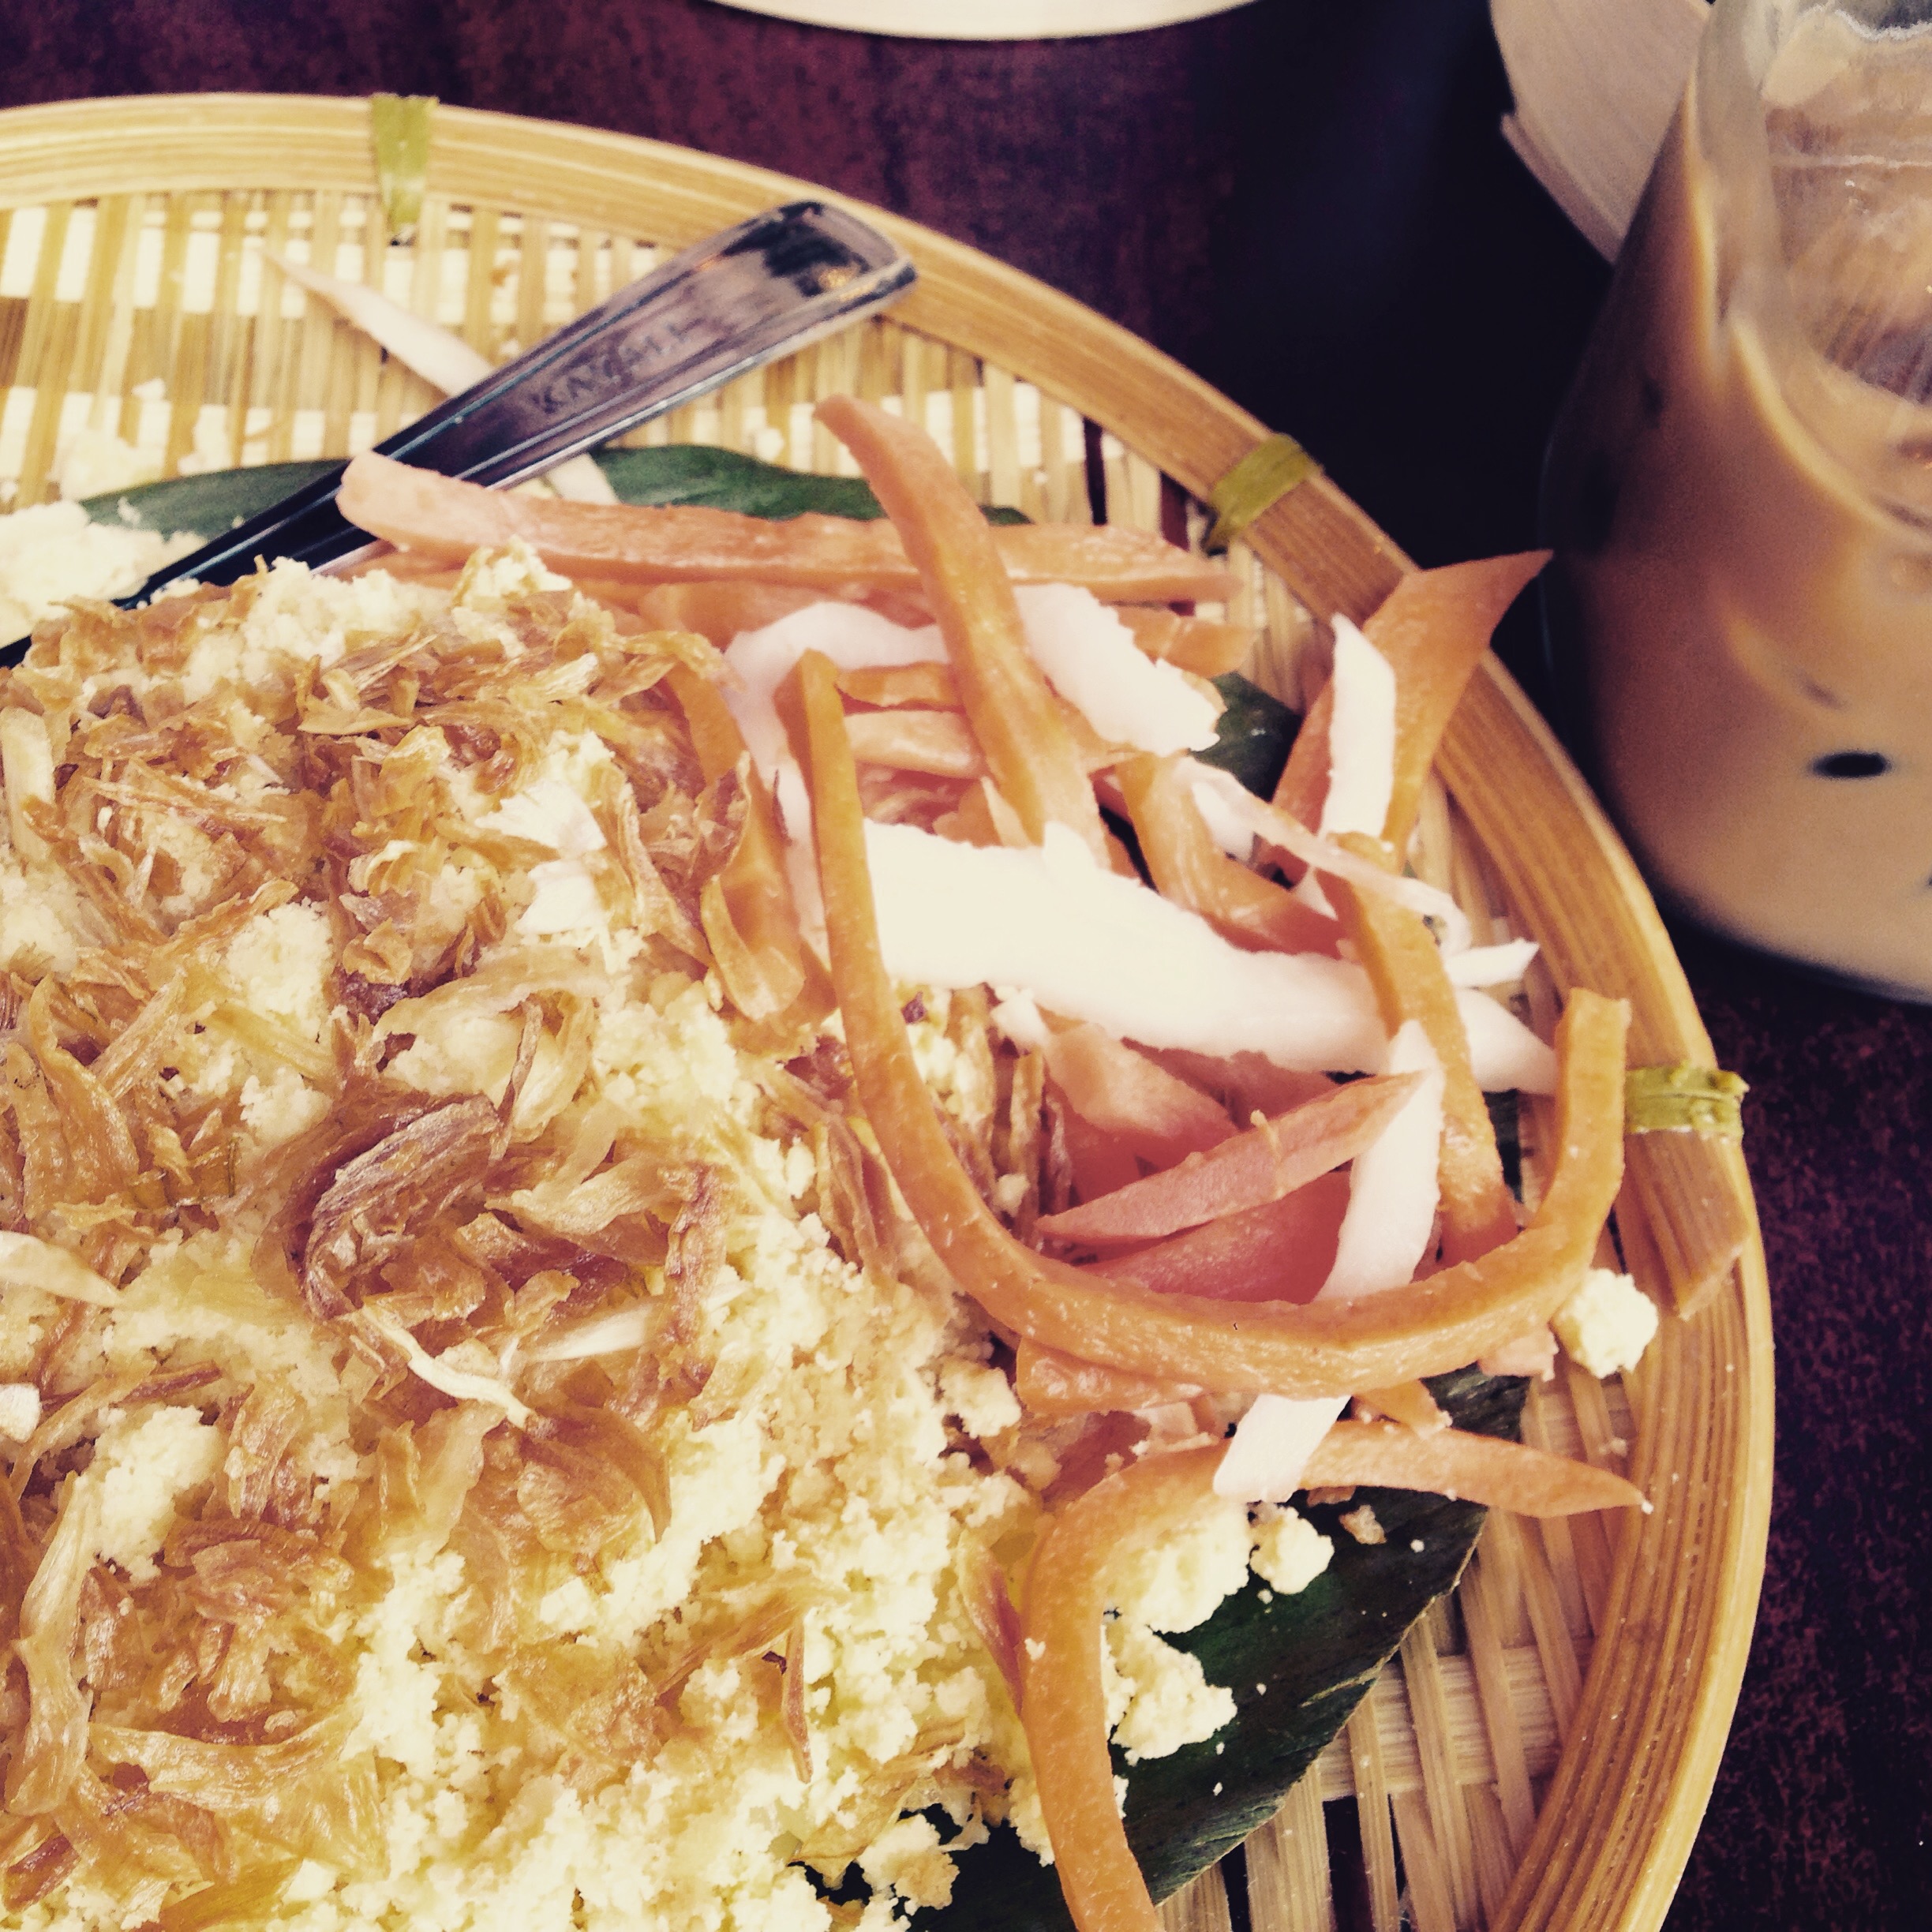
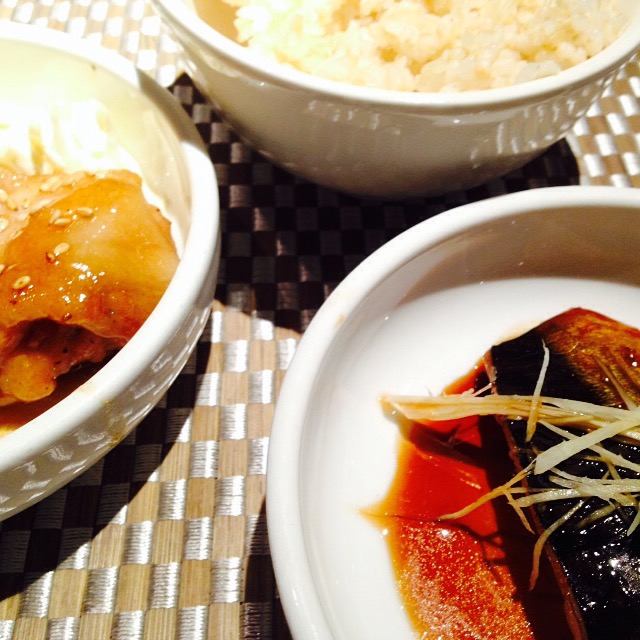
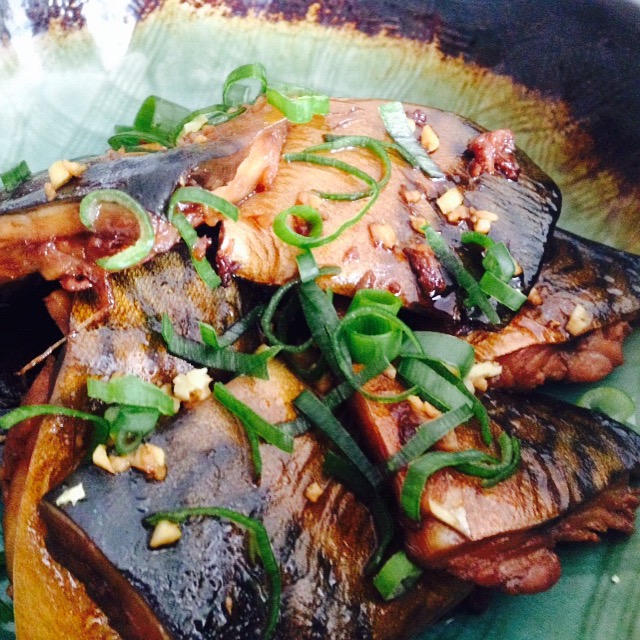
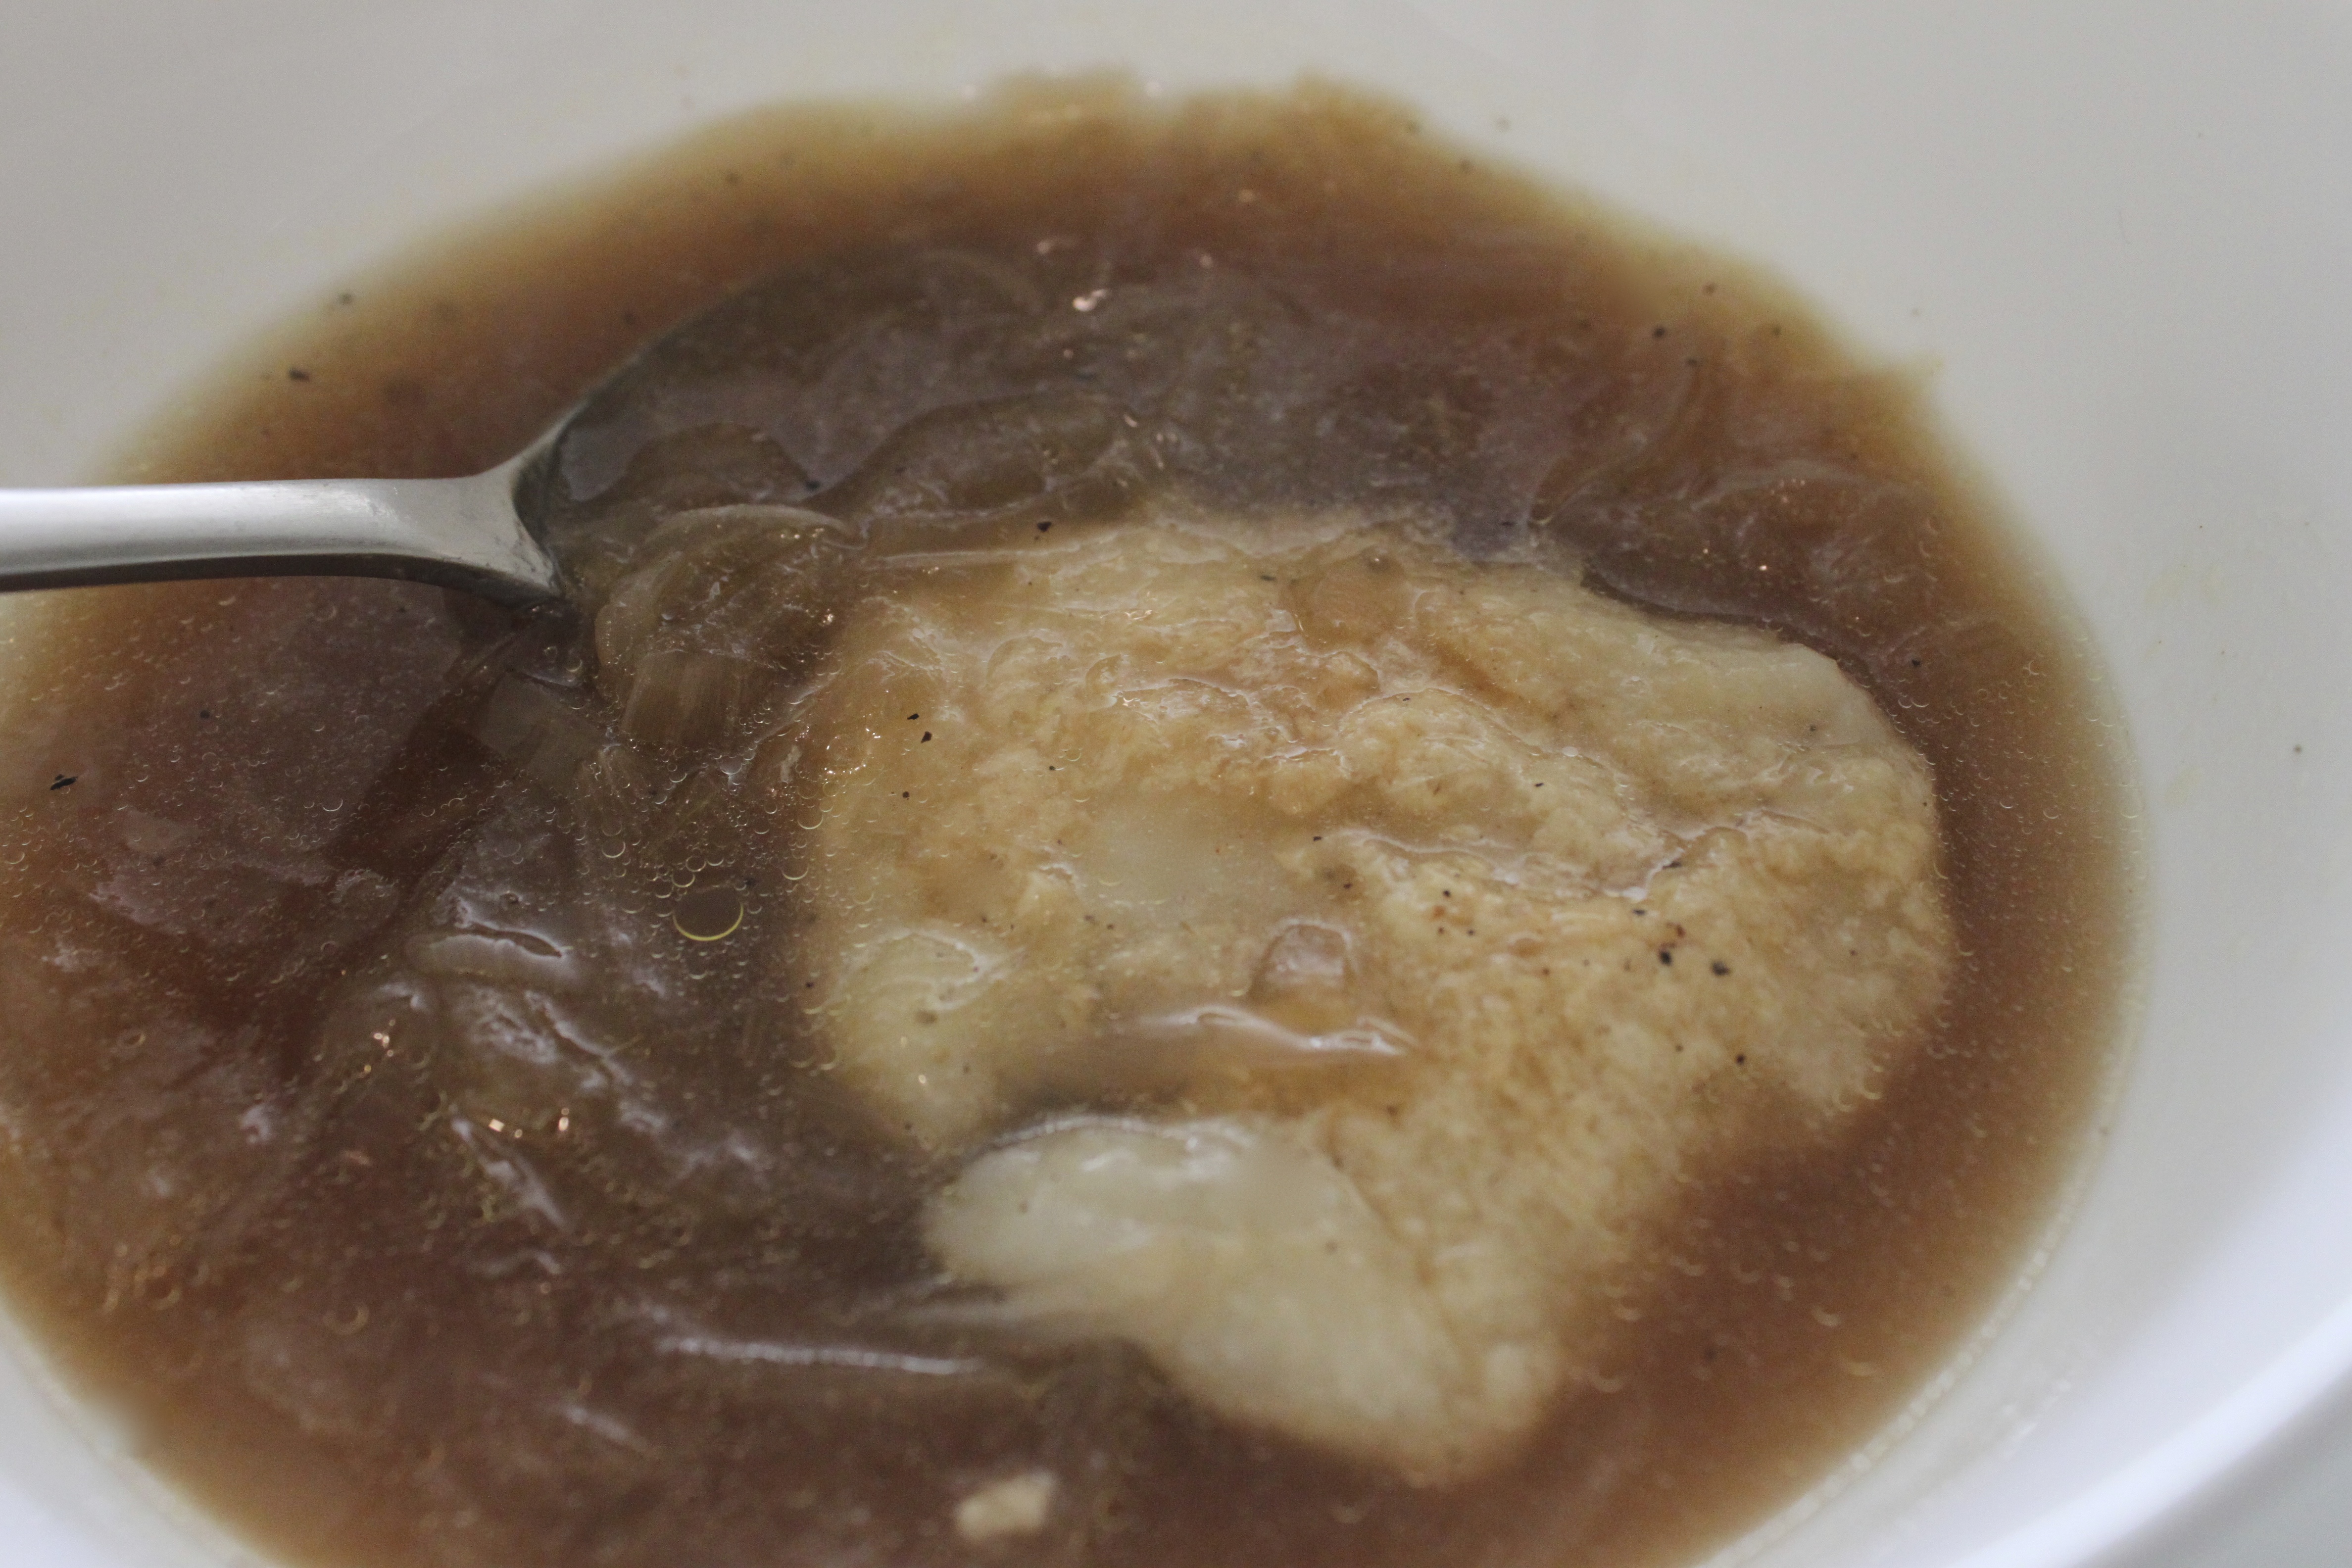
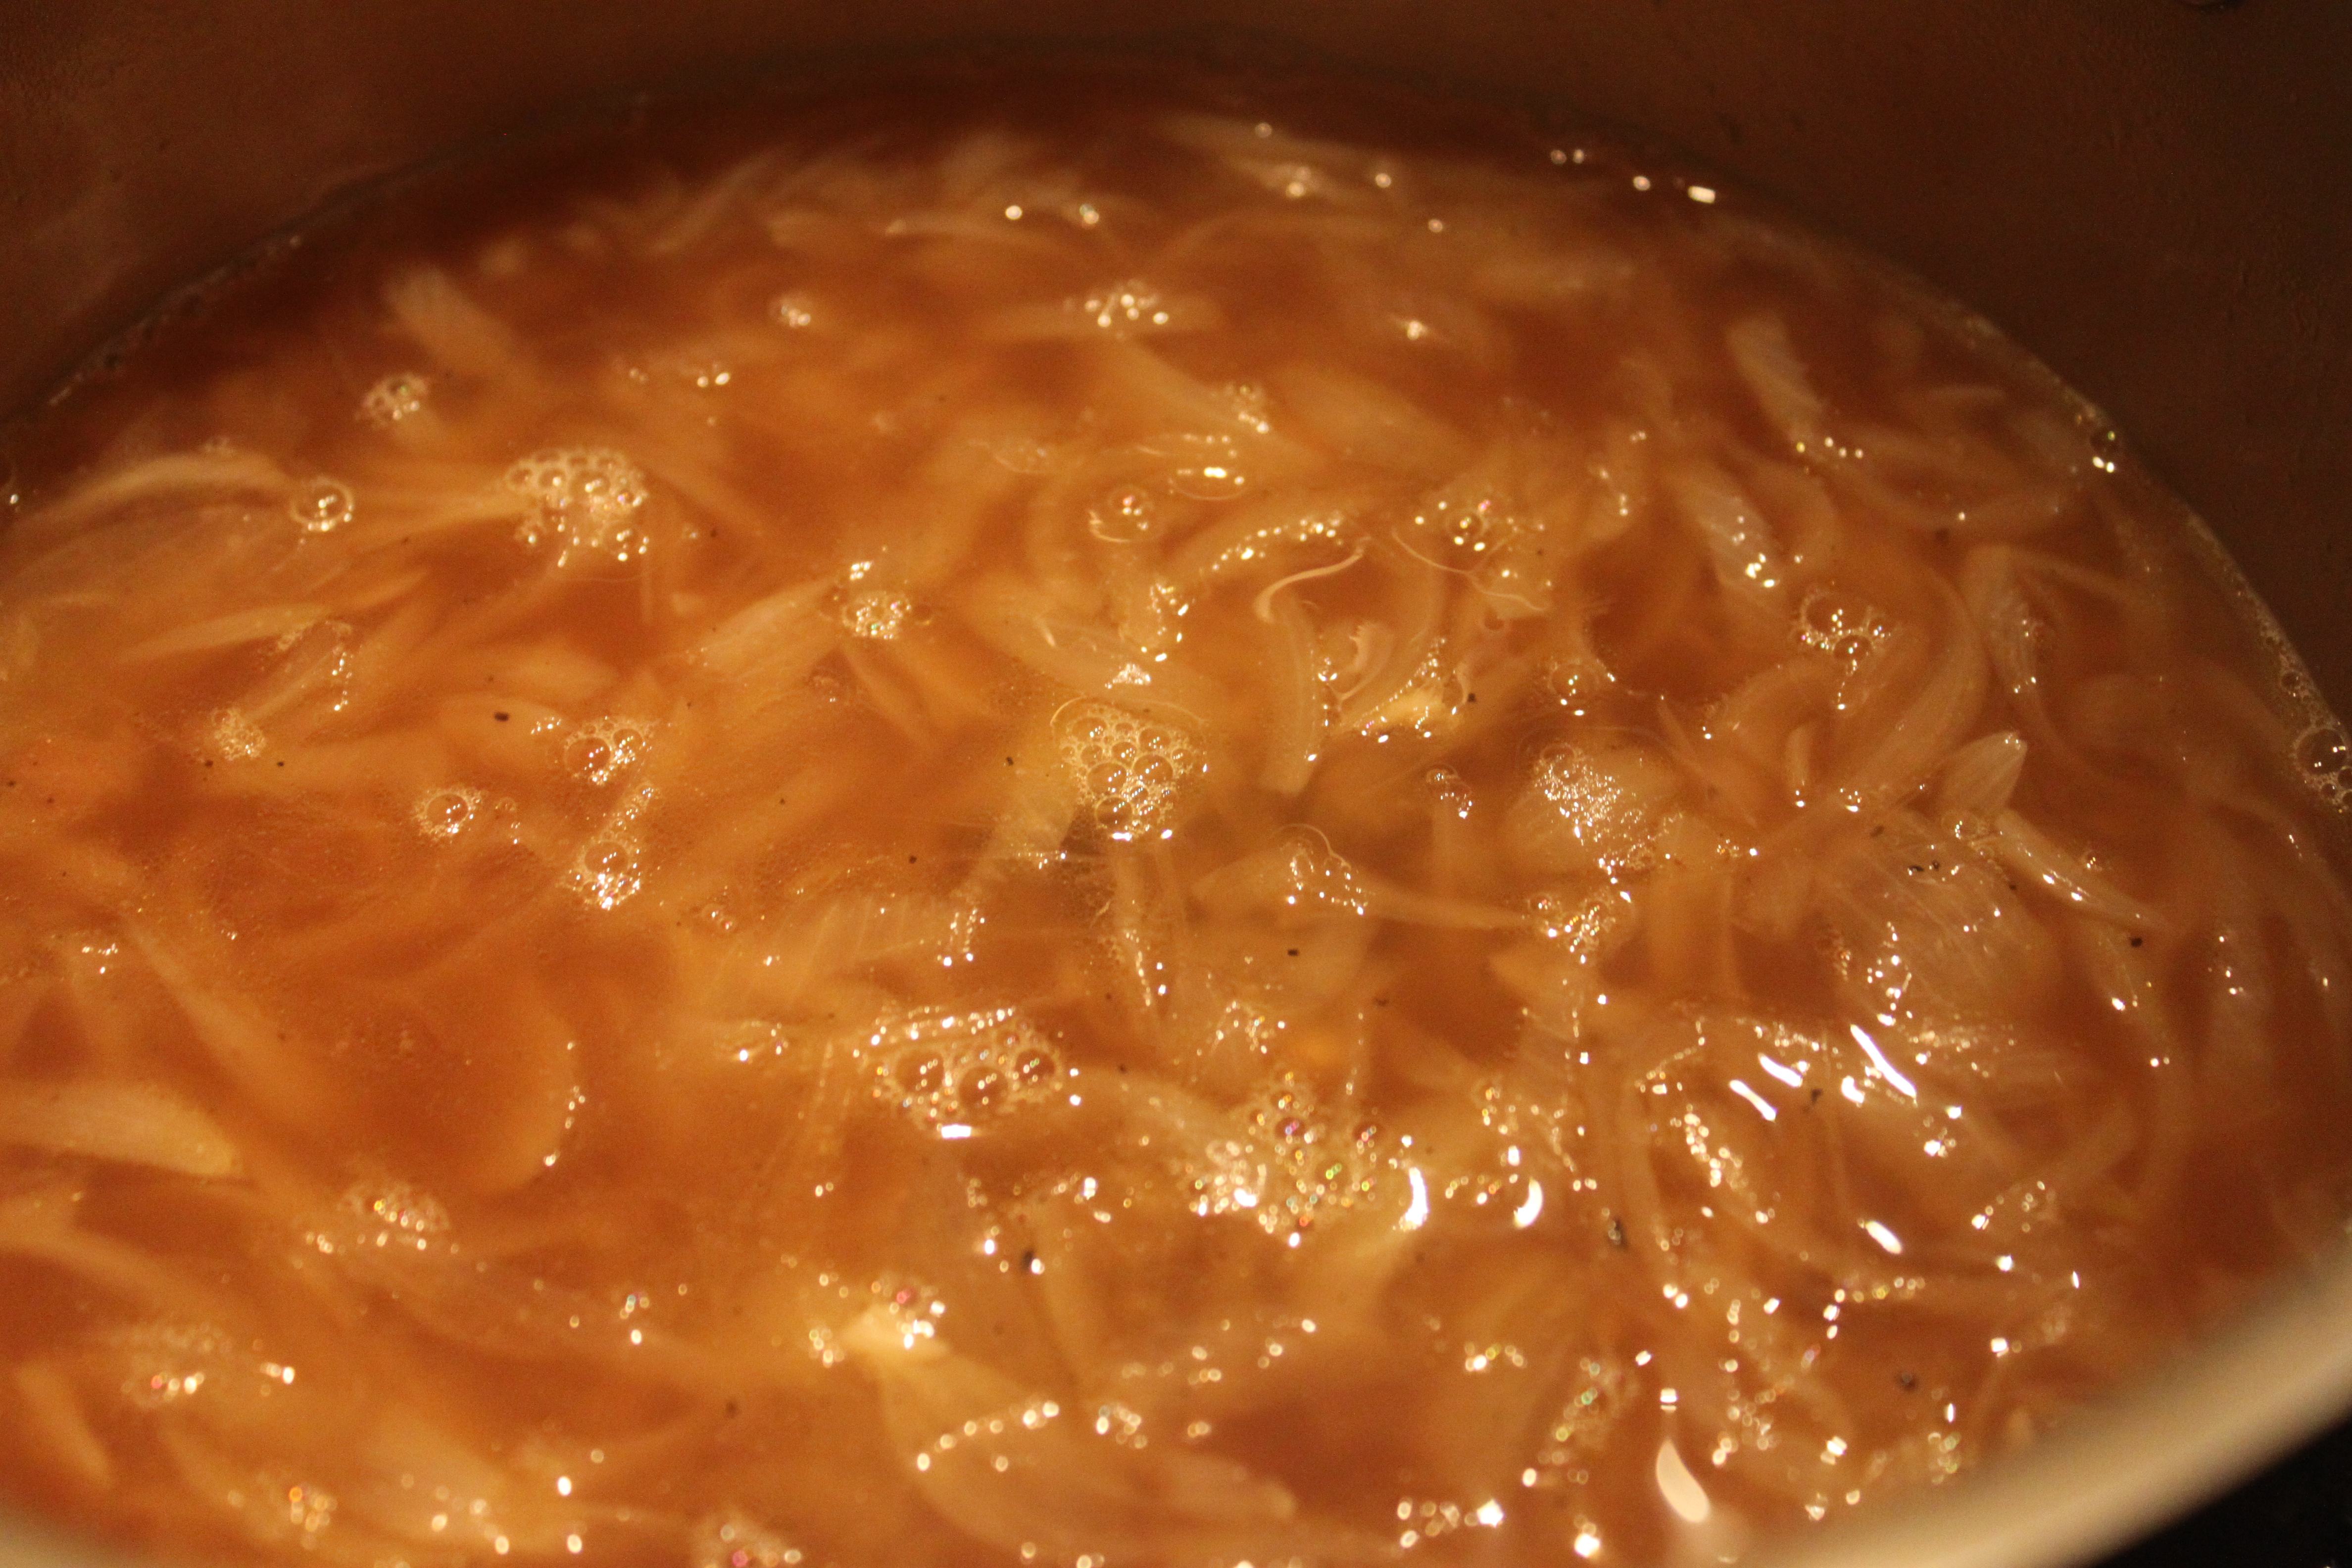
It has been a while since I made Saba (mackerel) Soboro (Flaked Mackerel with carrots, onions and scrambled egg, check my recipe posting in the archives February 2014)…This one is for you: Shin, Teru and Rinka, we miss you!

IMG_9433

http://www.seafoodcitygi.com

http://www.granvilleisland.com

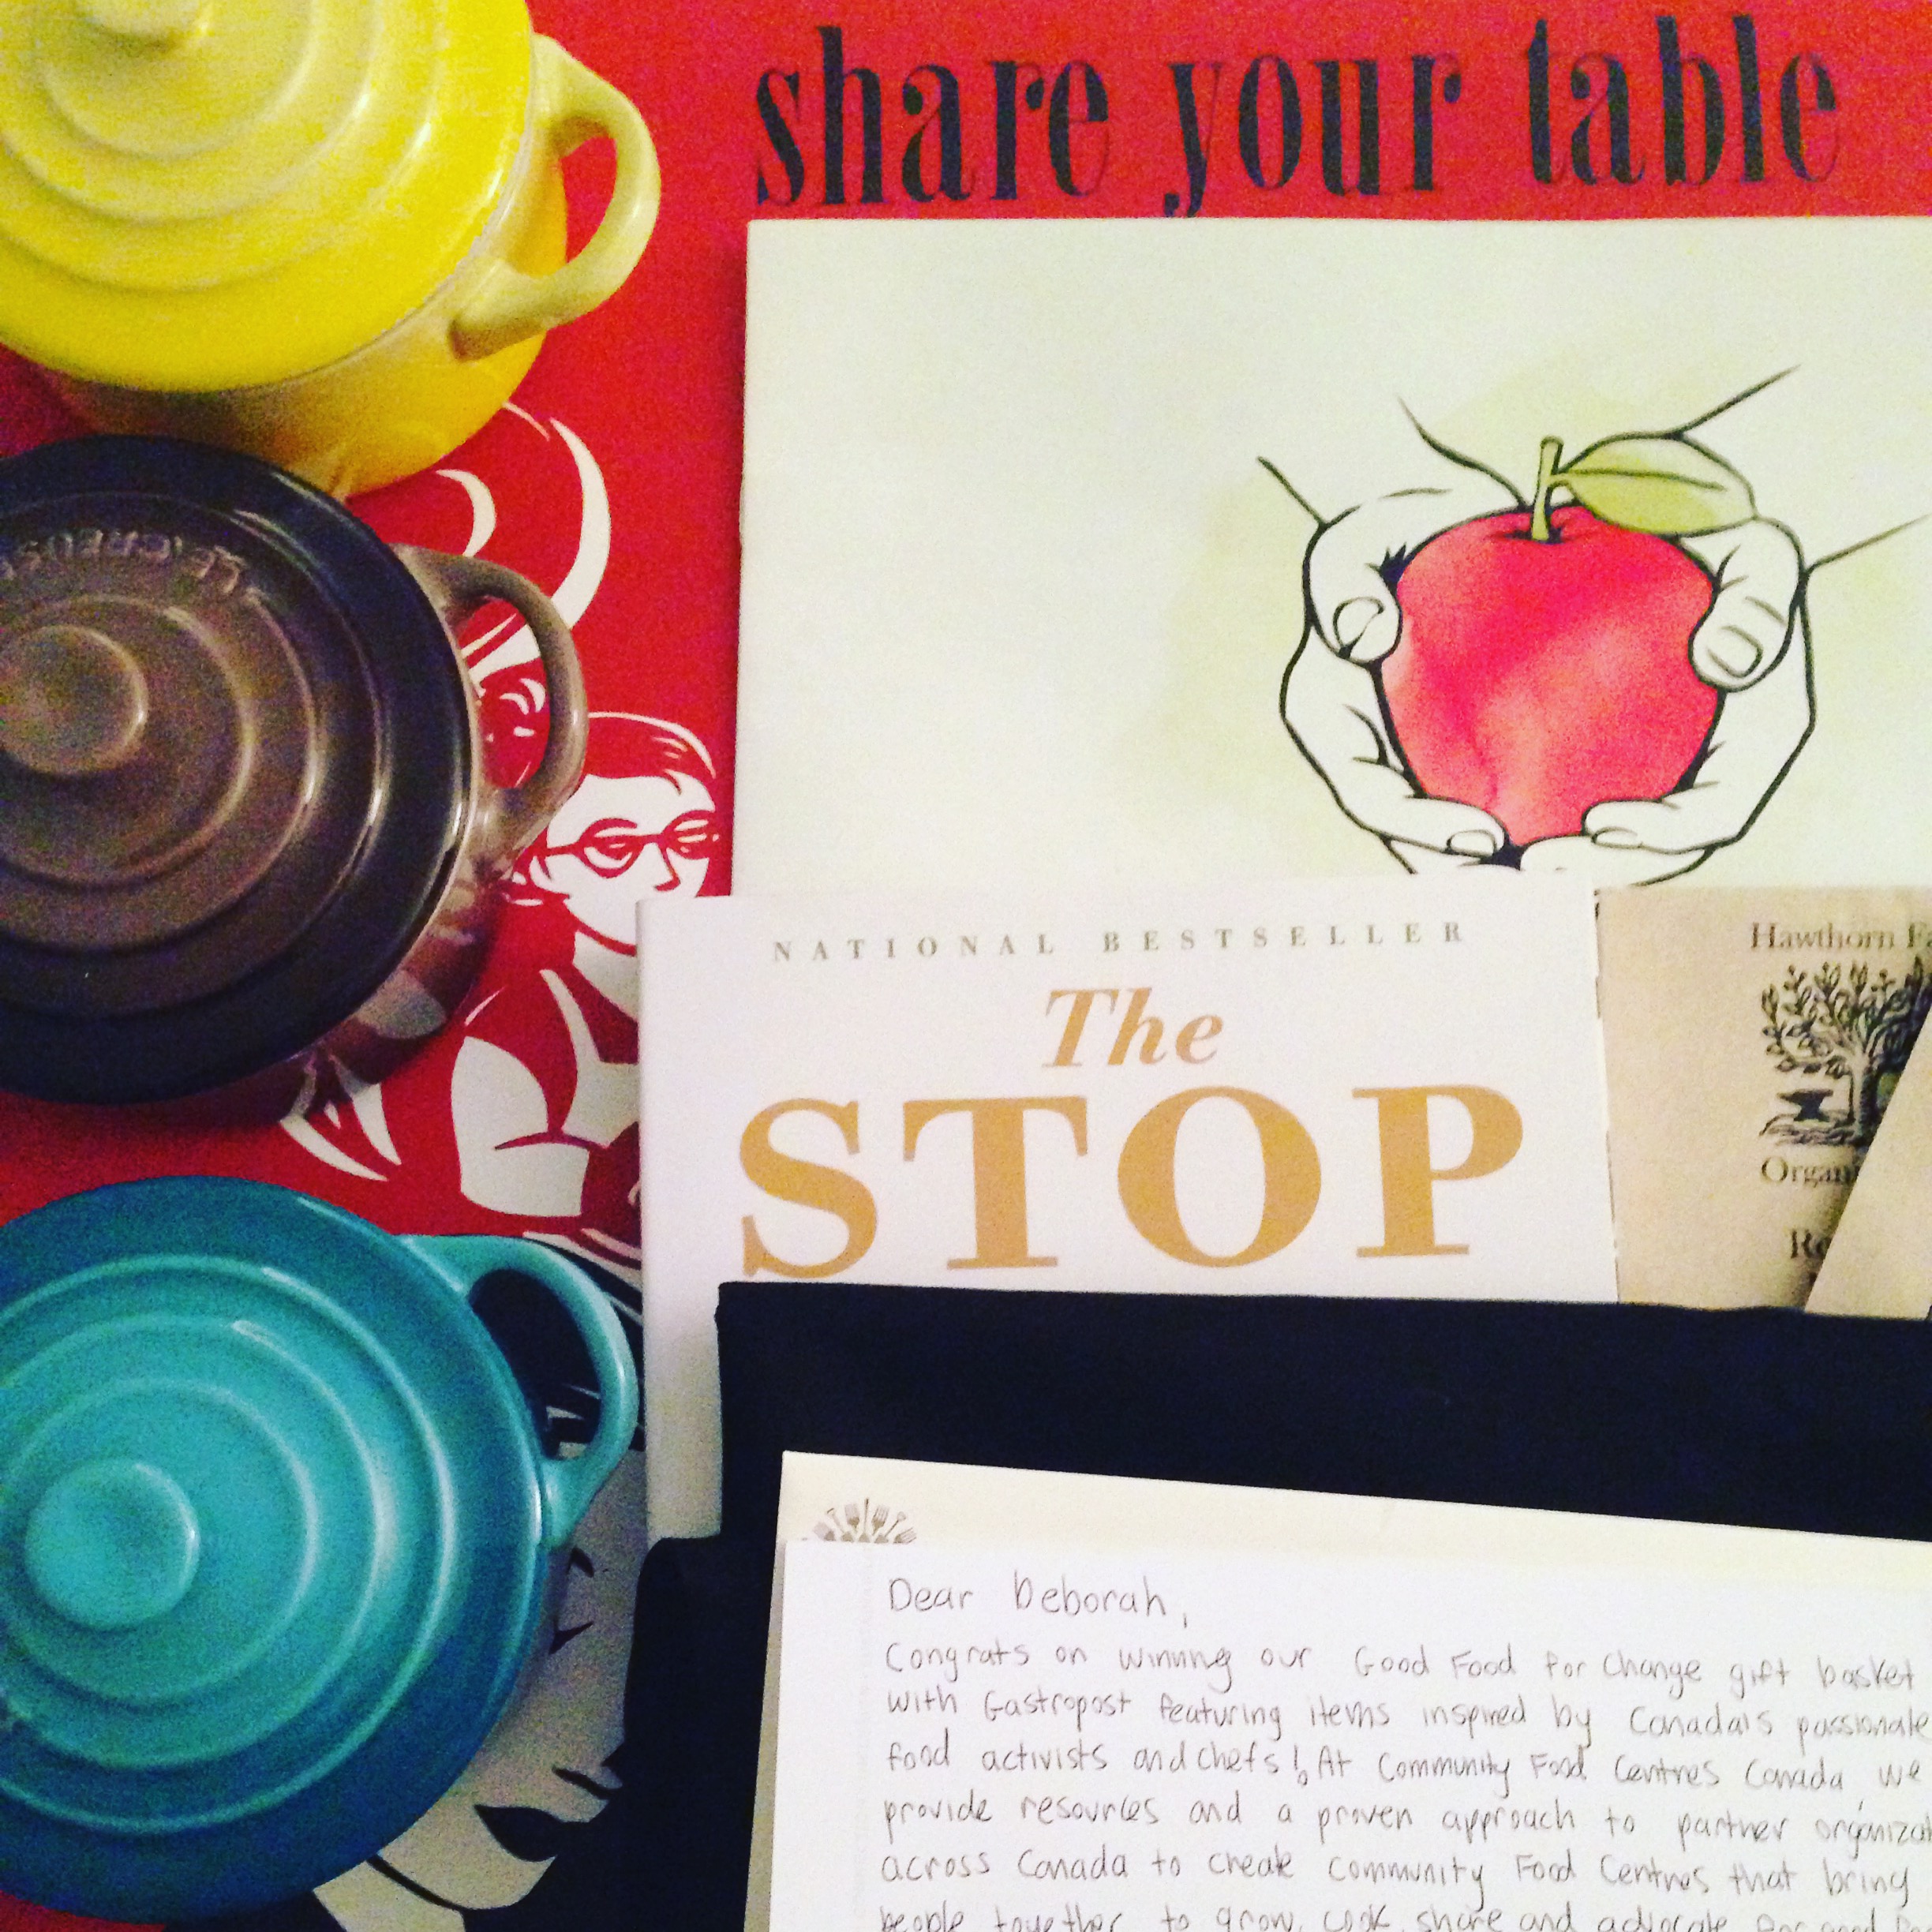
Life is always full of wonderful little surprises and always give us something to think about: GROW – COOK – SHARE – ADVOCATE

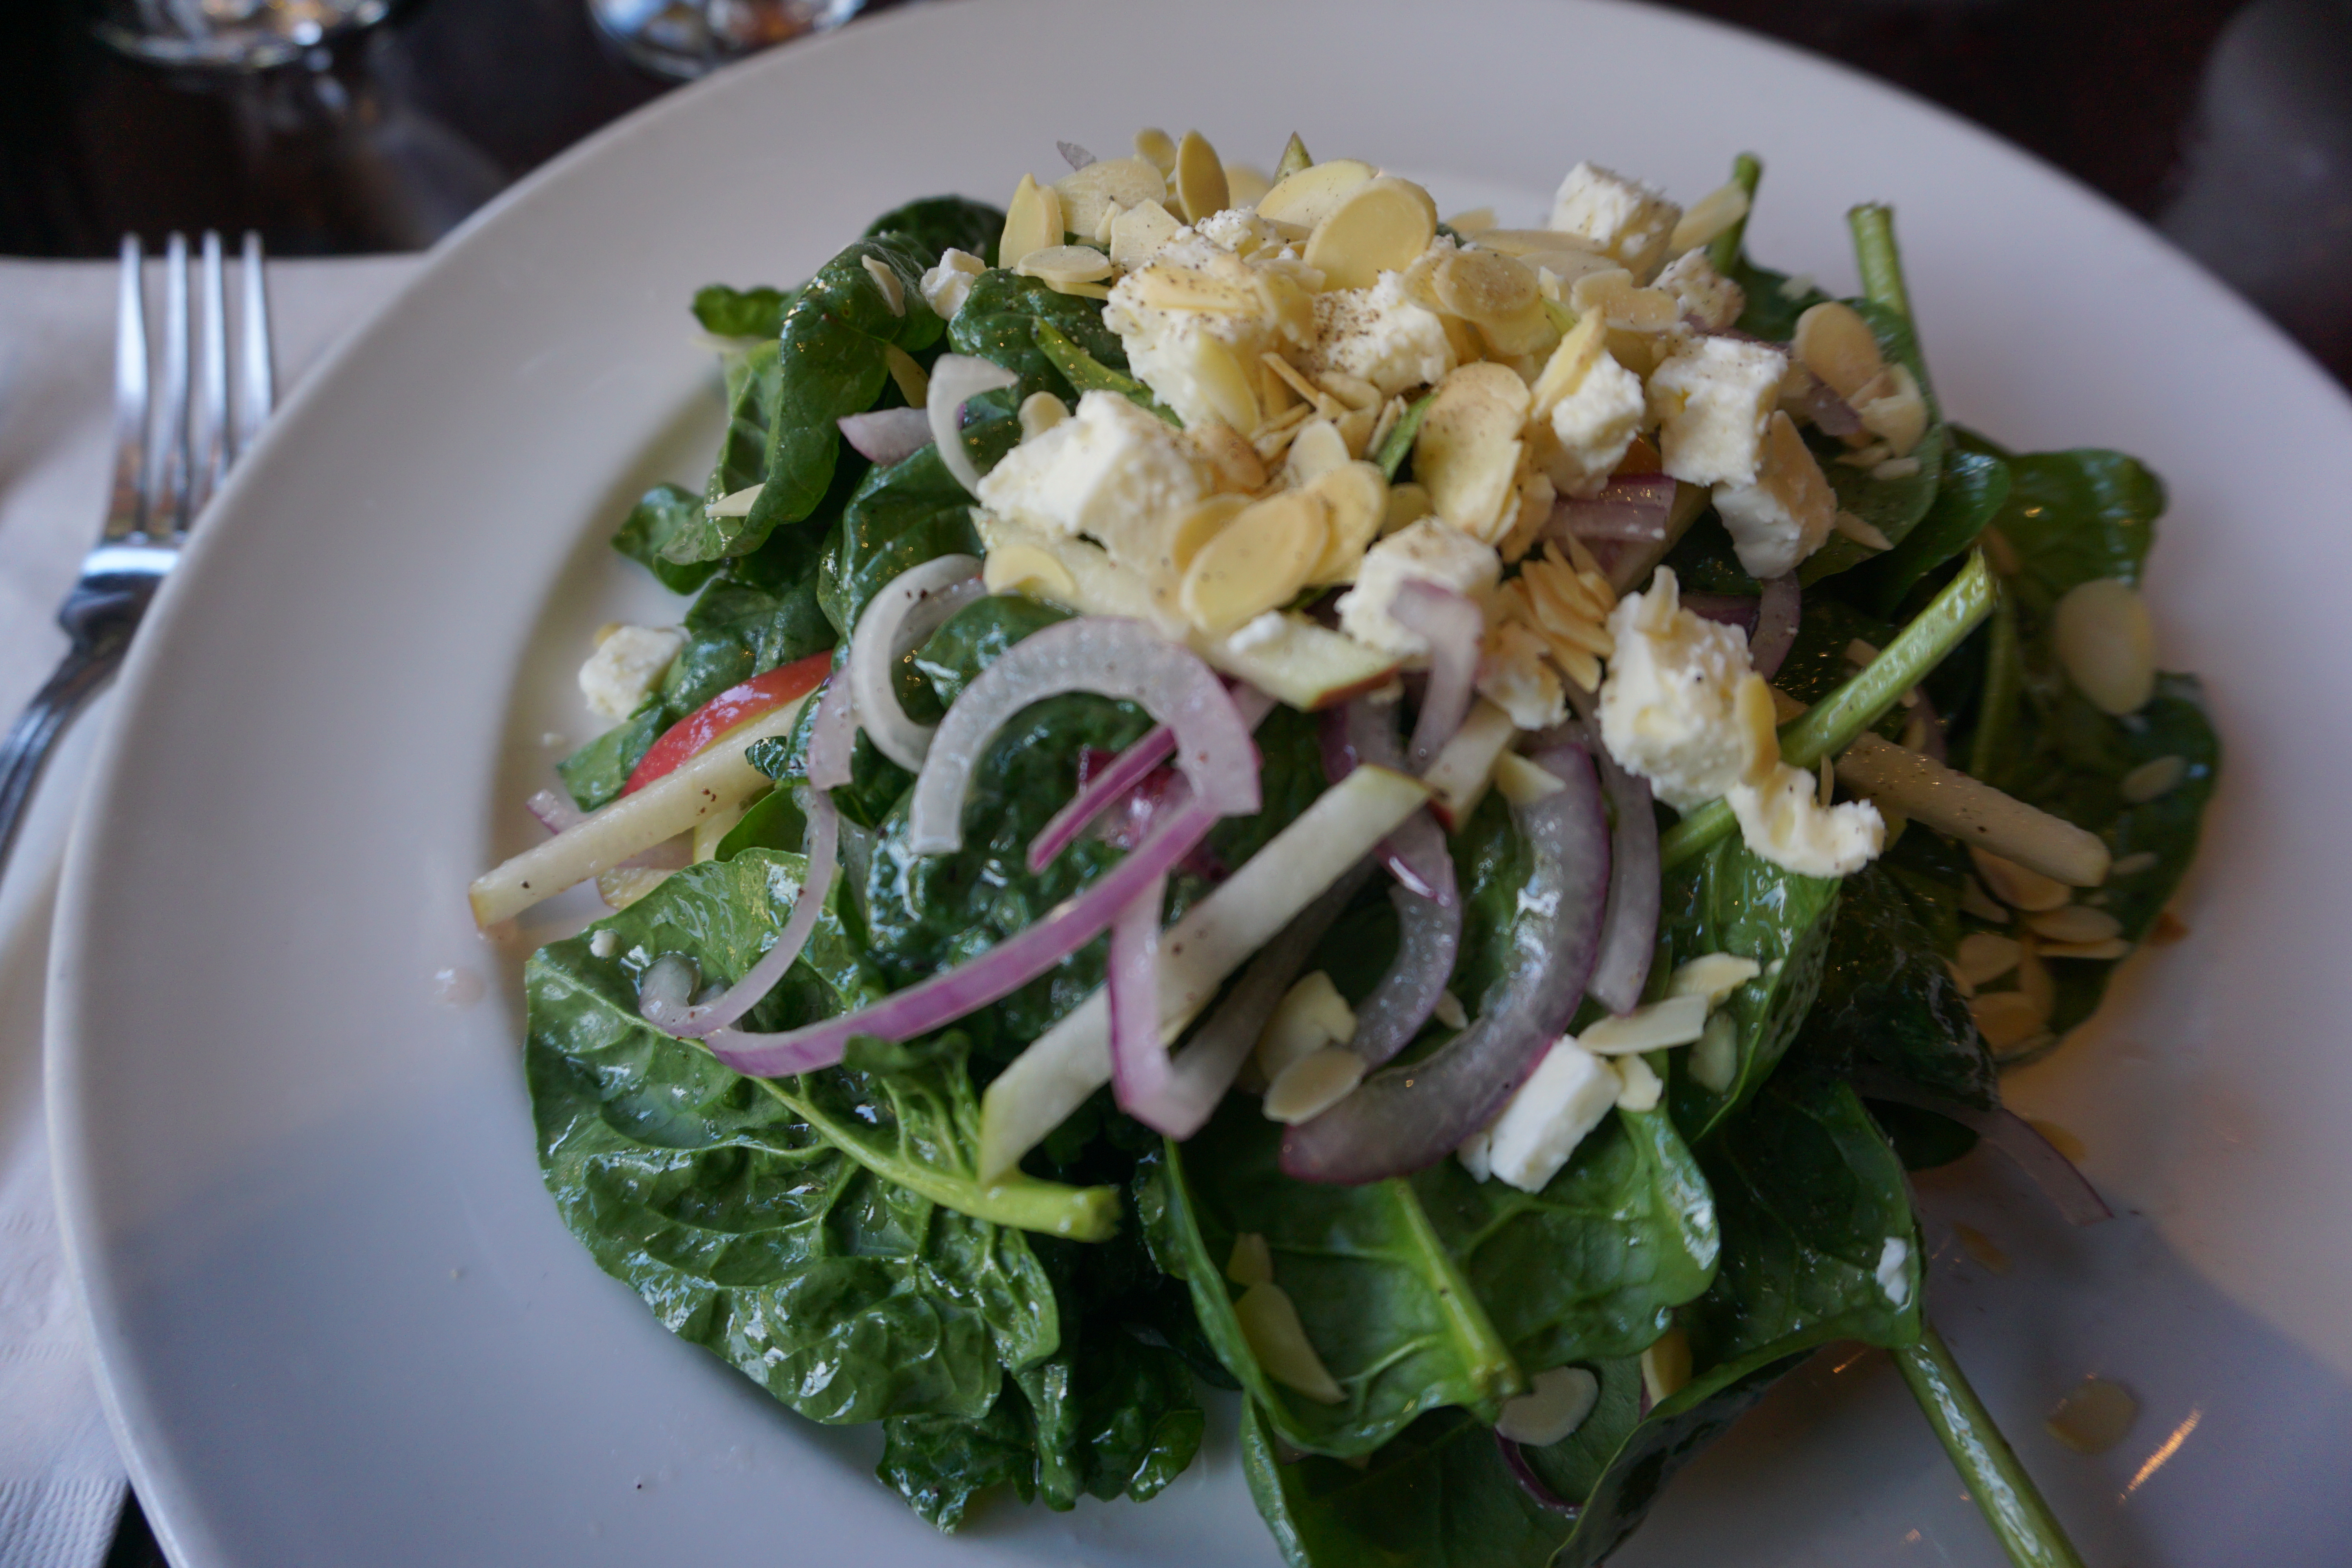
Two months ago I entered and won the Gastropost Vancouver “Good Food Changes Lives” contest via Instagram with my savoy cabbage salad photo.

IMG_8791

Warm Savoy Cabbage and Radicchio Salad with toasted pine nuts, dried cranberries, pancetta bits, parmesan Reggiano and a drizzle of homemade honey balsamic vinaigrette (1 Tablespoon manuka honey, 2 Tablespoon balsamic vinegar, 1/4 cup extra virgin olive oil, sea salt and black pepper season to taste)

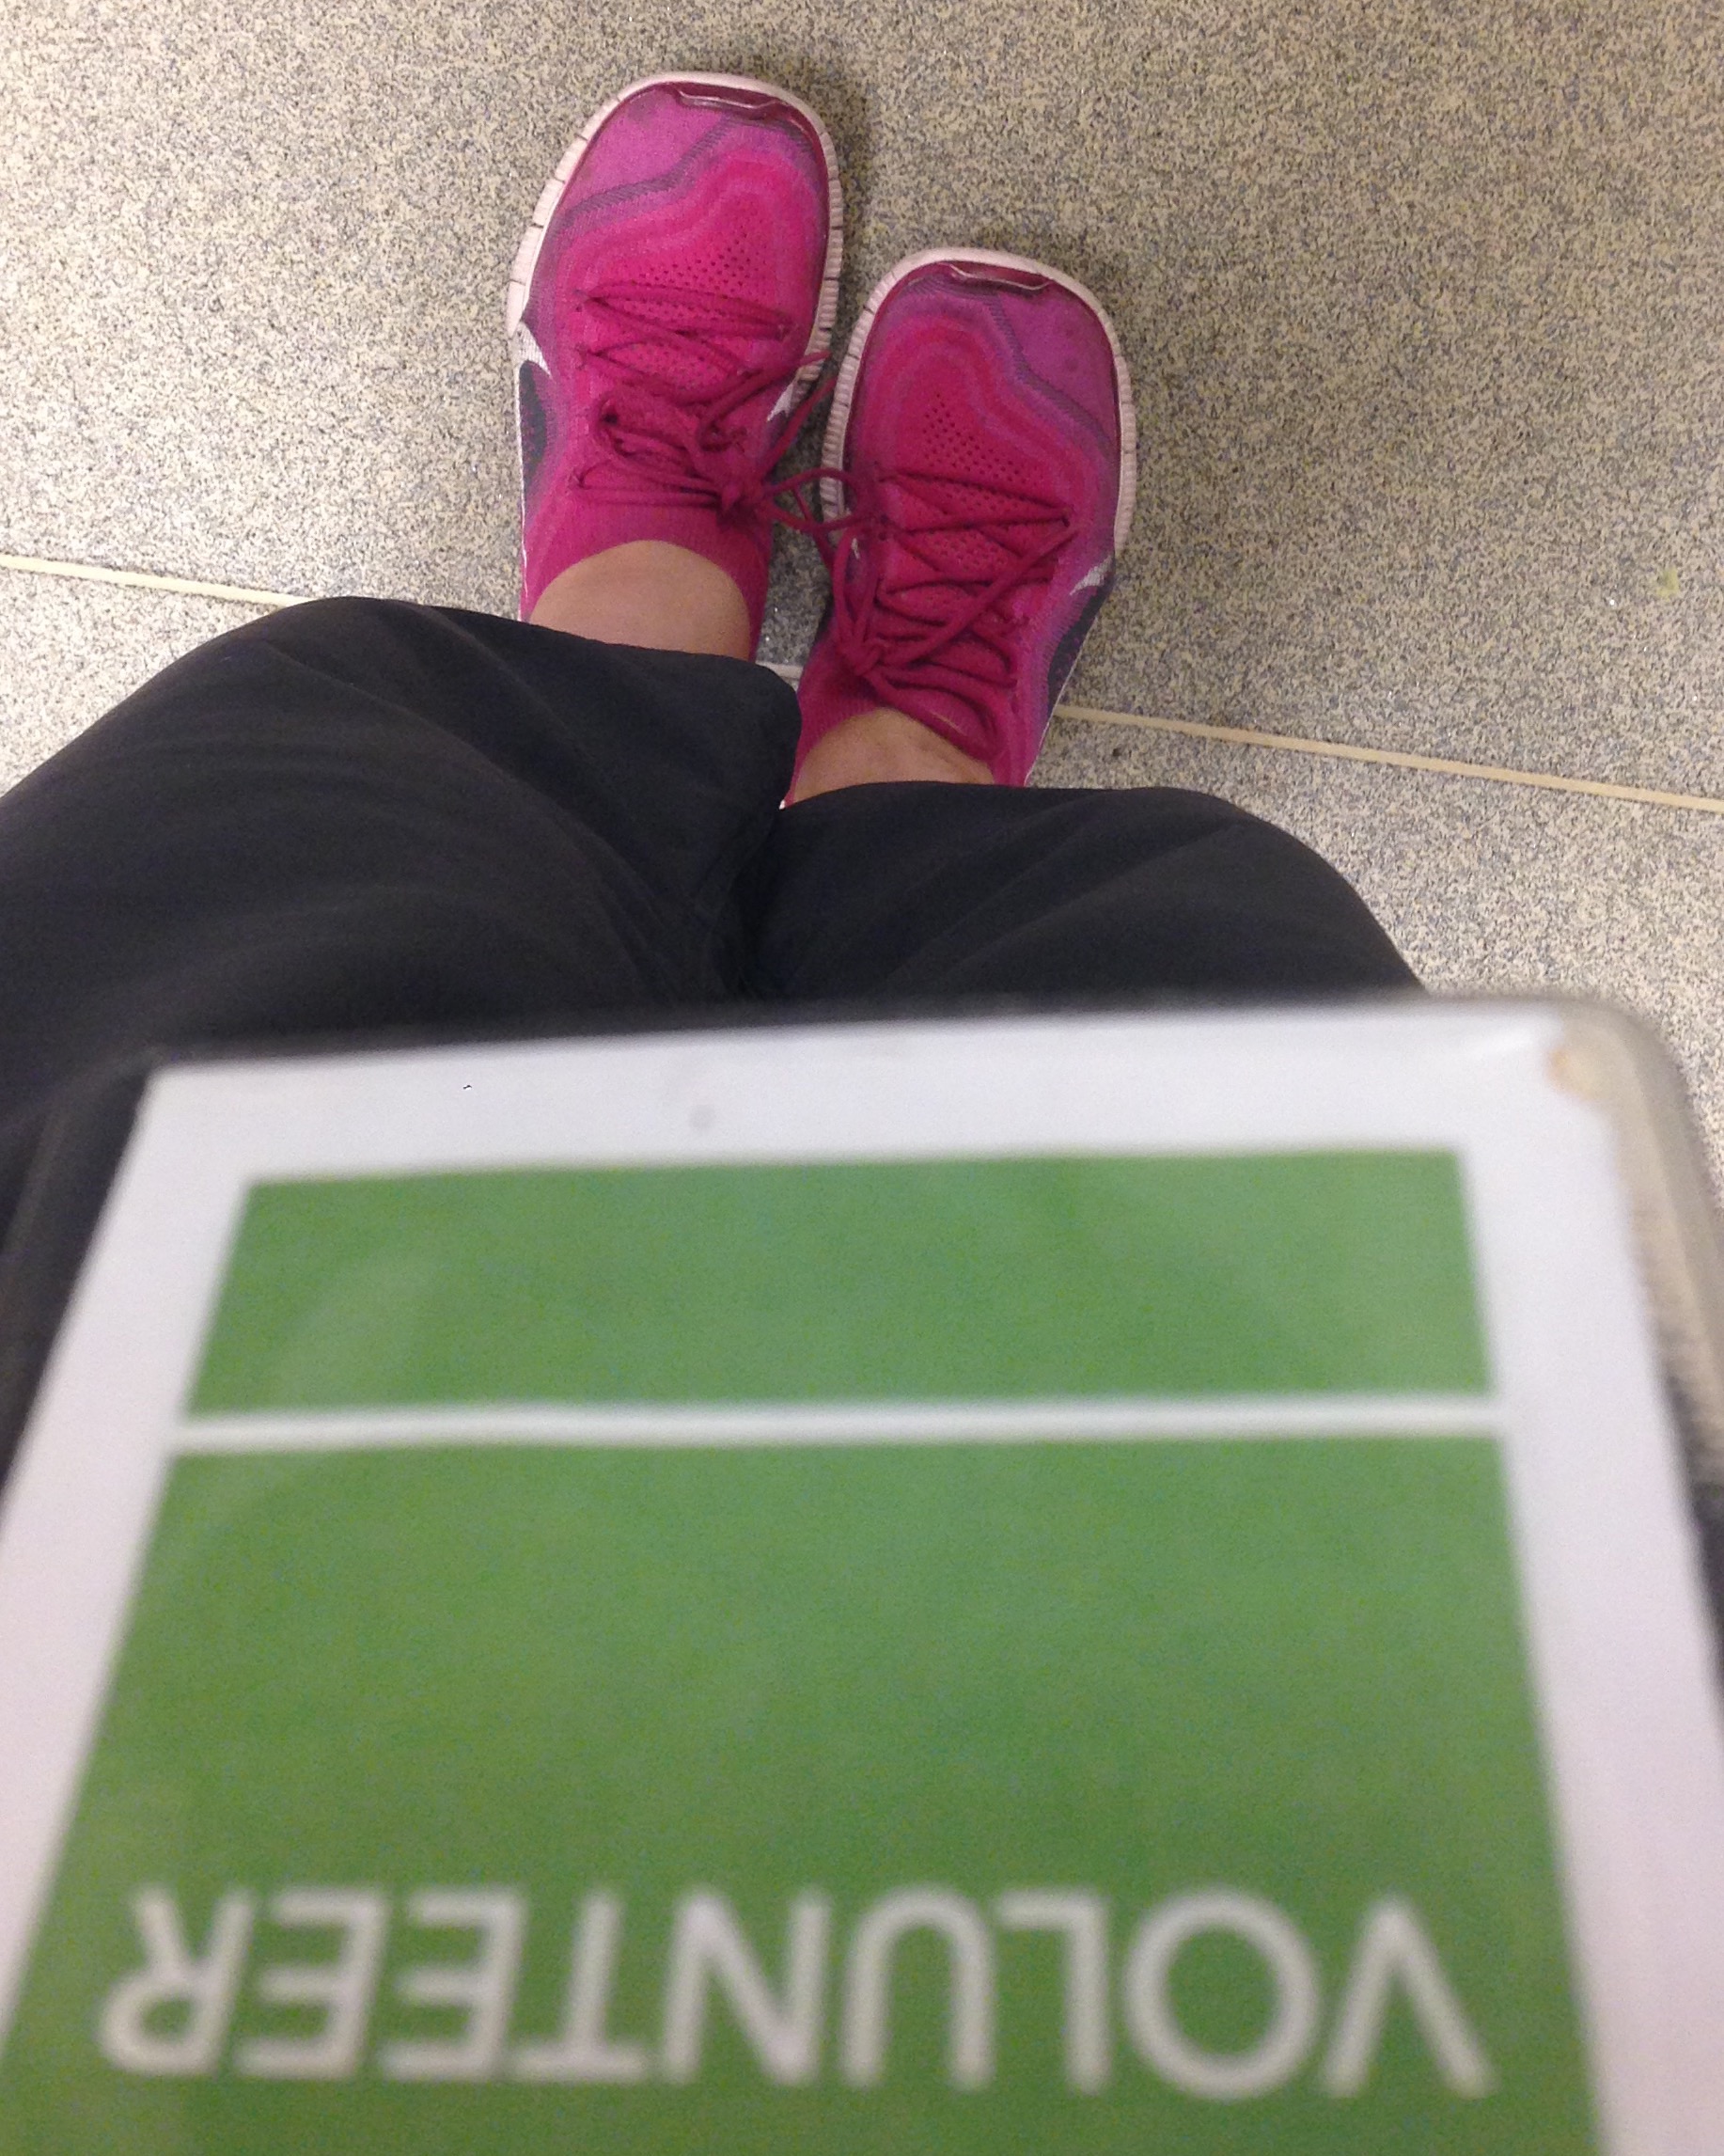
The most meaningful prize gift basket came in early November; thank you thank you thank you Gastropost Vancouver and Community Food Centres Canada for your truly inspirational handwritten message and thoughtful gifts; I’m inspired to share my table and make a difference.

IMG_9337

http://www.vancouver.gastropost.com

http://www.cfccanada.ca

We are always learning something new: 

My friend PPQ and I attended a Nutrition Education Seminar hosted by the BC Cancer Agency two weeks ago at their Vancouver Research facility. The presentation by key speaker Ms. Desiree Nielsen RD is  informative and delightful (she’s a lovely speaker); Ms. Nielsen provided 10 simple steps to “unjunk our diets”, her insights and guidelines are geared towards preventing inflammation and general overall health improvement for everyone. I’m planning to read her book “Unjunk your diet” and research further..

http://www.desireerd.com

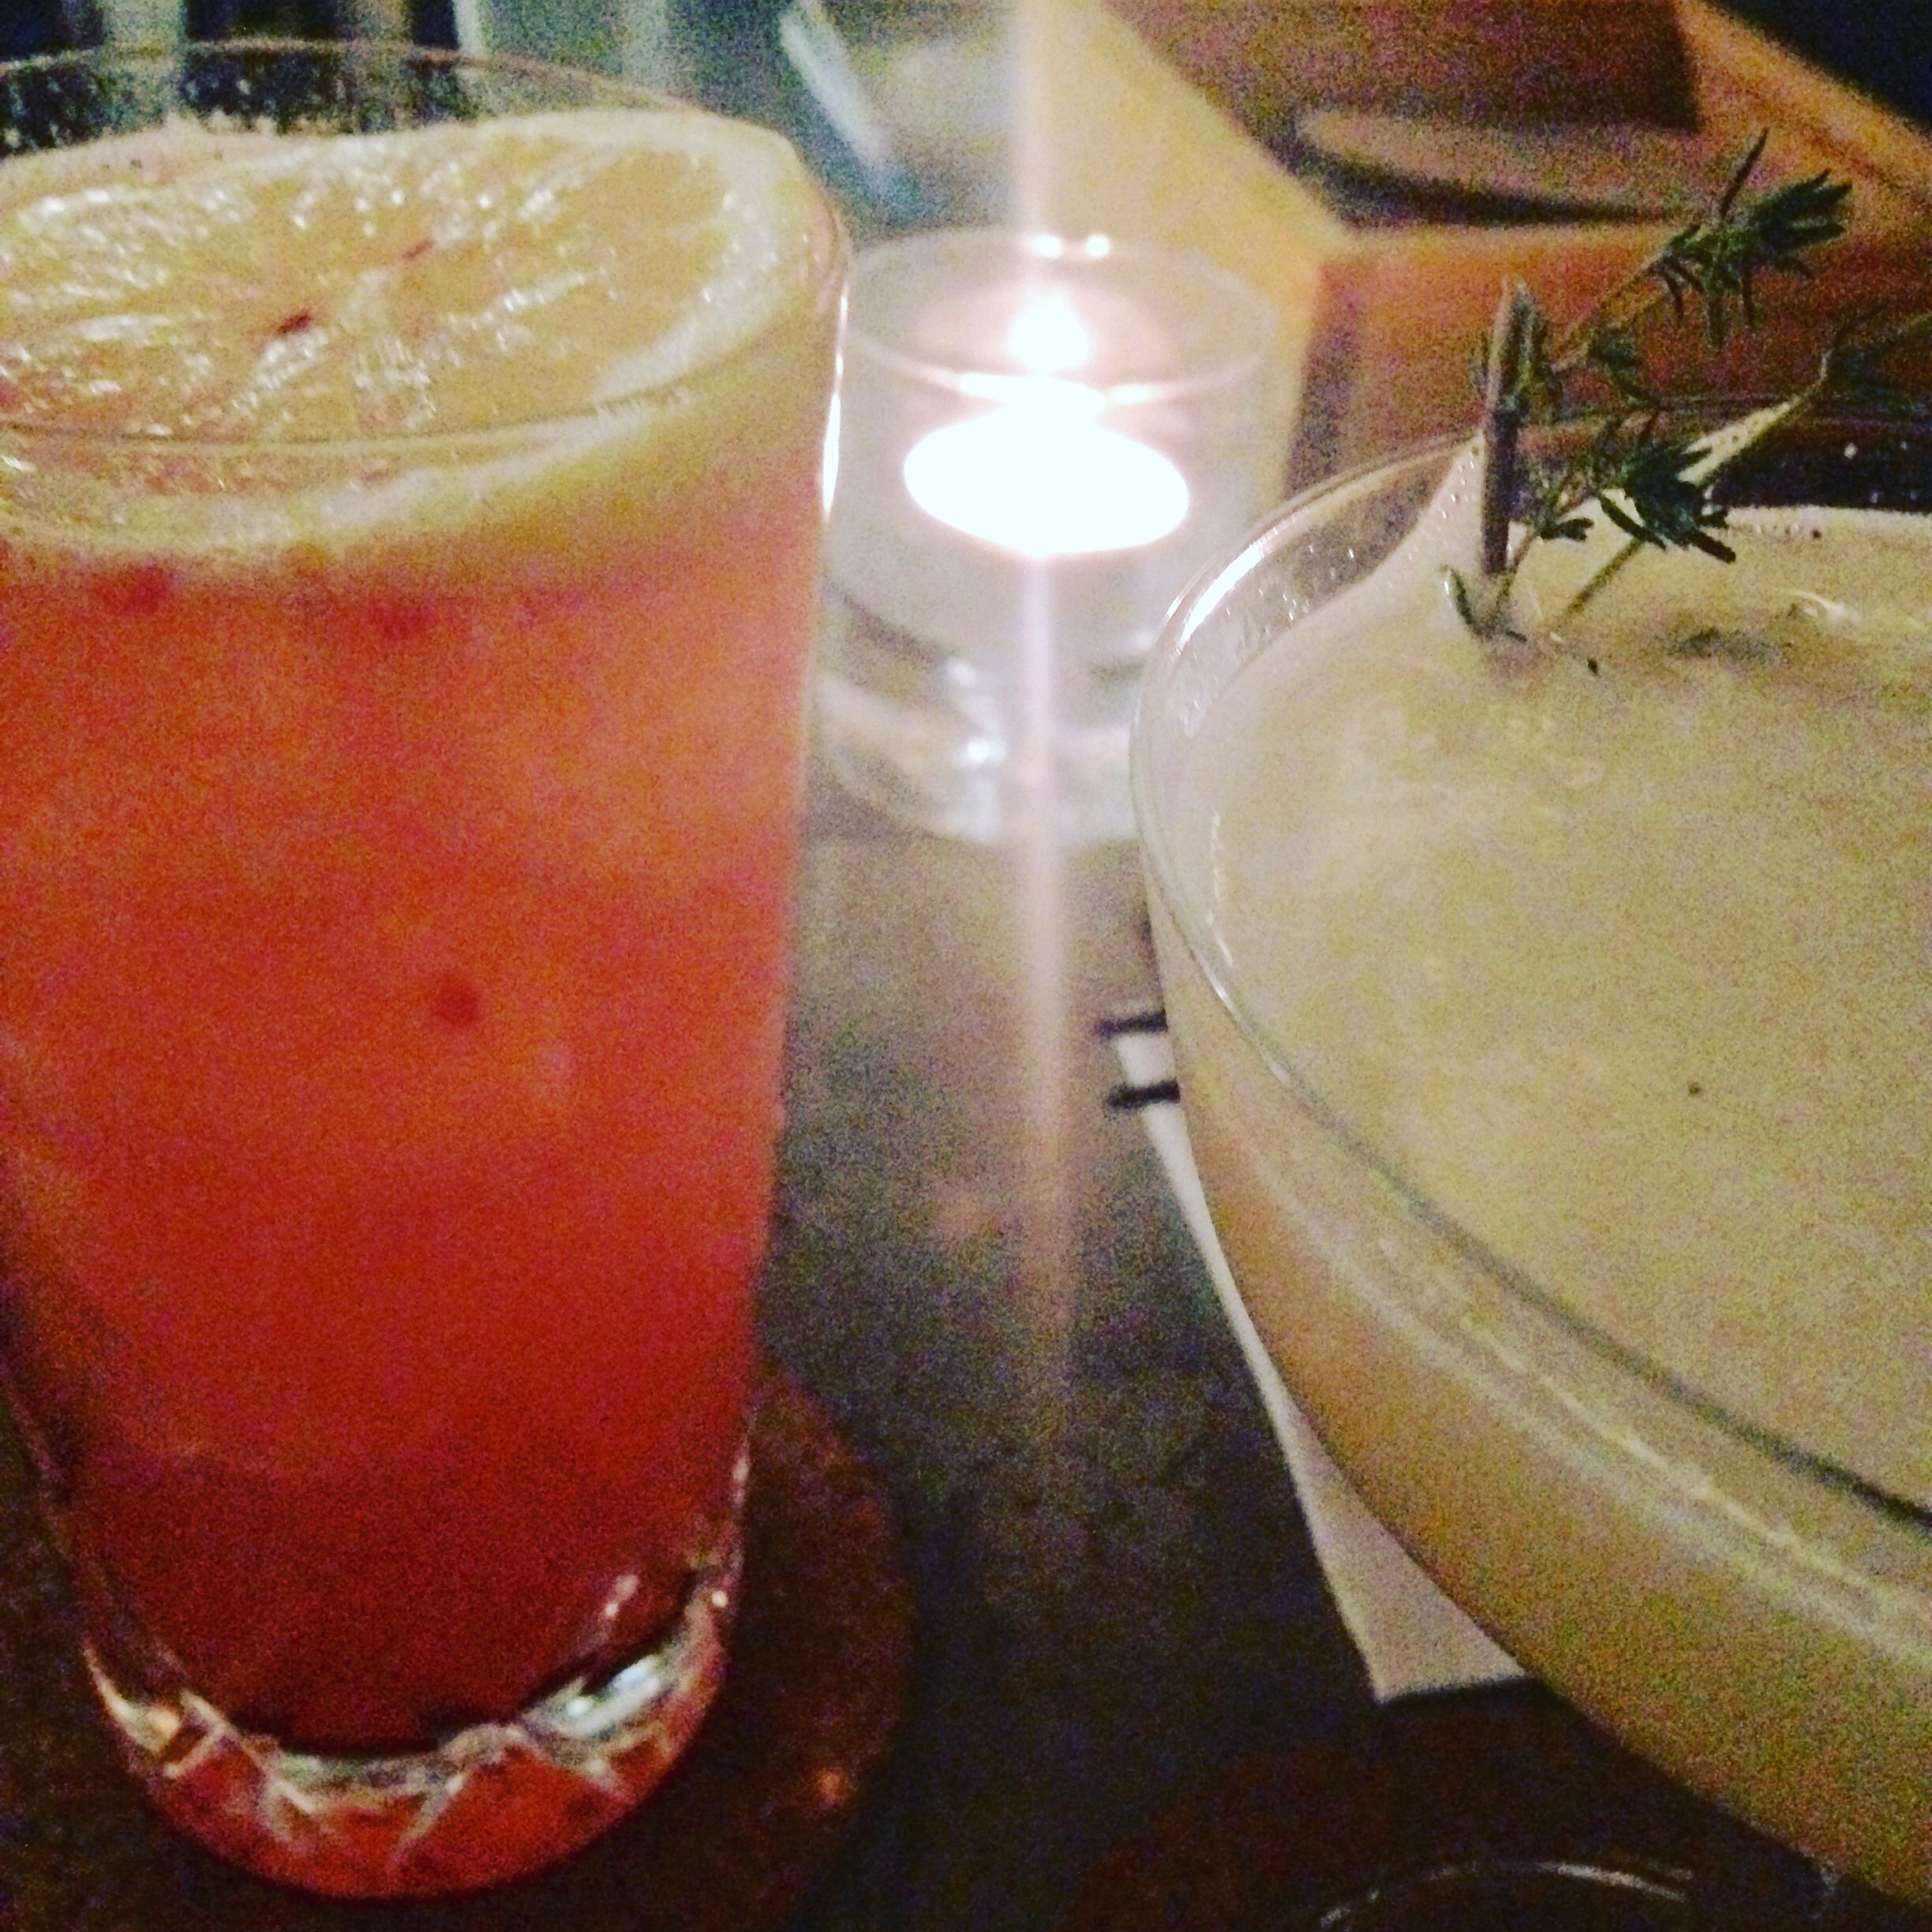
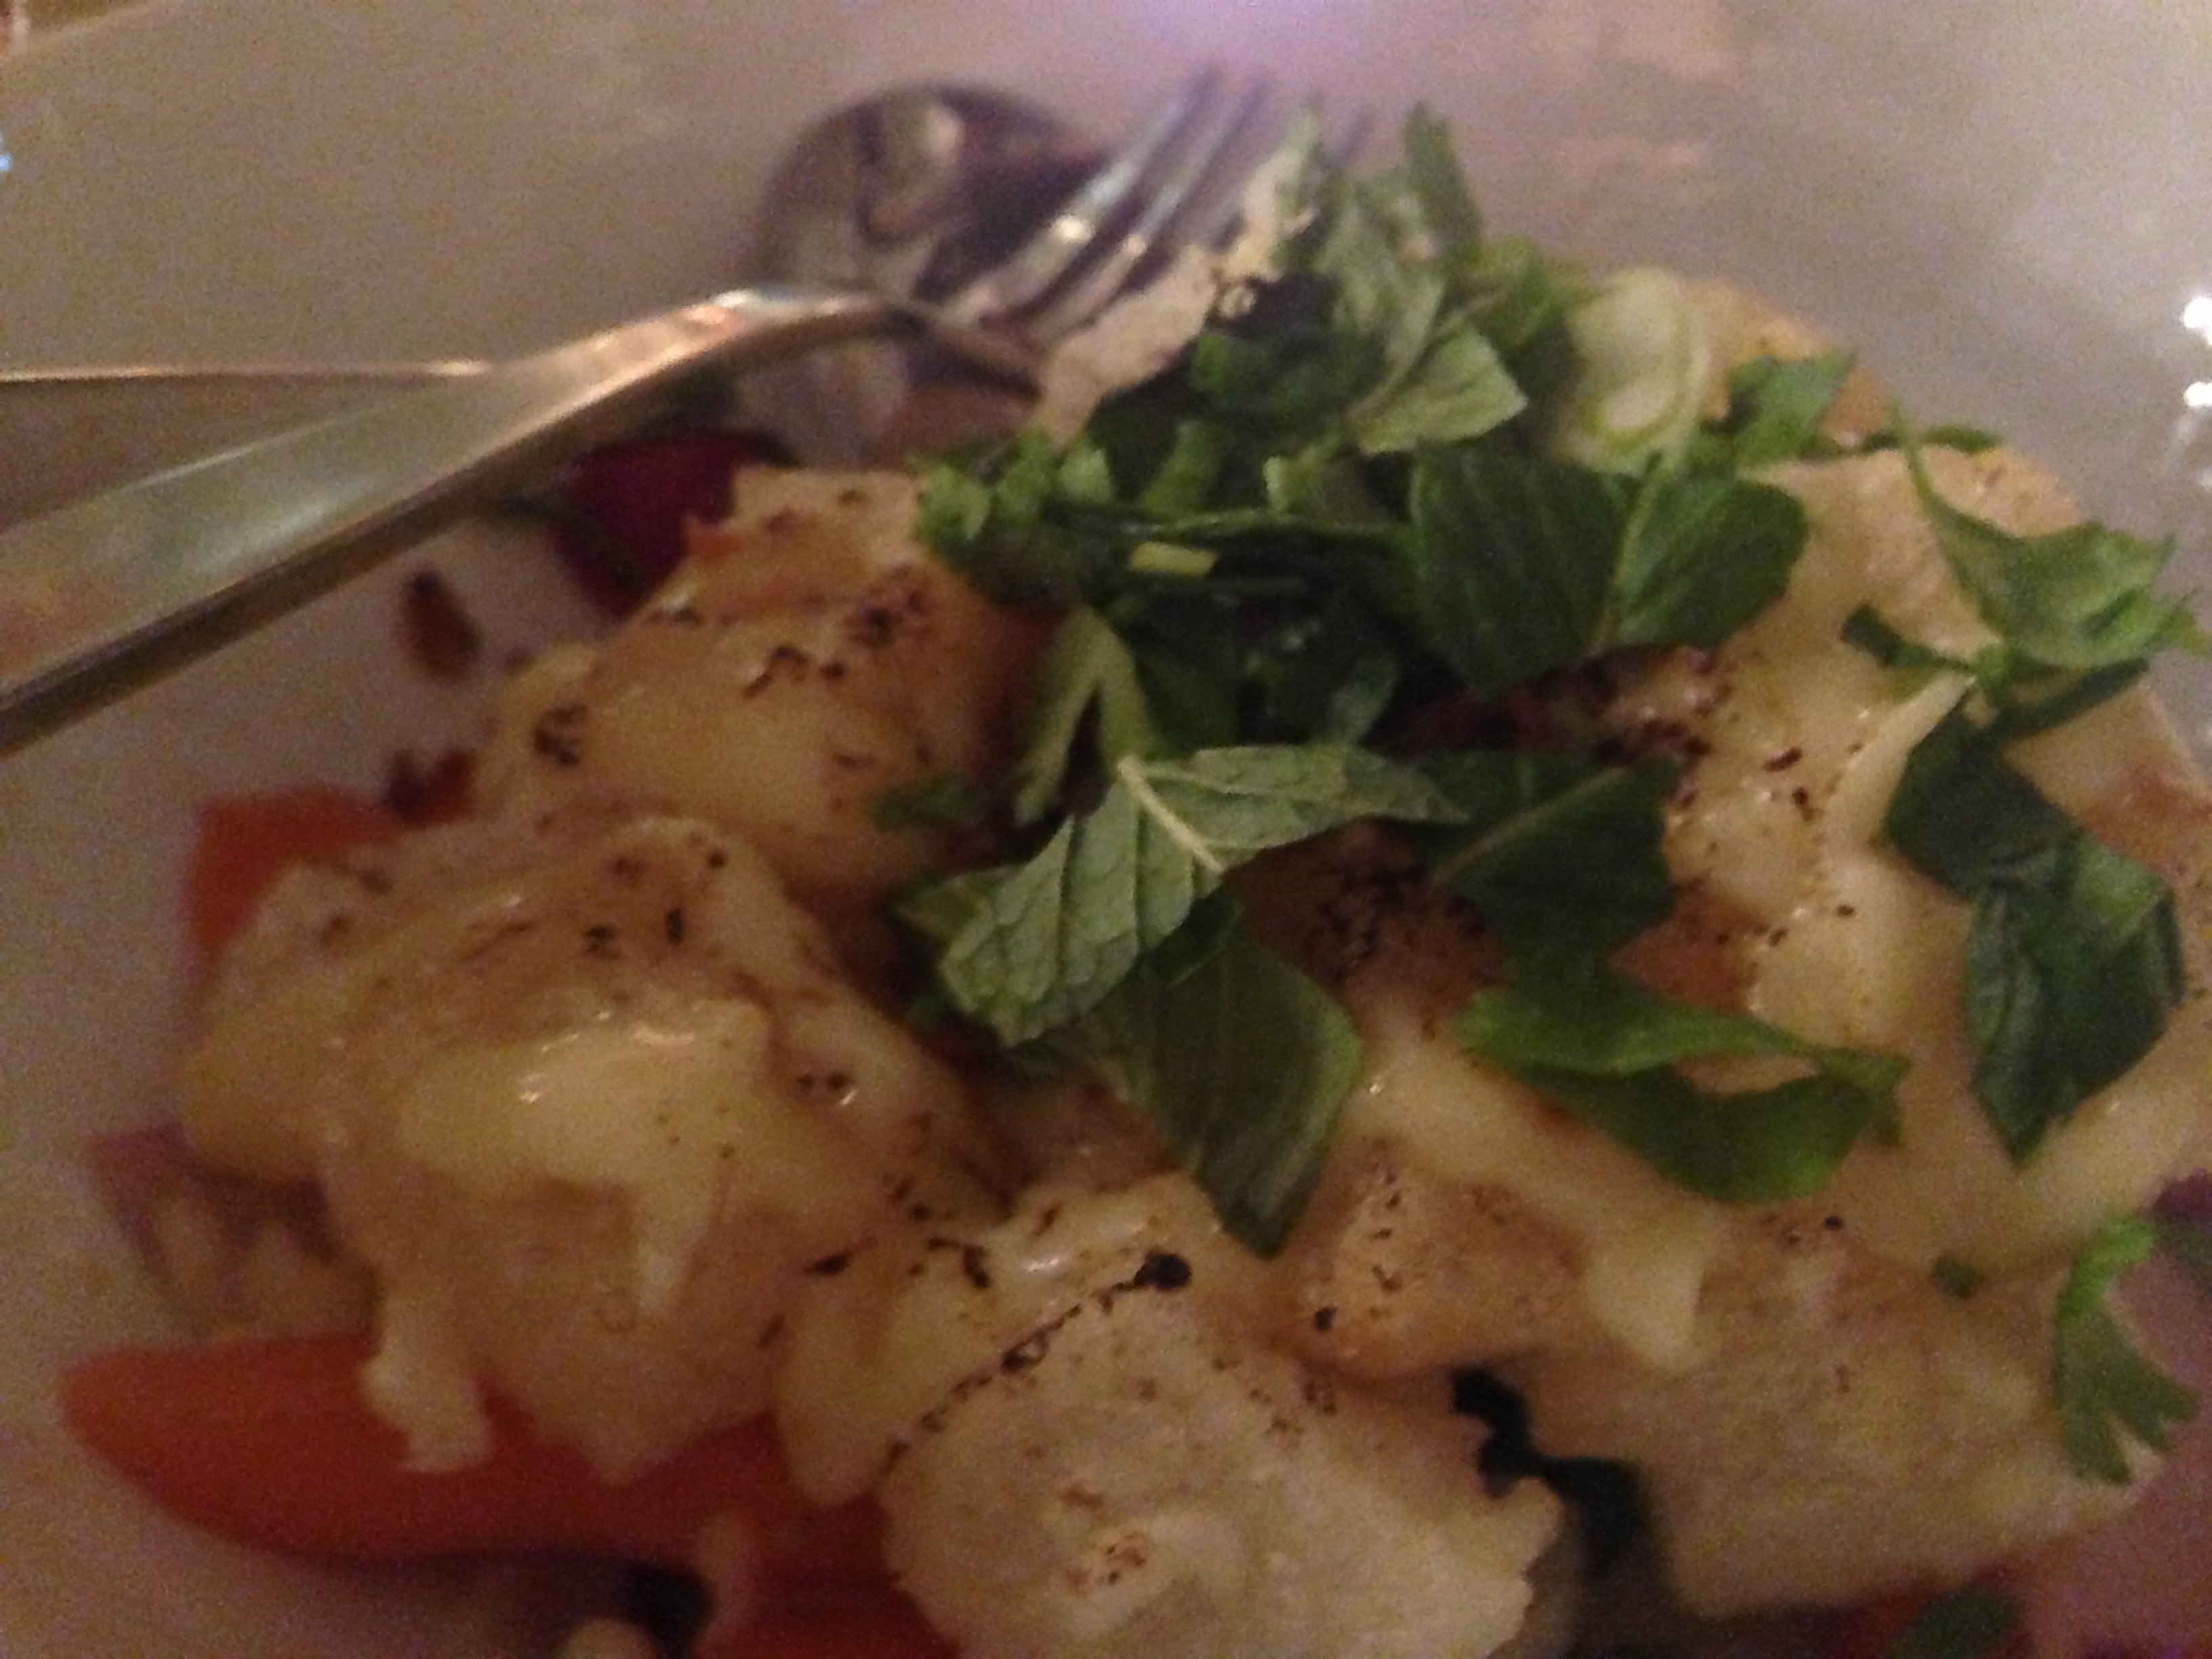
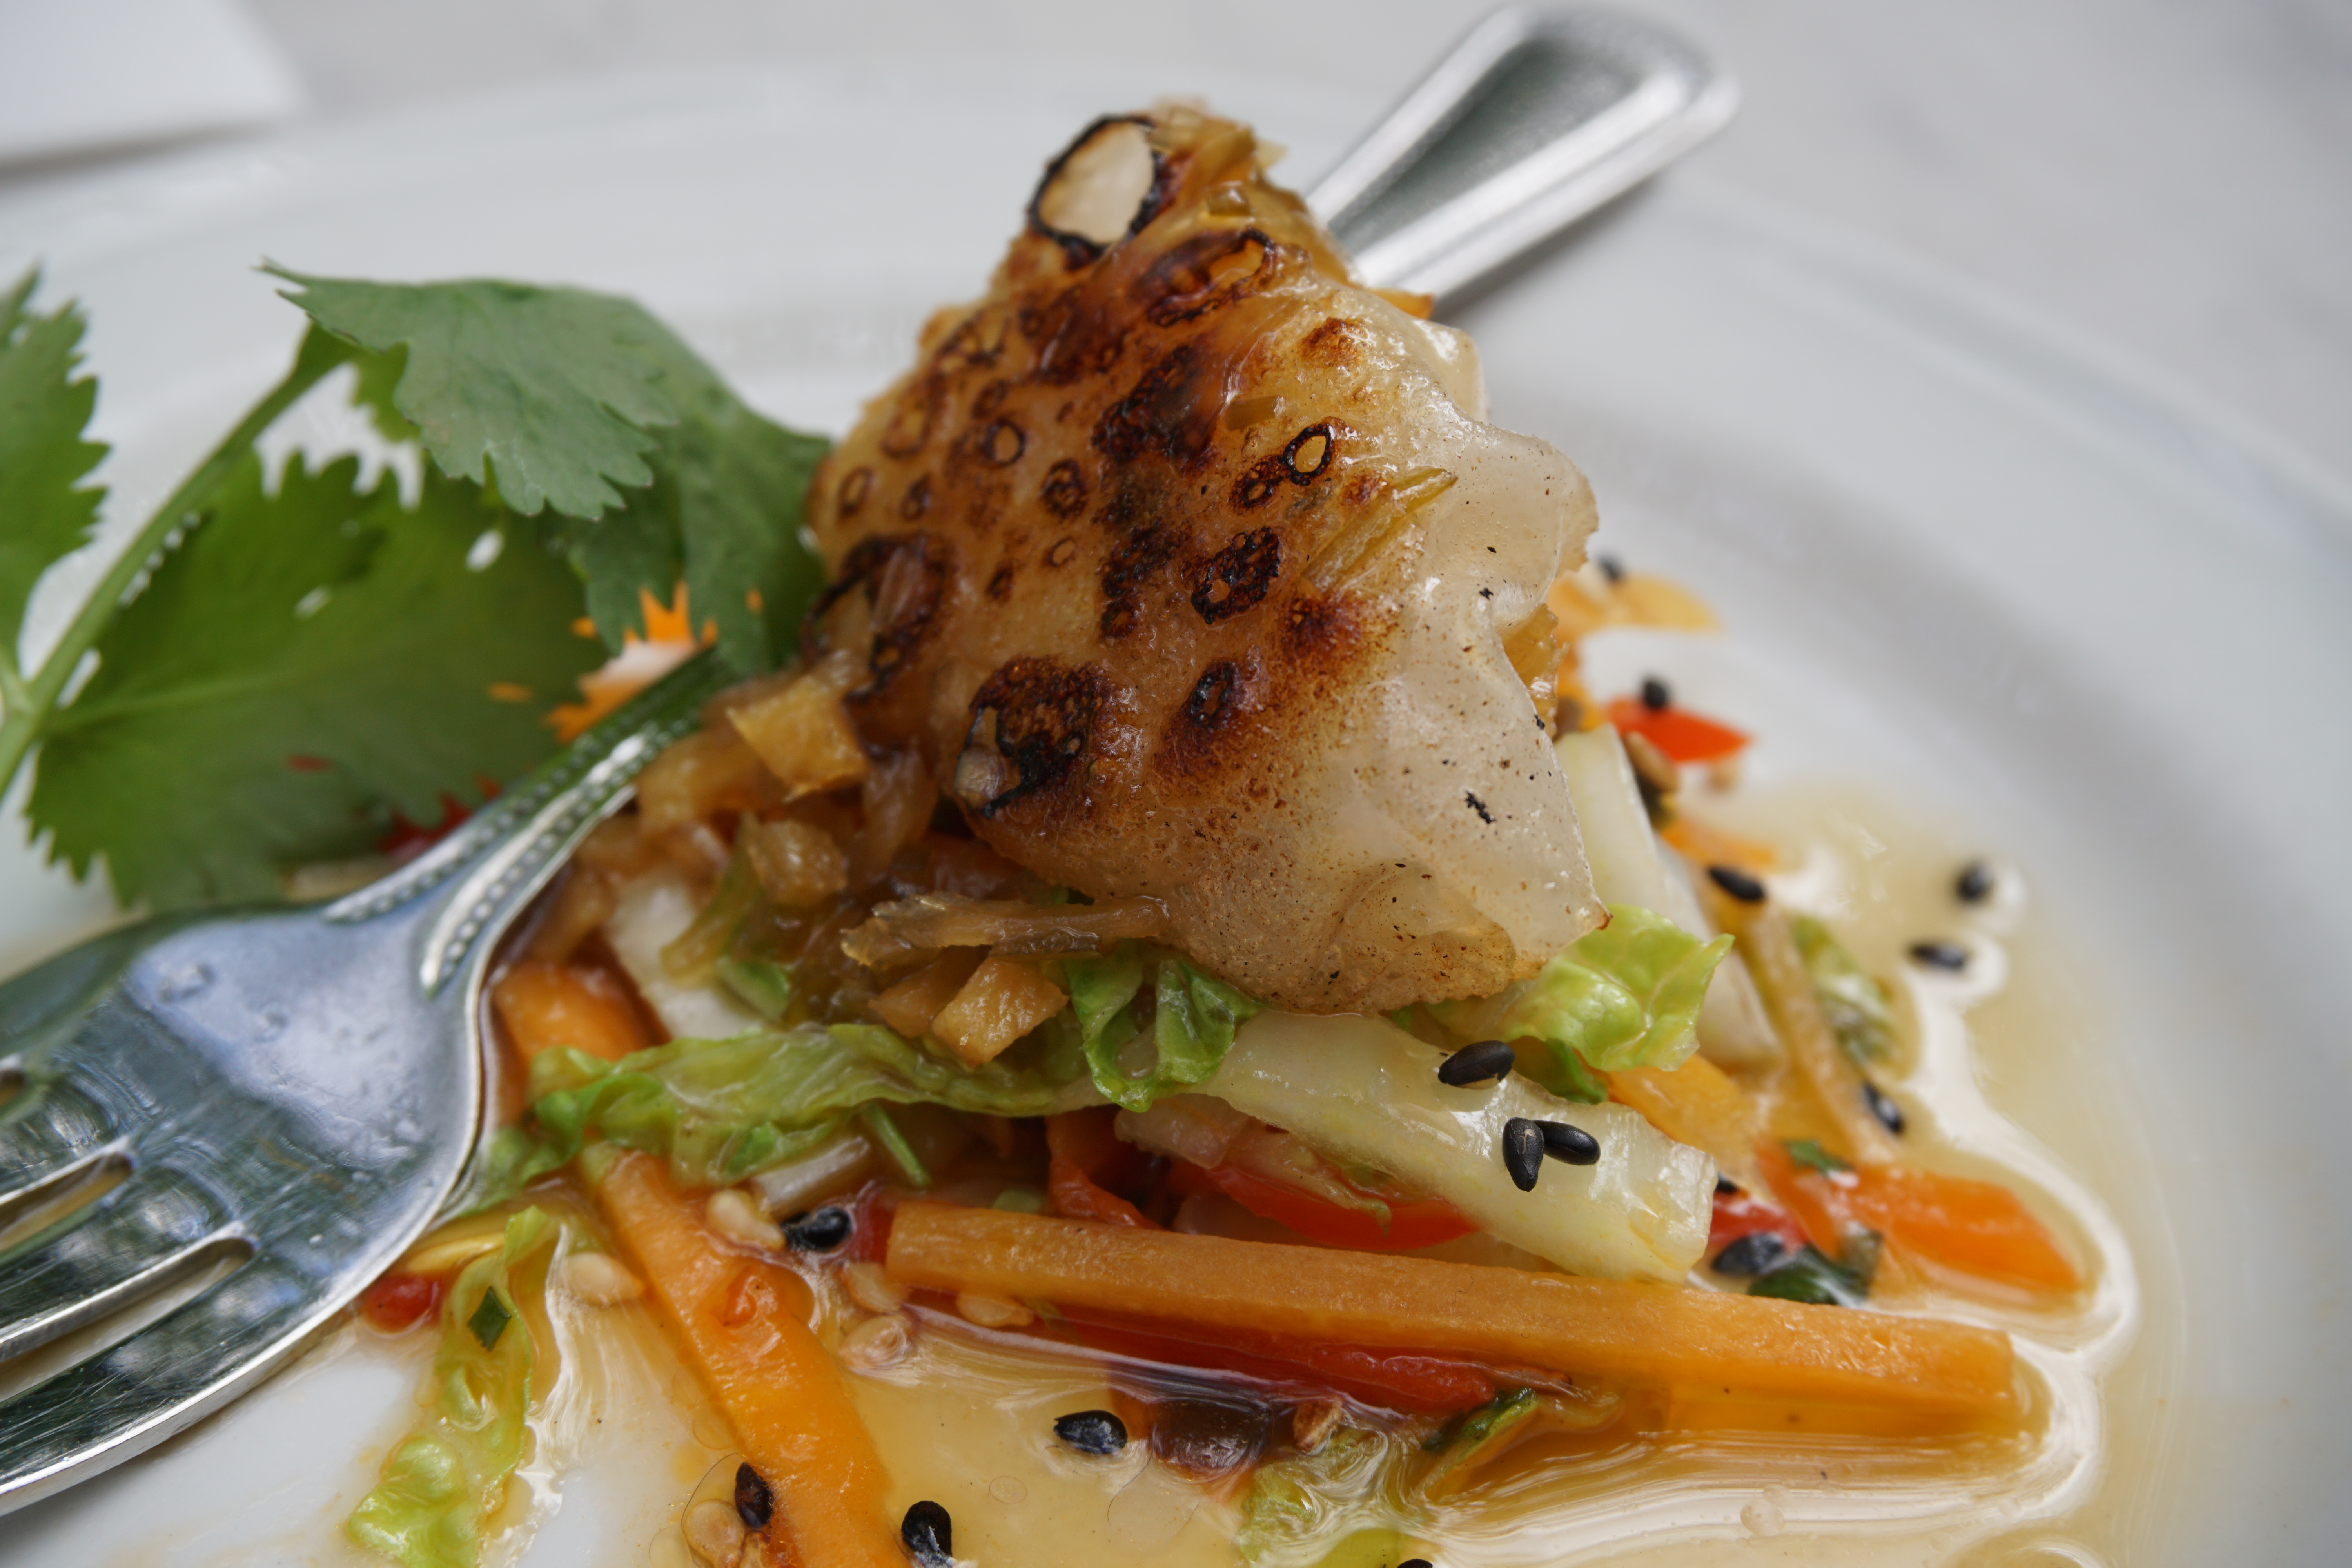
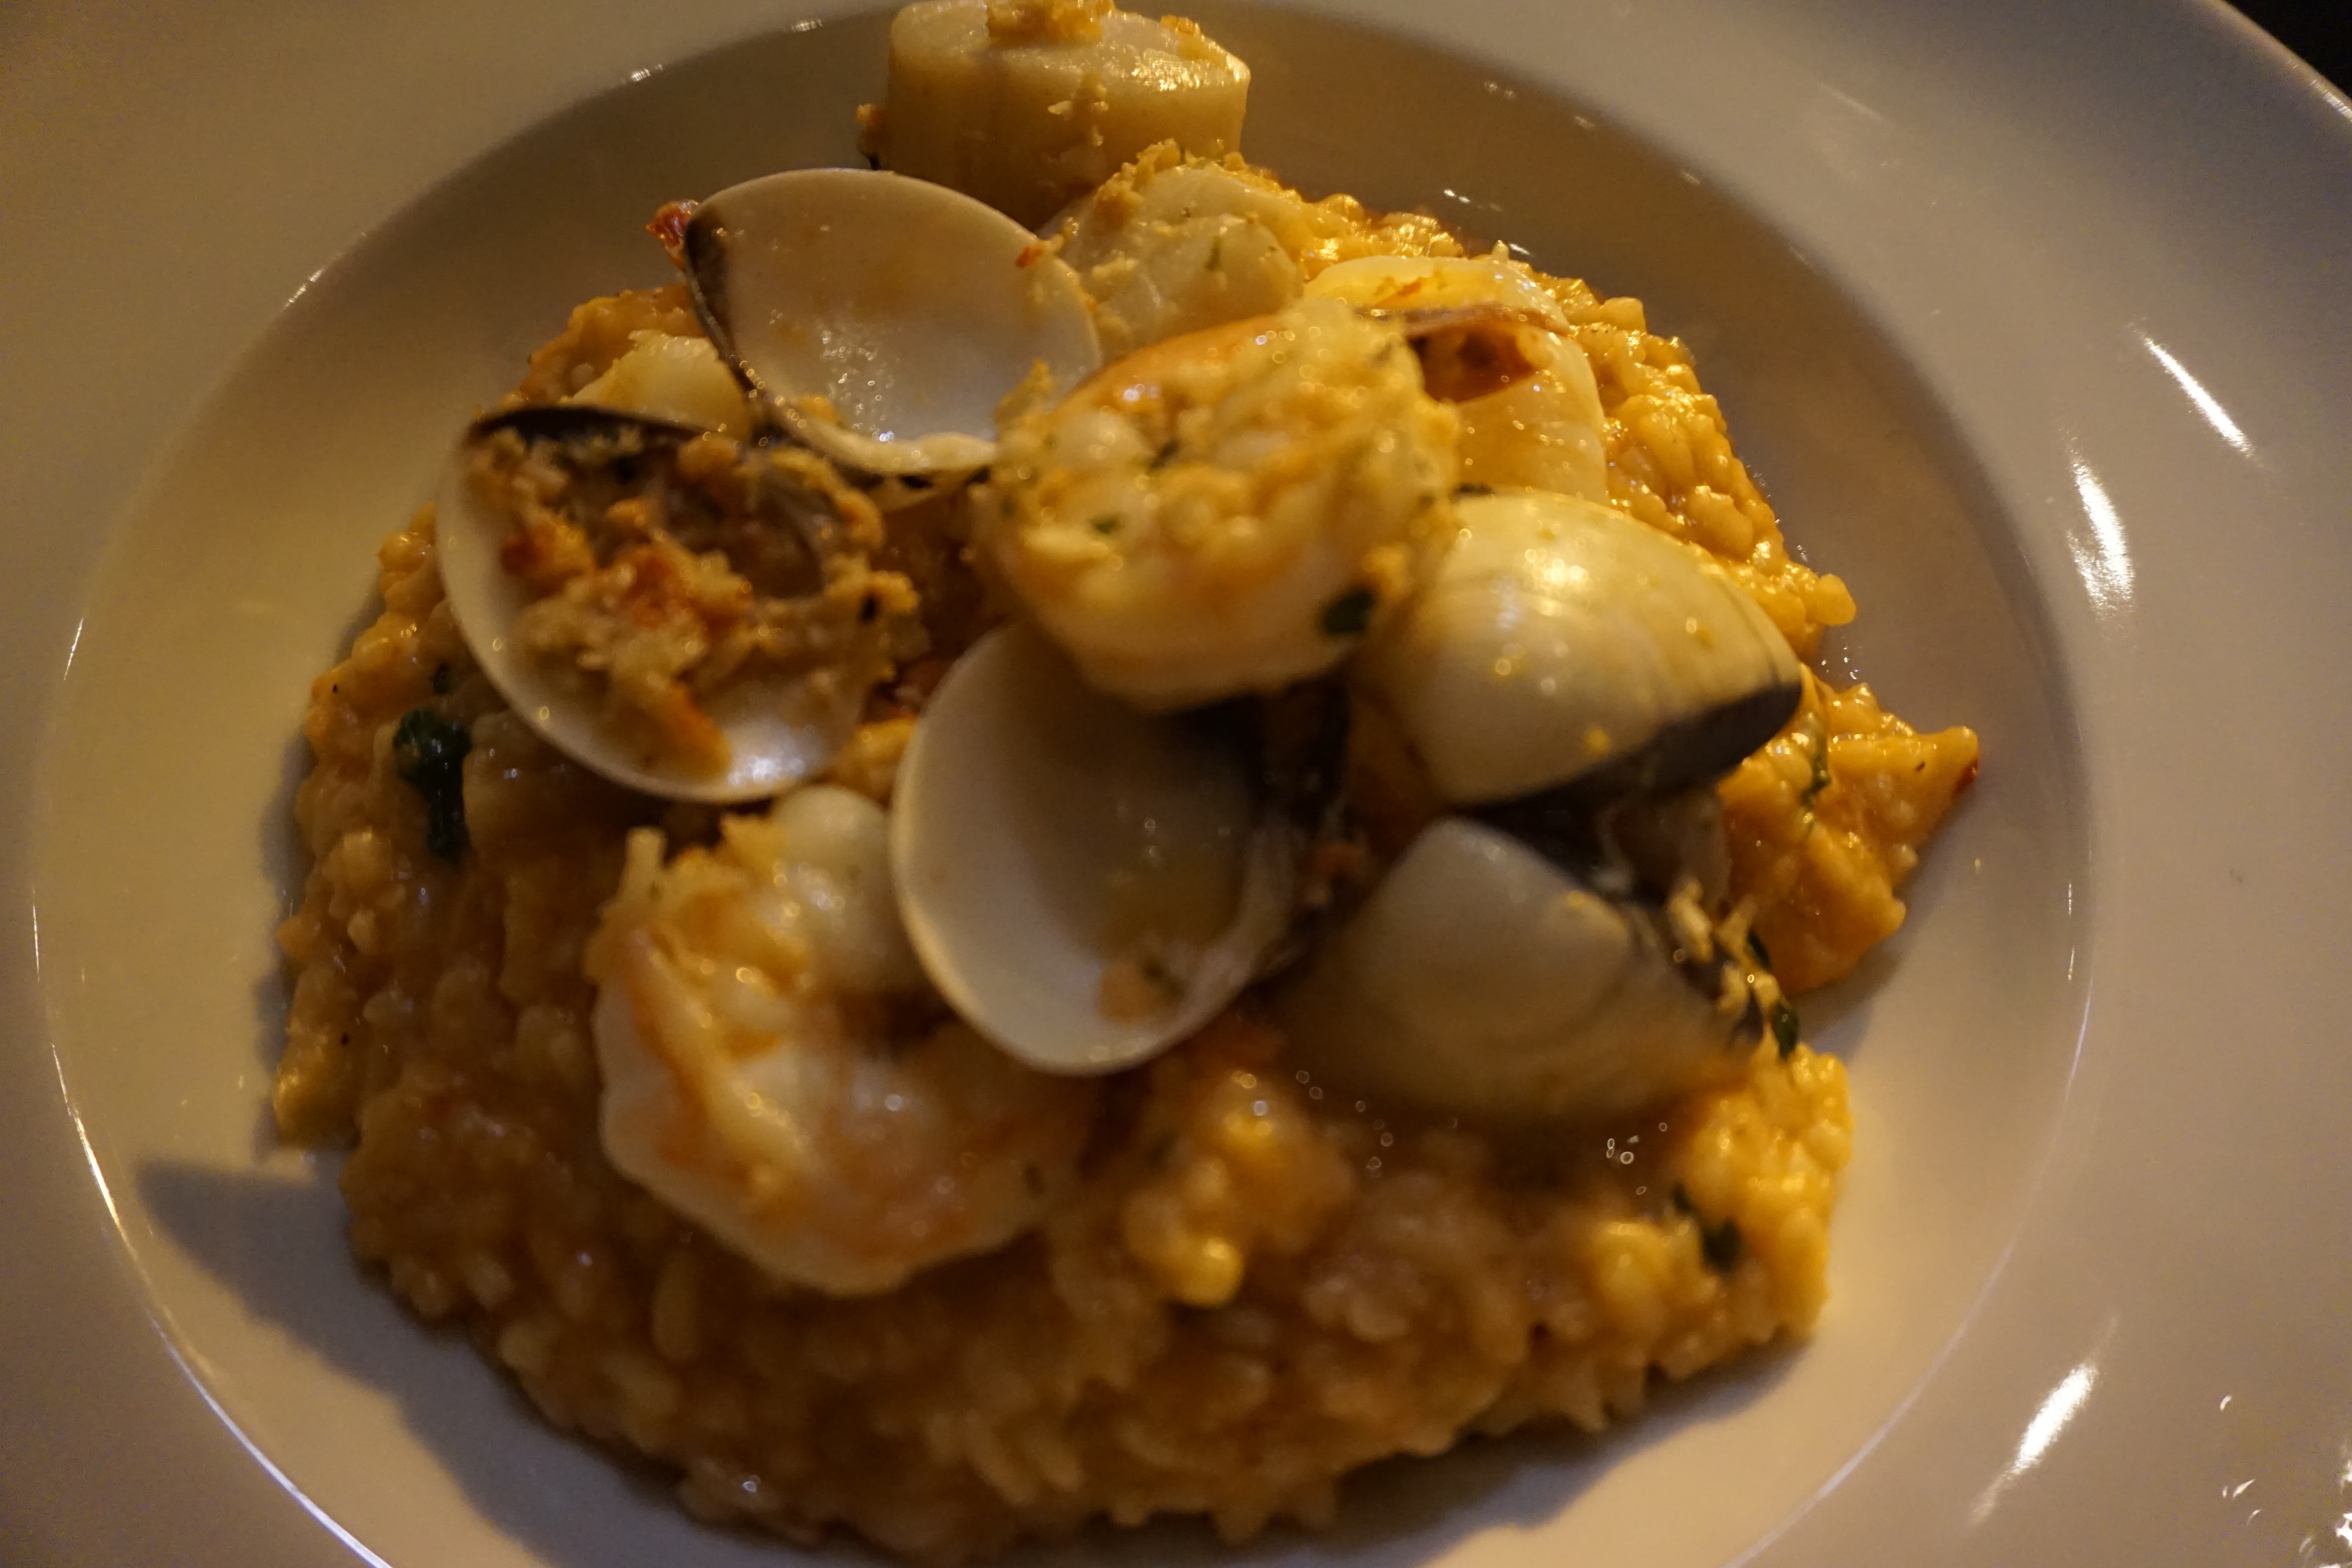
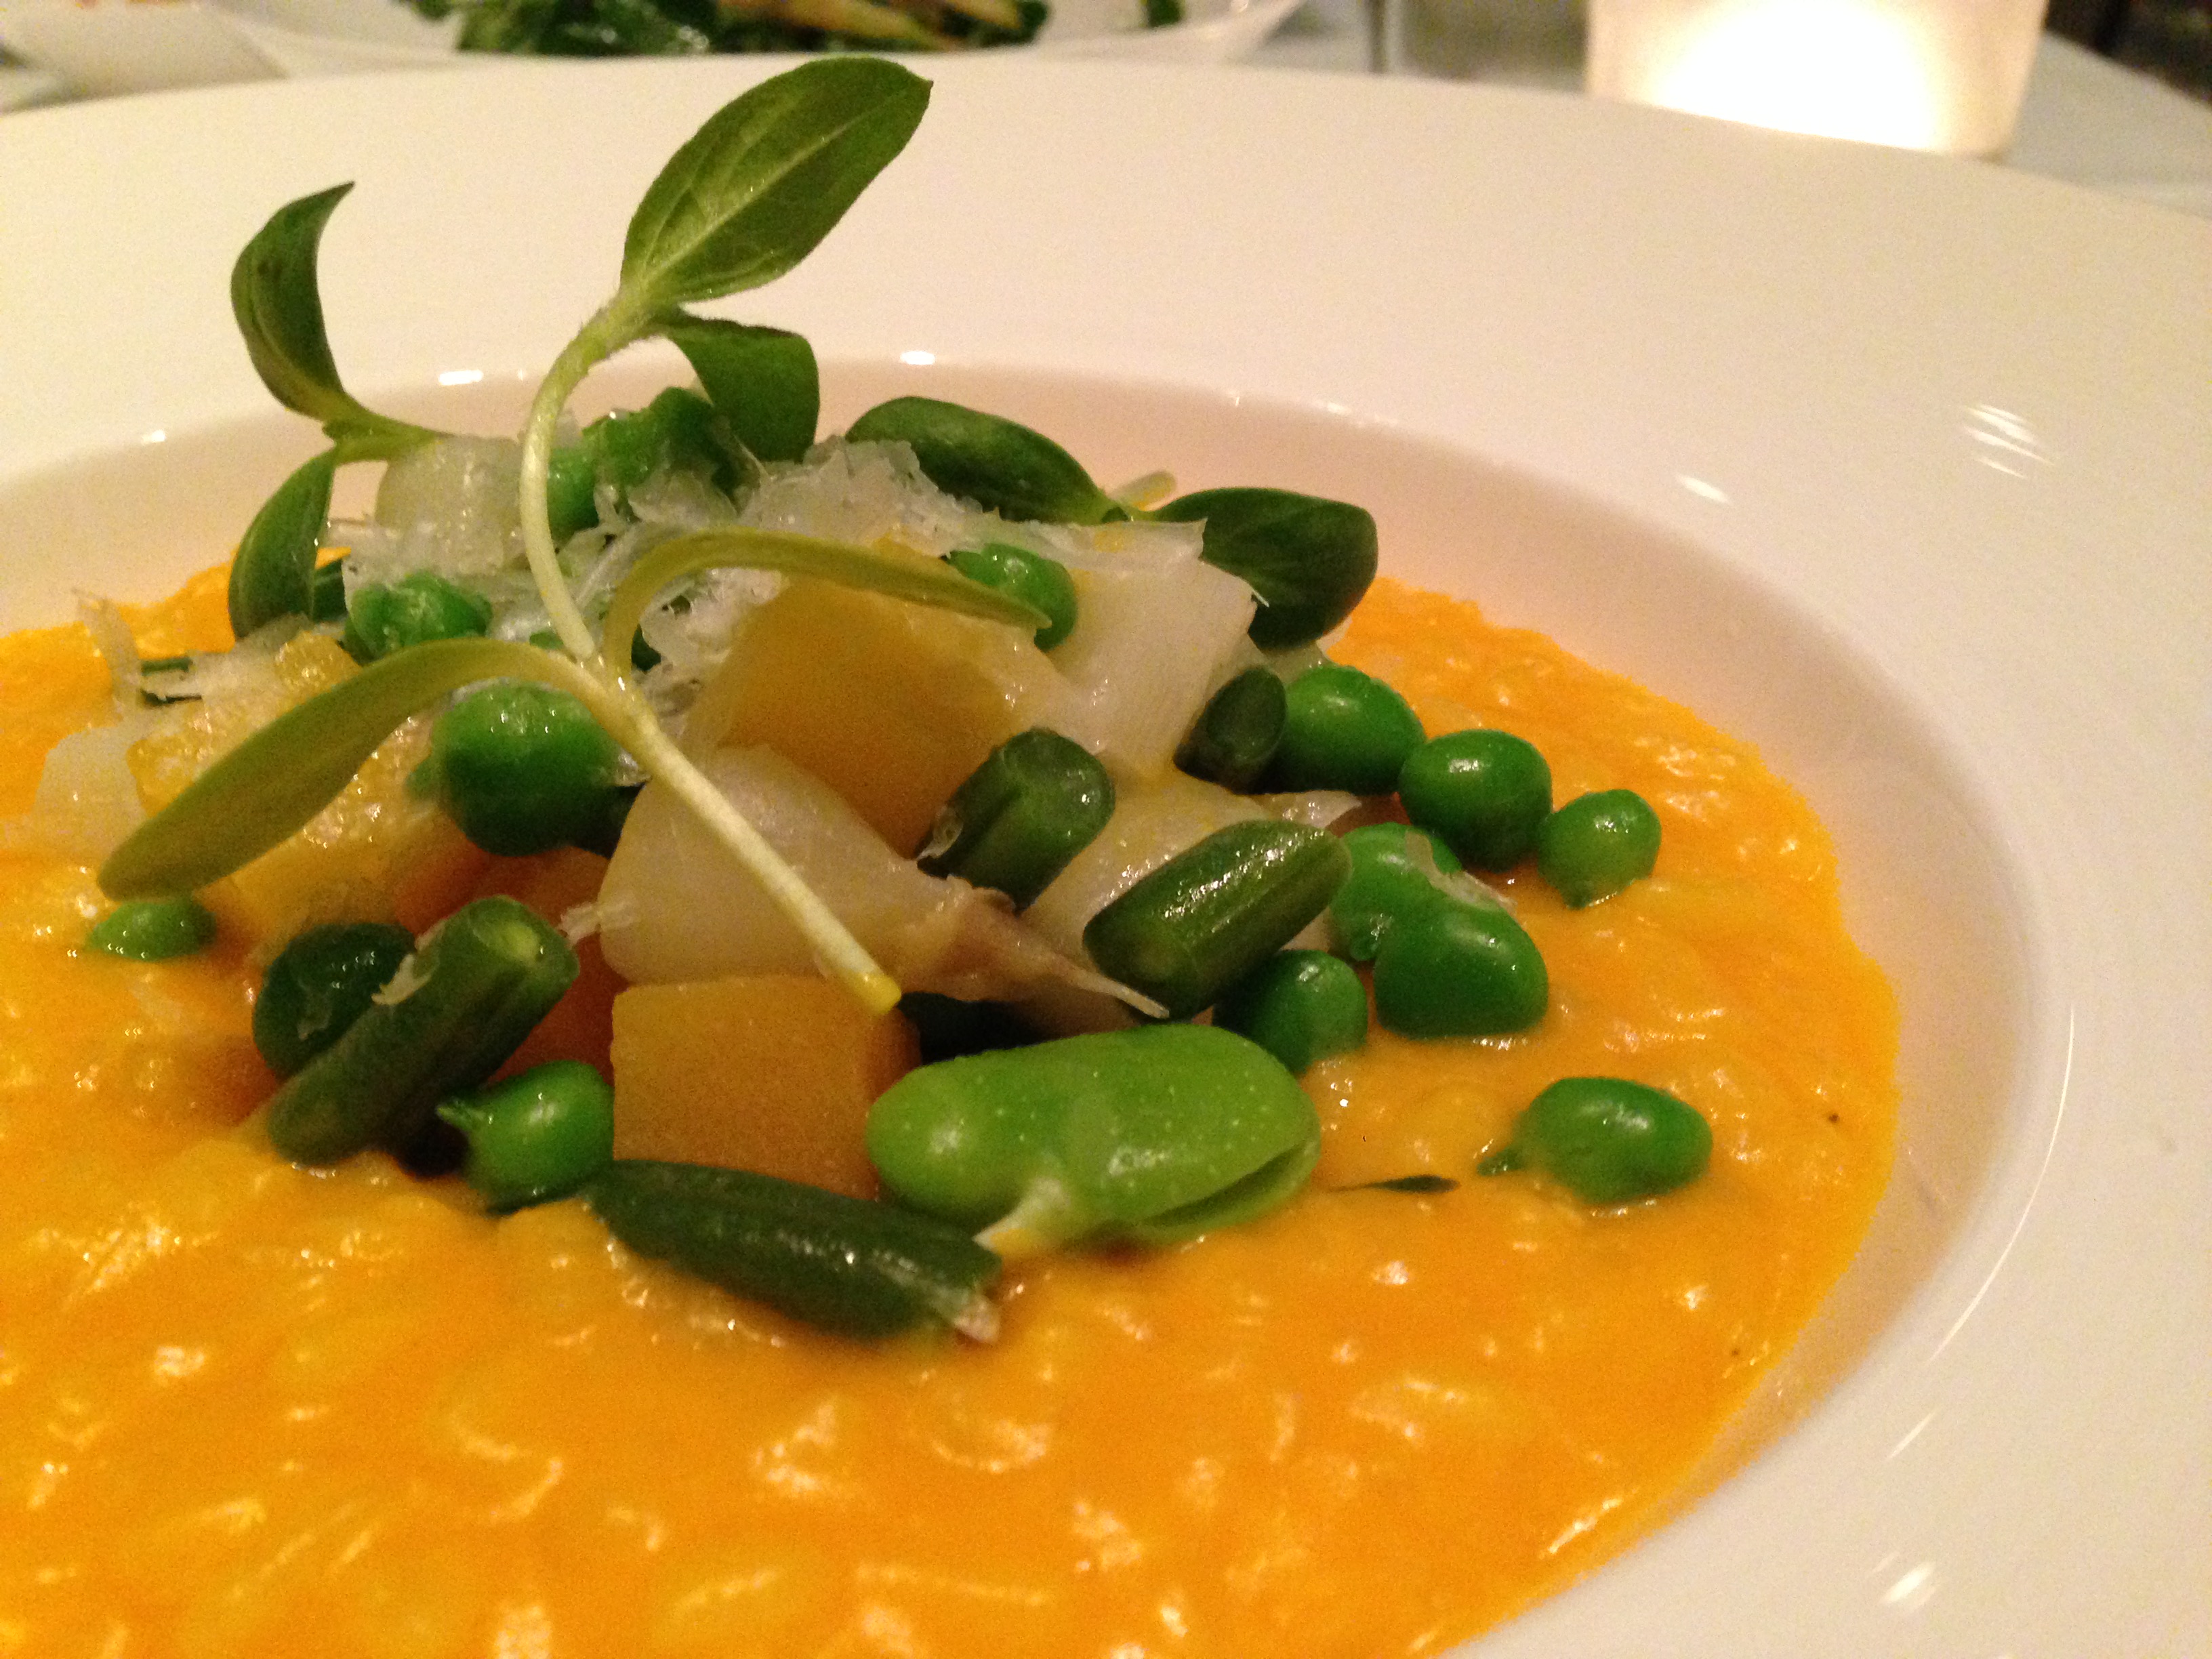
And when the “dining” stars were alignedPosh Noshing at Torafuku, the #CoolestCatOnTheBlock (958 Main Street, Vancouver tel 778-903-2006)

Finally we made it to Torafuku, “brick and mortar” location by the creators of Le Tigre food truck 

2 cocktails for him + 1 mocktail for me + 4 great dishes + 1 scrumptious dessert + great service +  friendly conversation with the bartenders = We will be back

IMG_9397

IMG_9384
Gone Fishing – My favourite dish
IMG_9383
YUM! Vegetarians only – crispy mochi, seasonal veggies, mozza, torched mayo

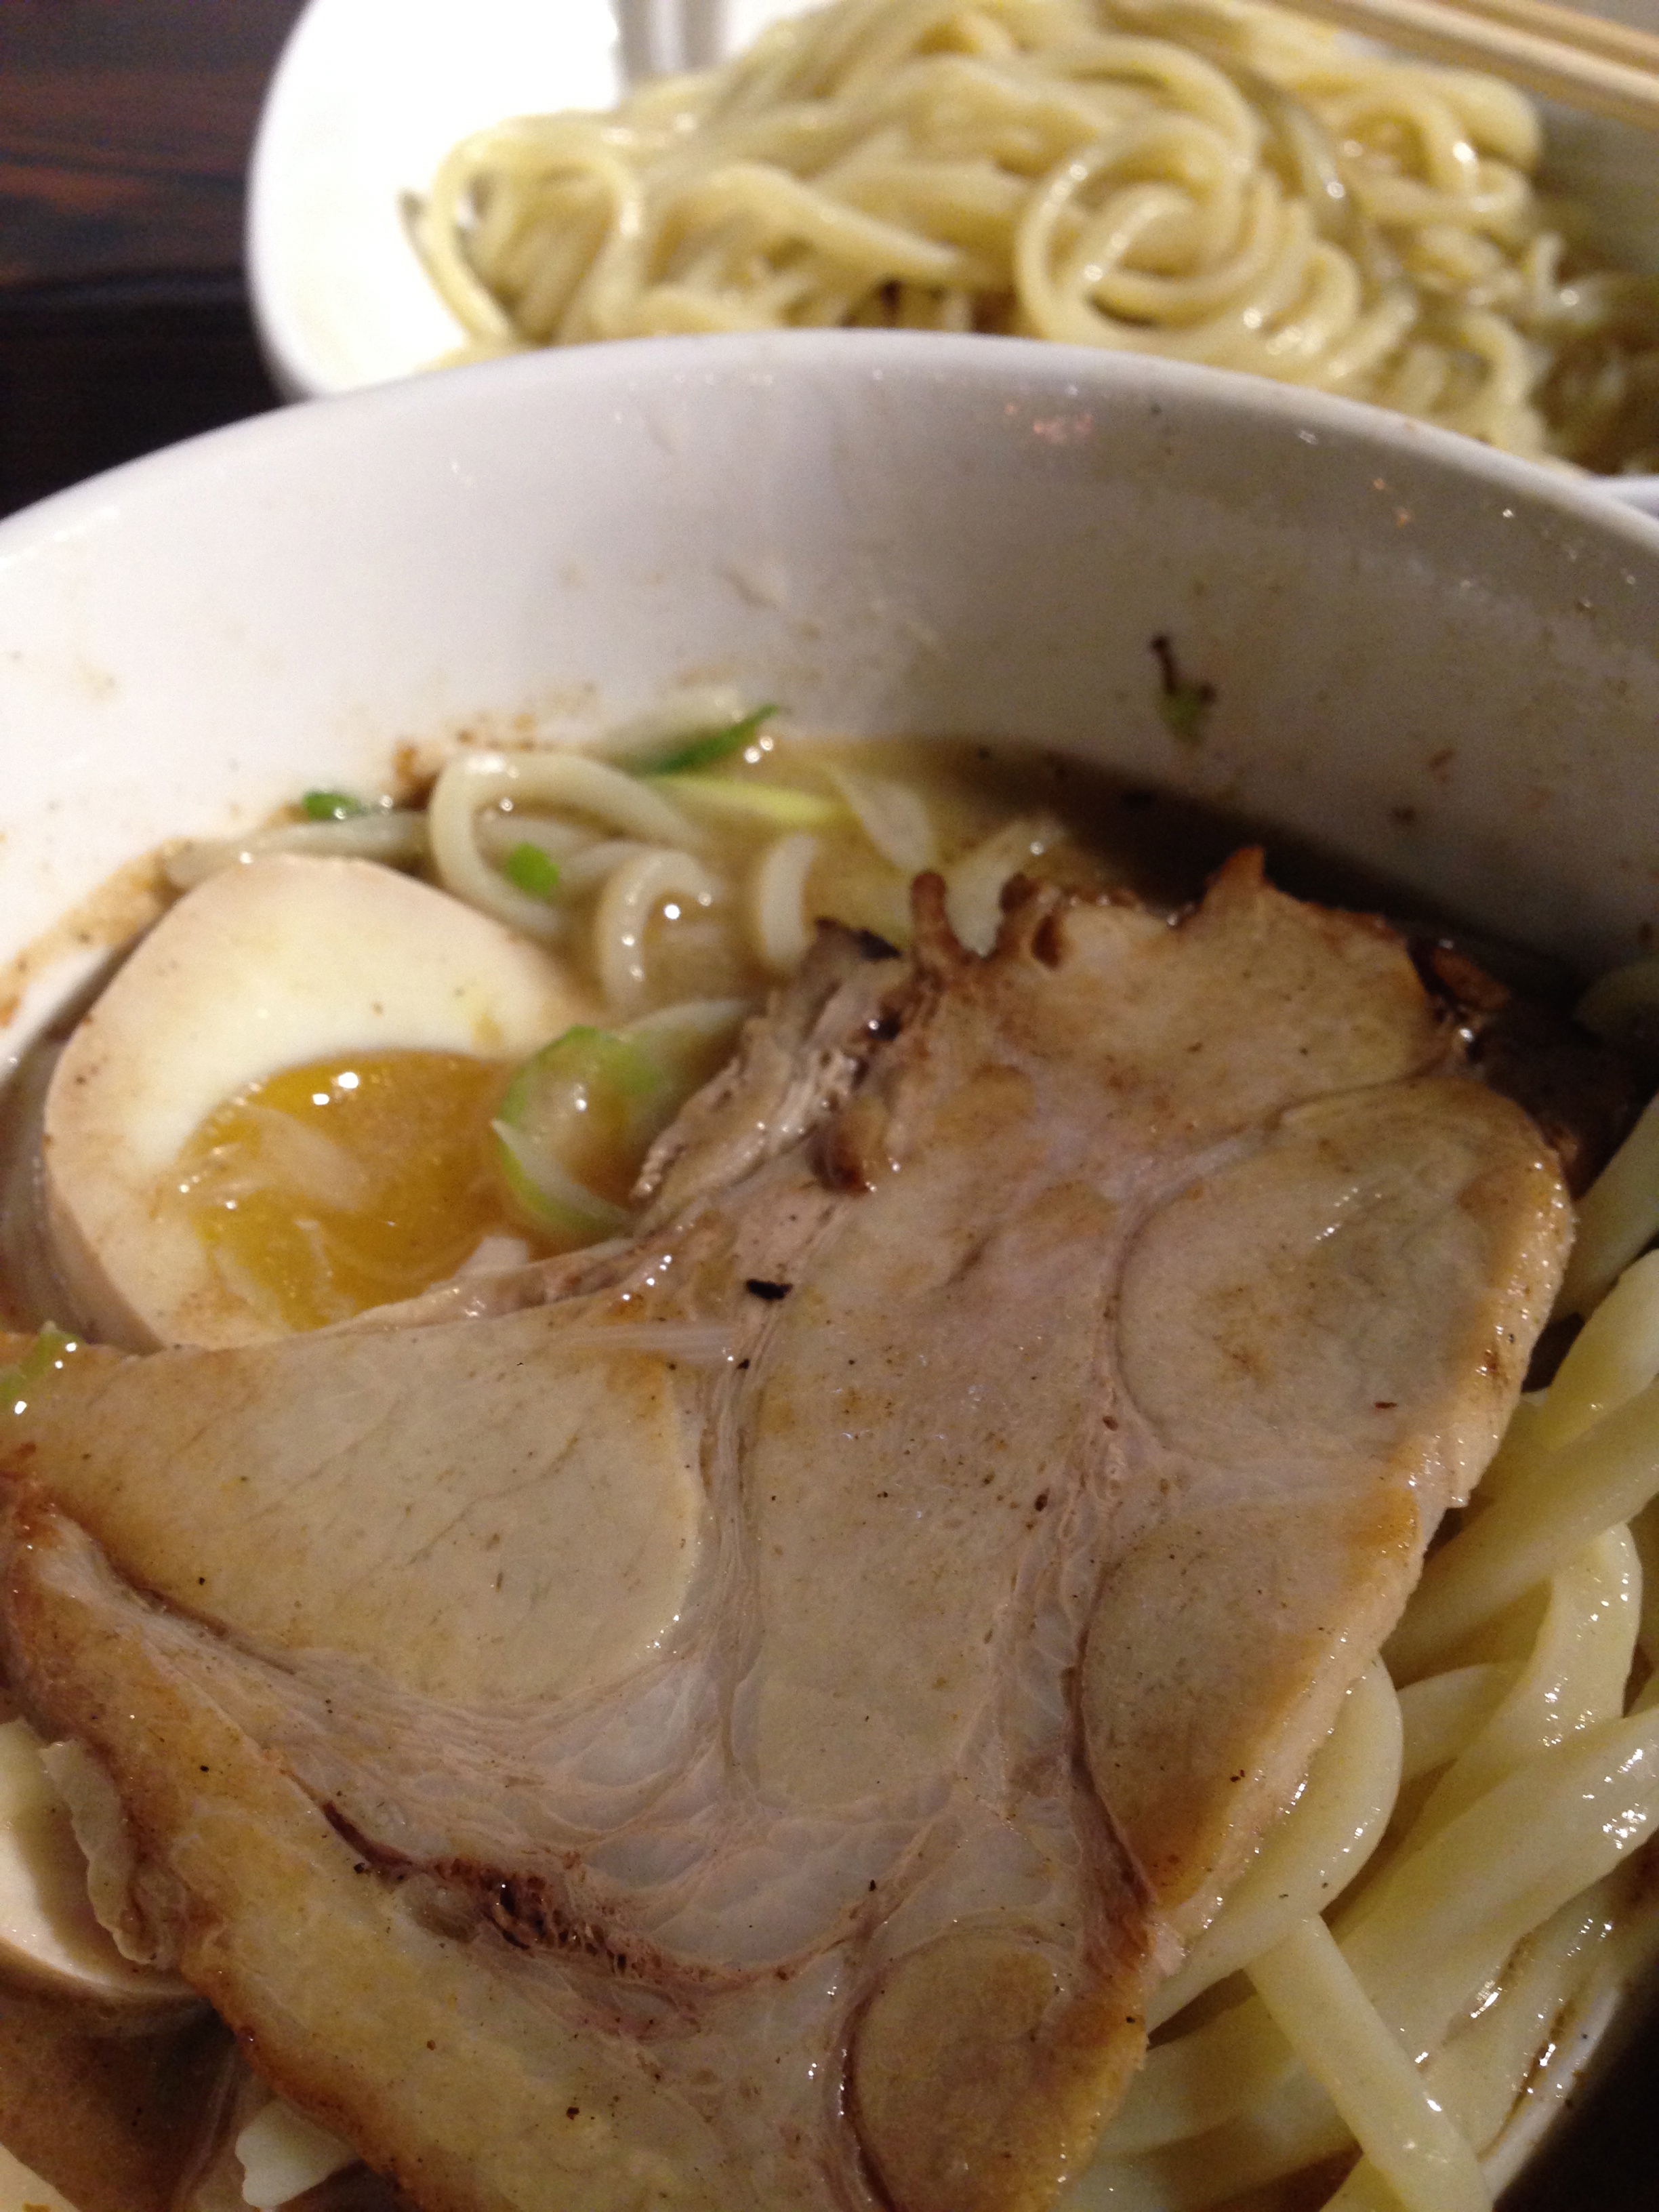
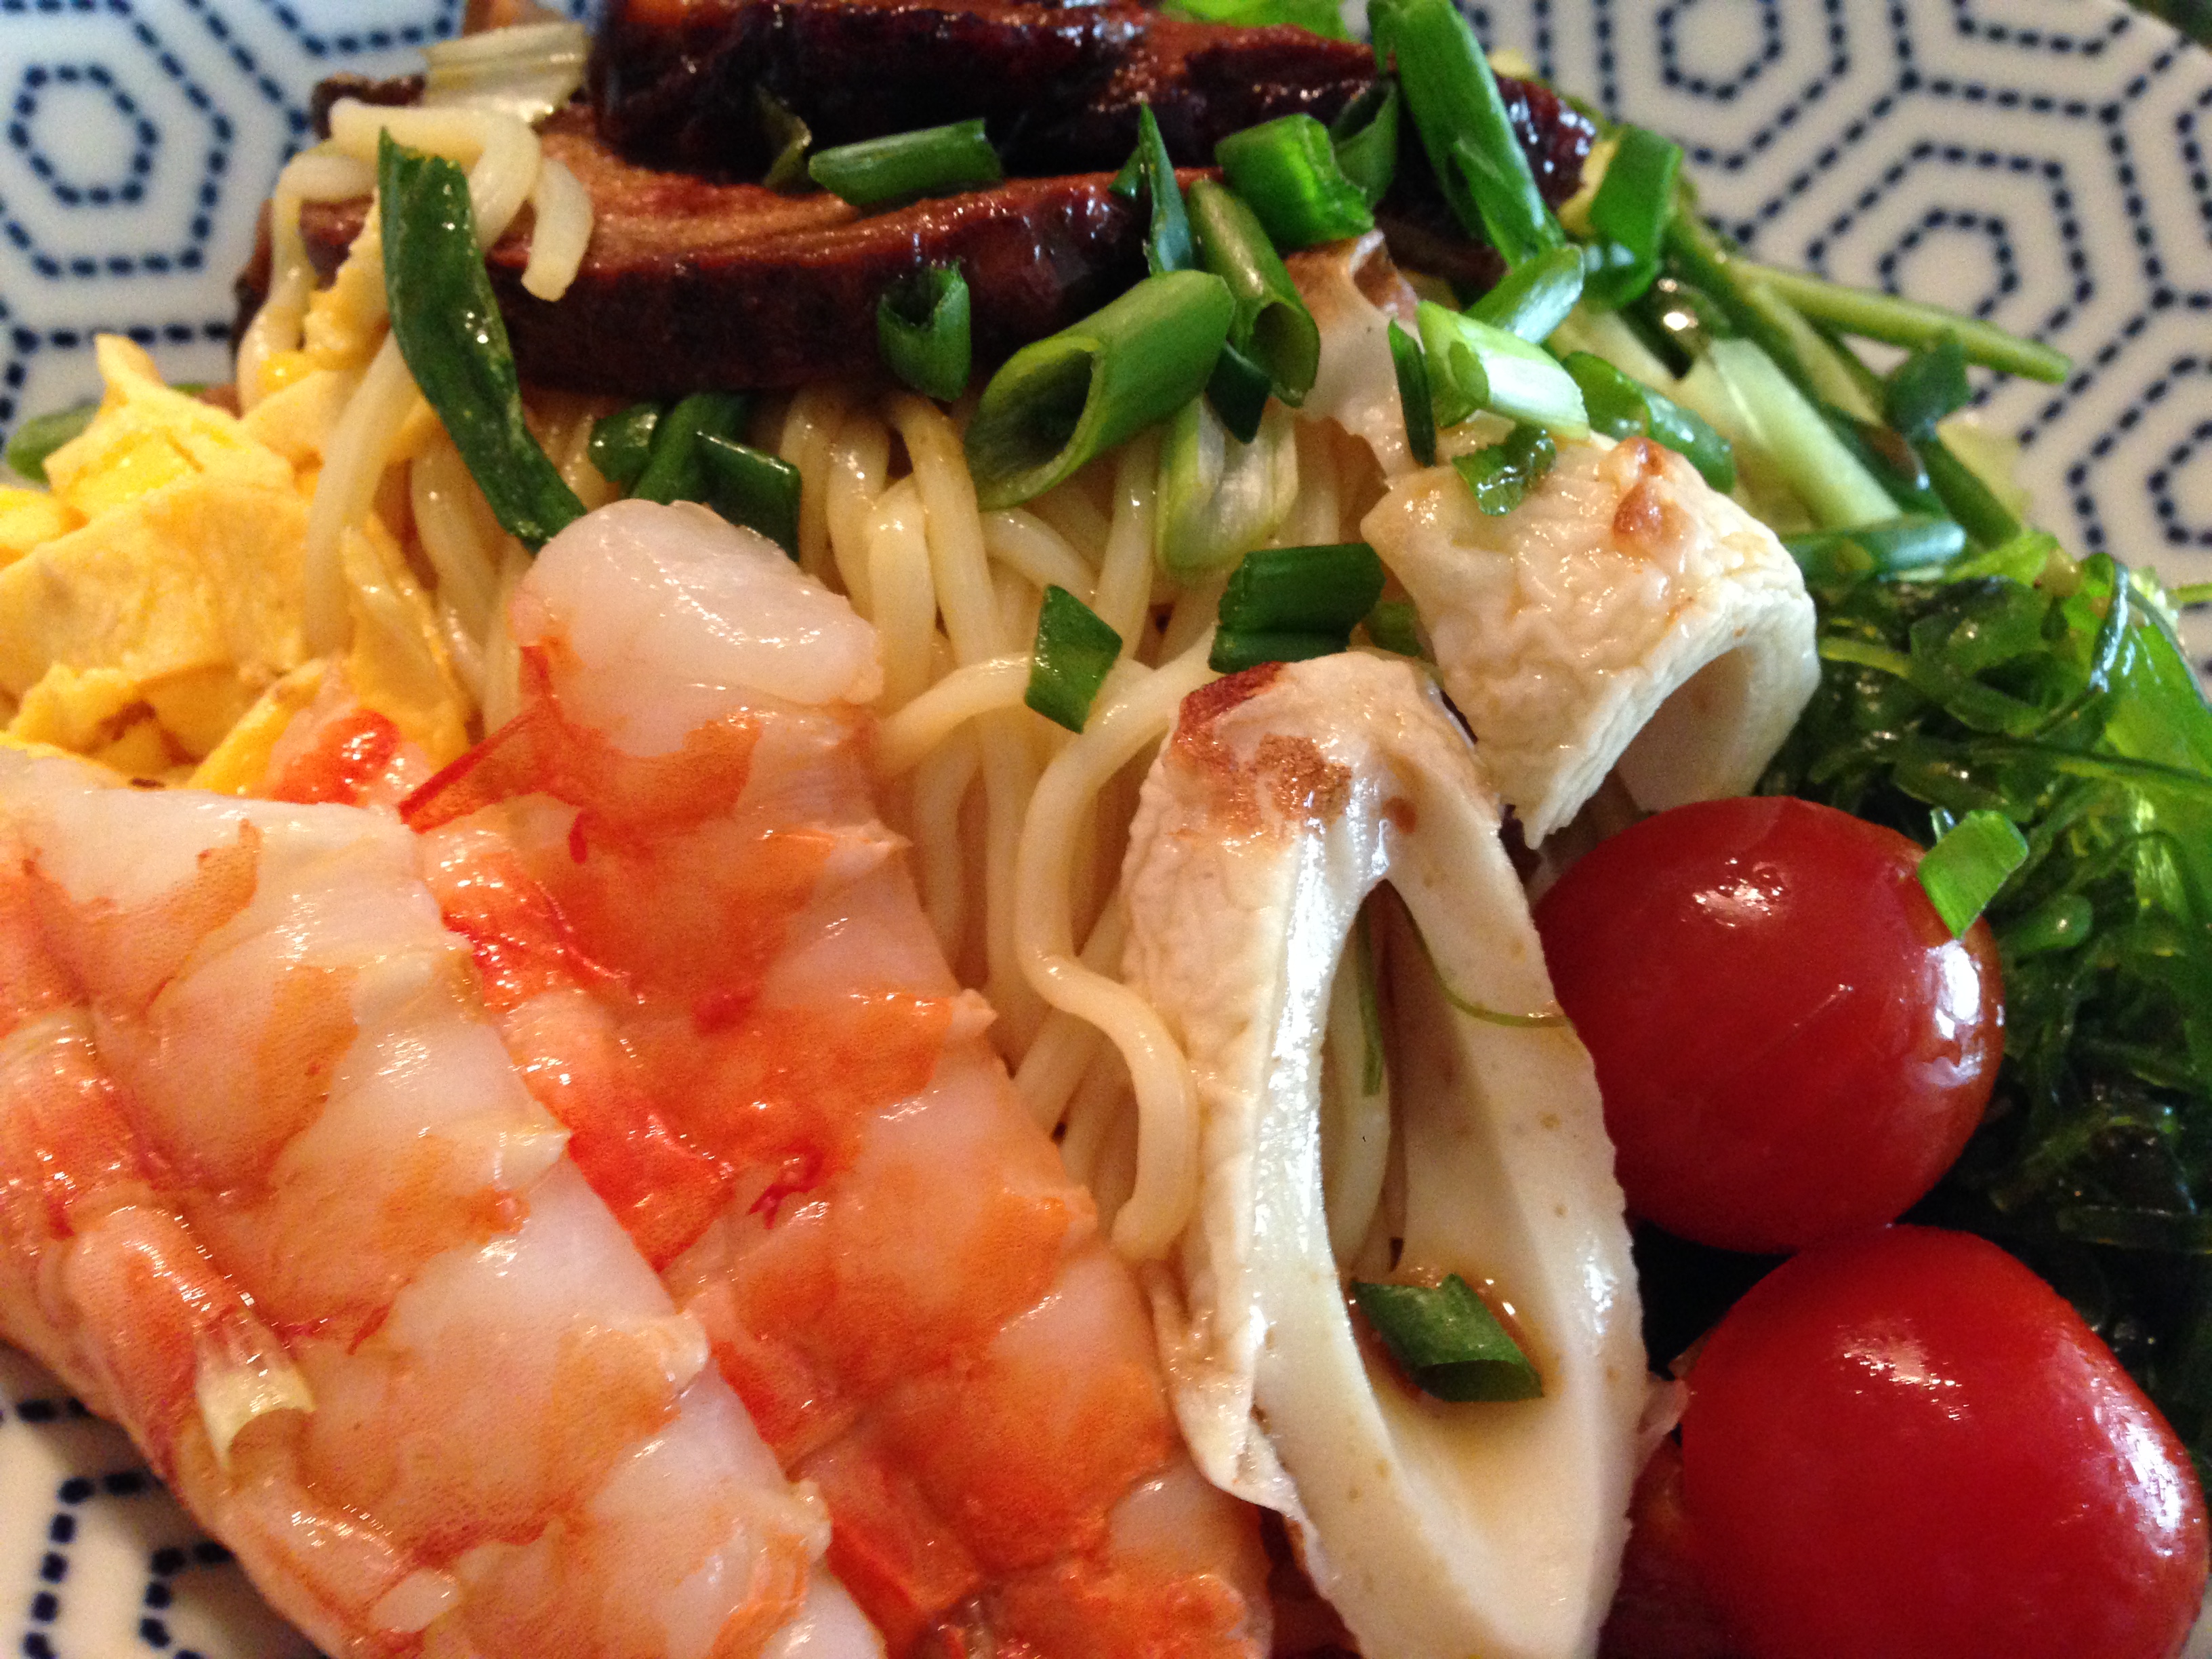
Back to Ramen Butcher in Chinatown..this time for tsukemen (Check out their campaign specials on instagram)

http://www.theramenbutcher.com

IMG_8865
Tsukemen with Japanese char siu

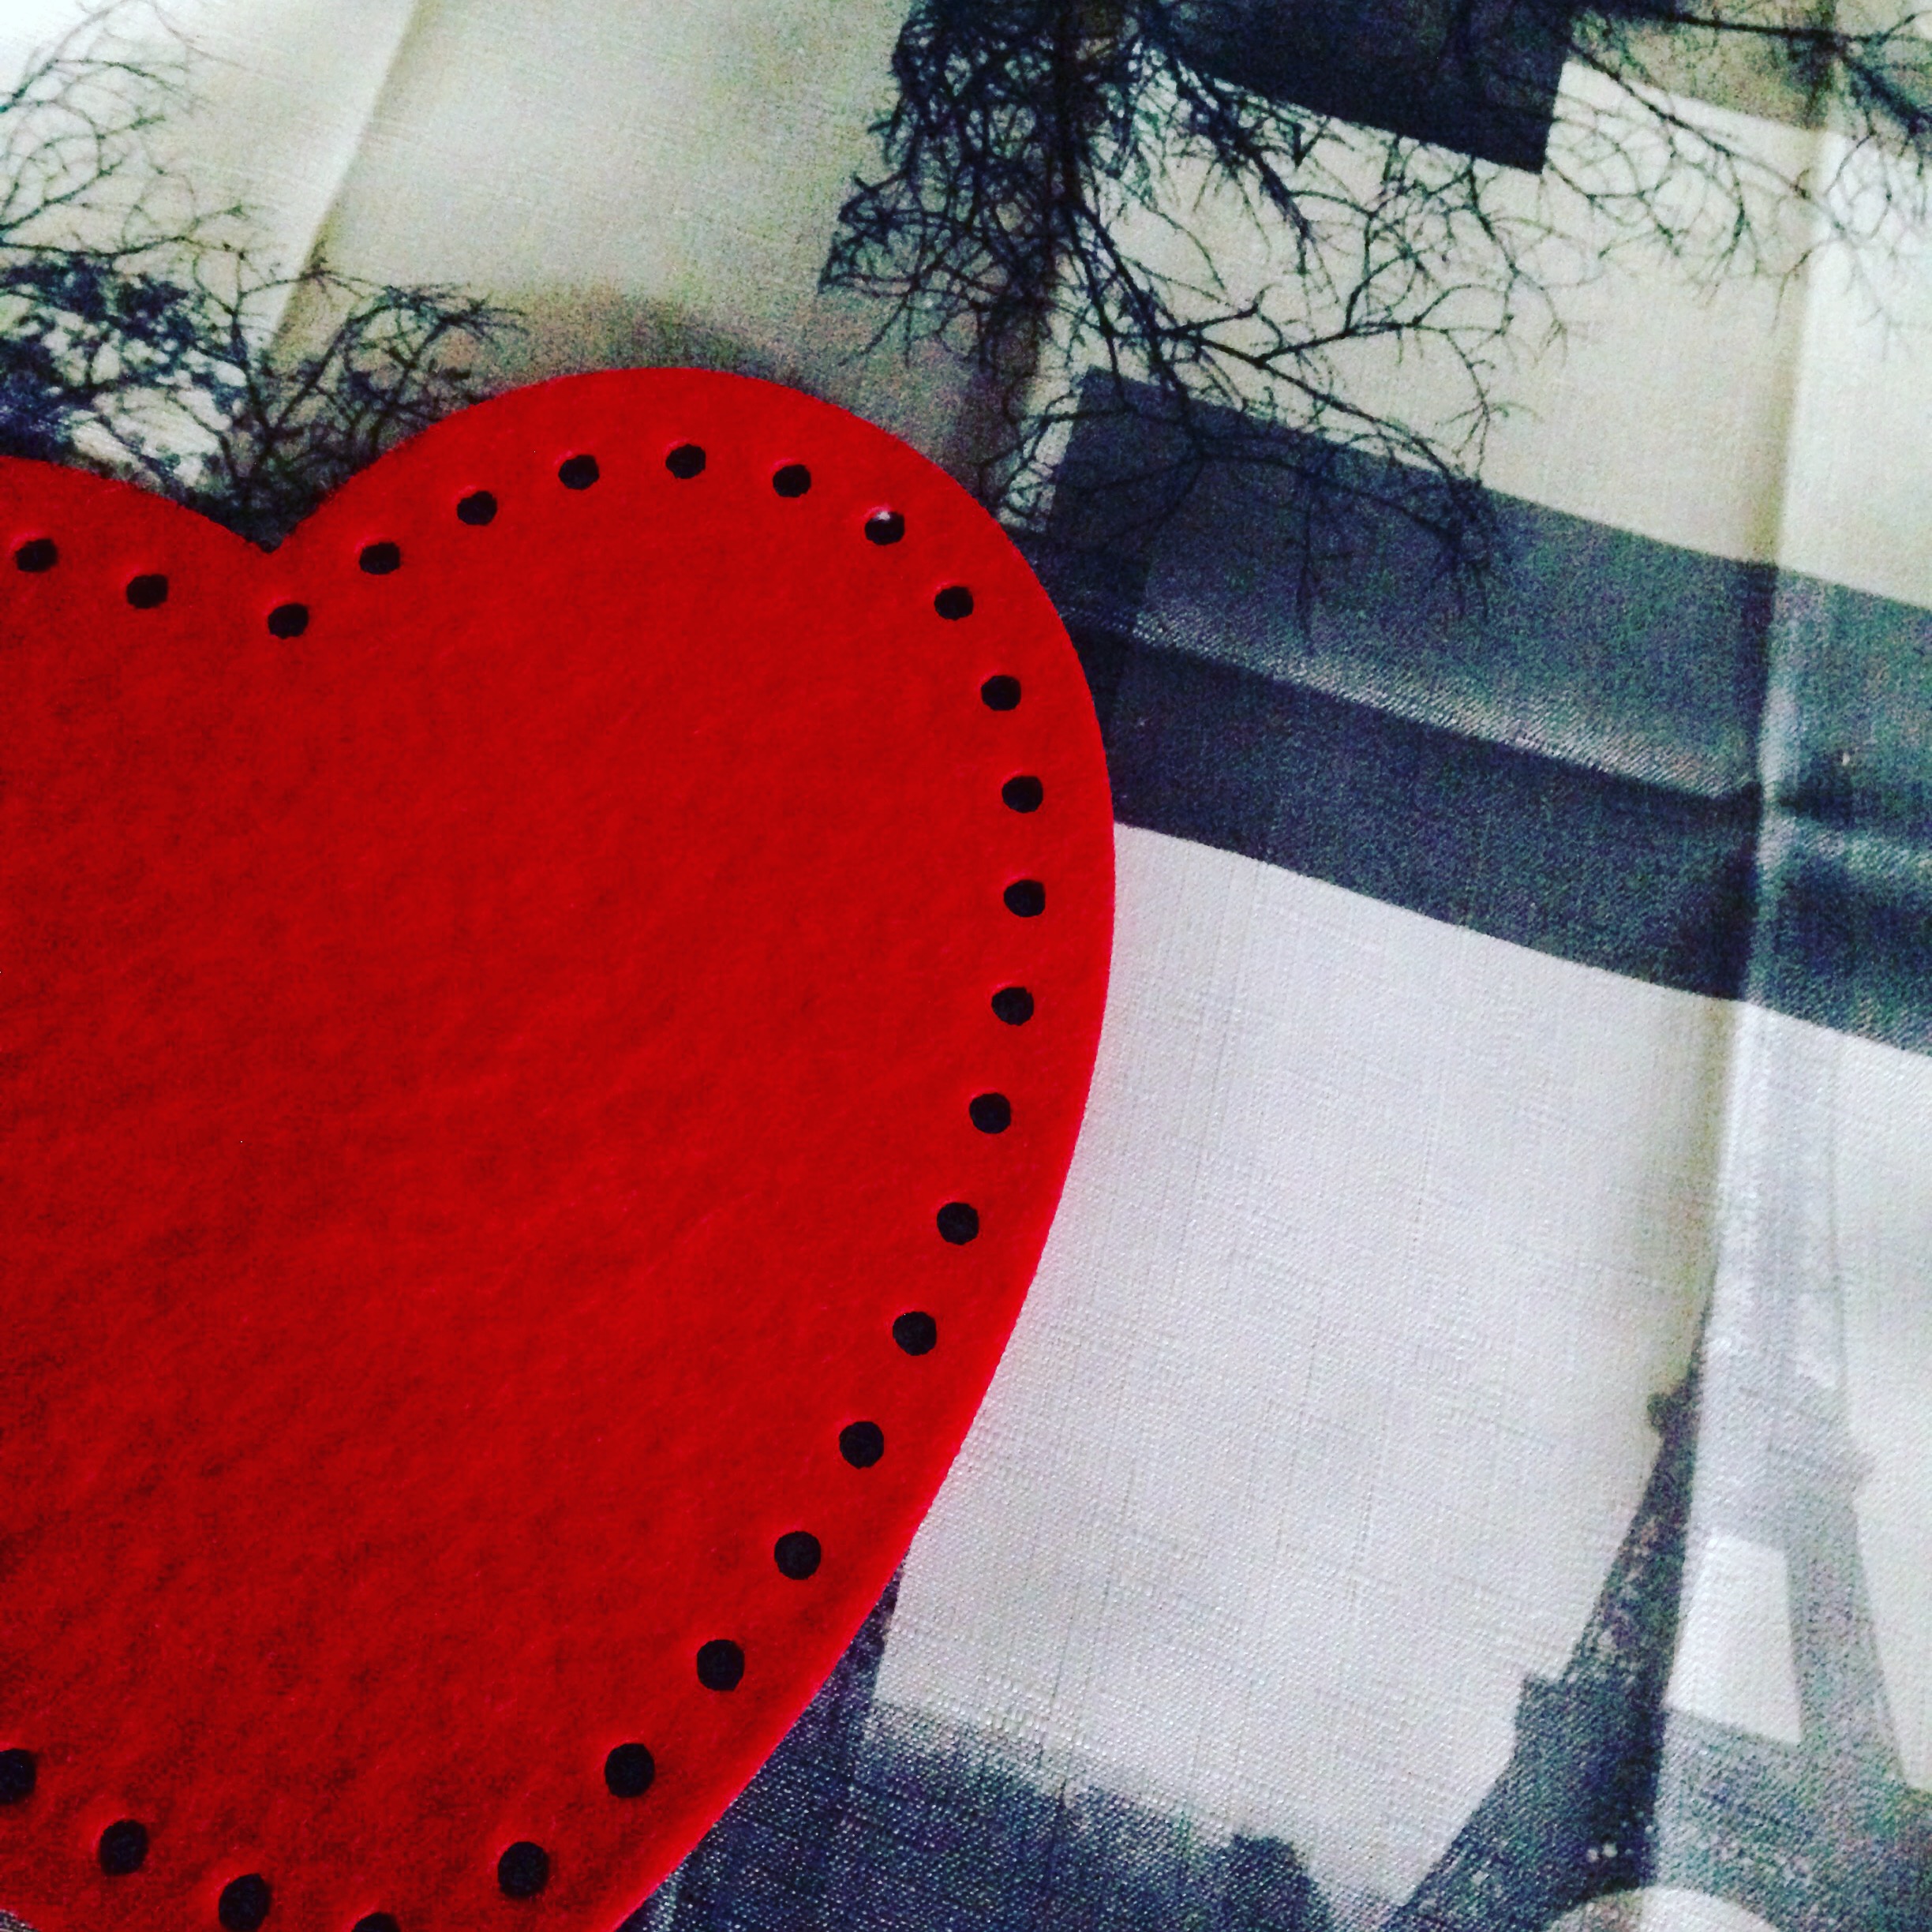
Although my heart goes out to Paris...

IMG_9398

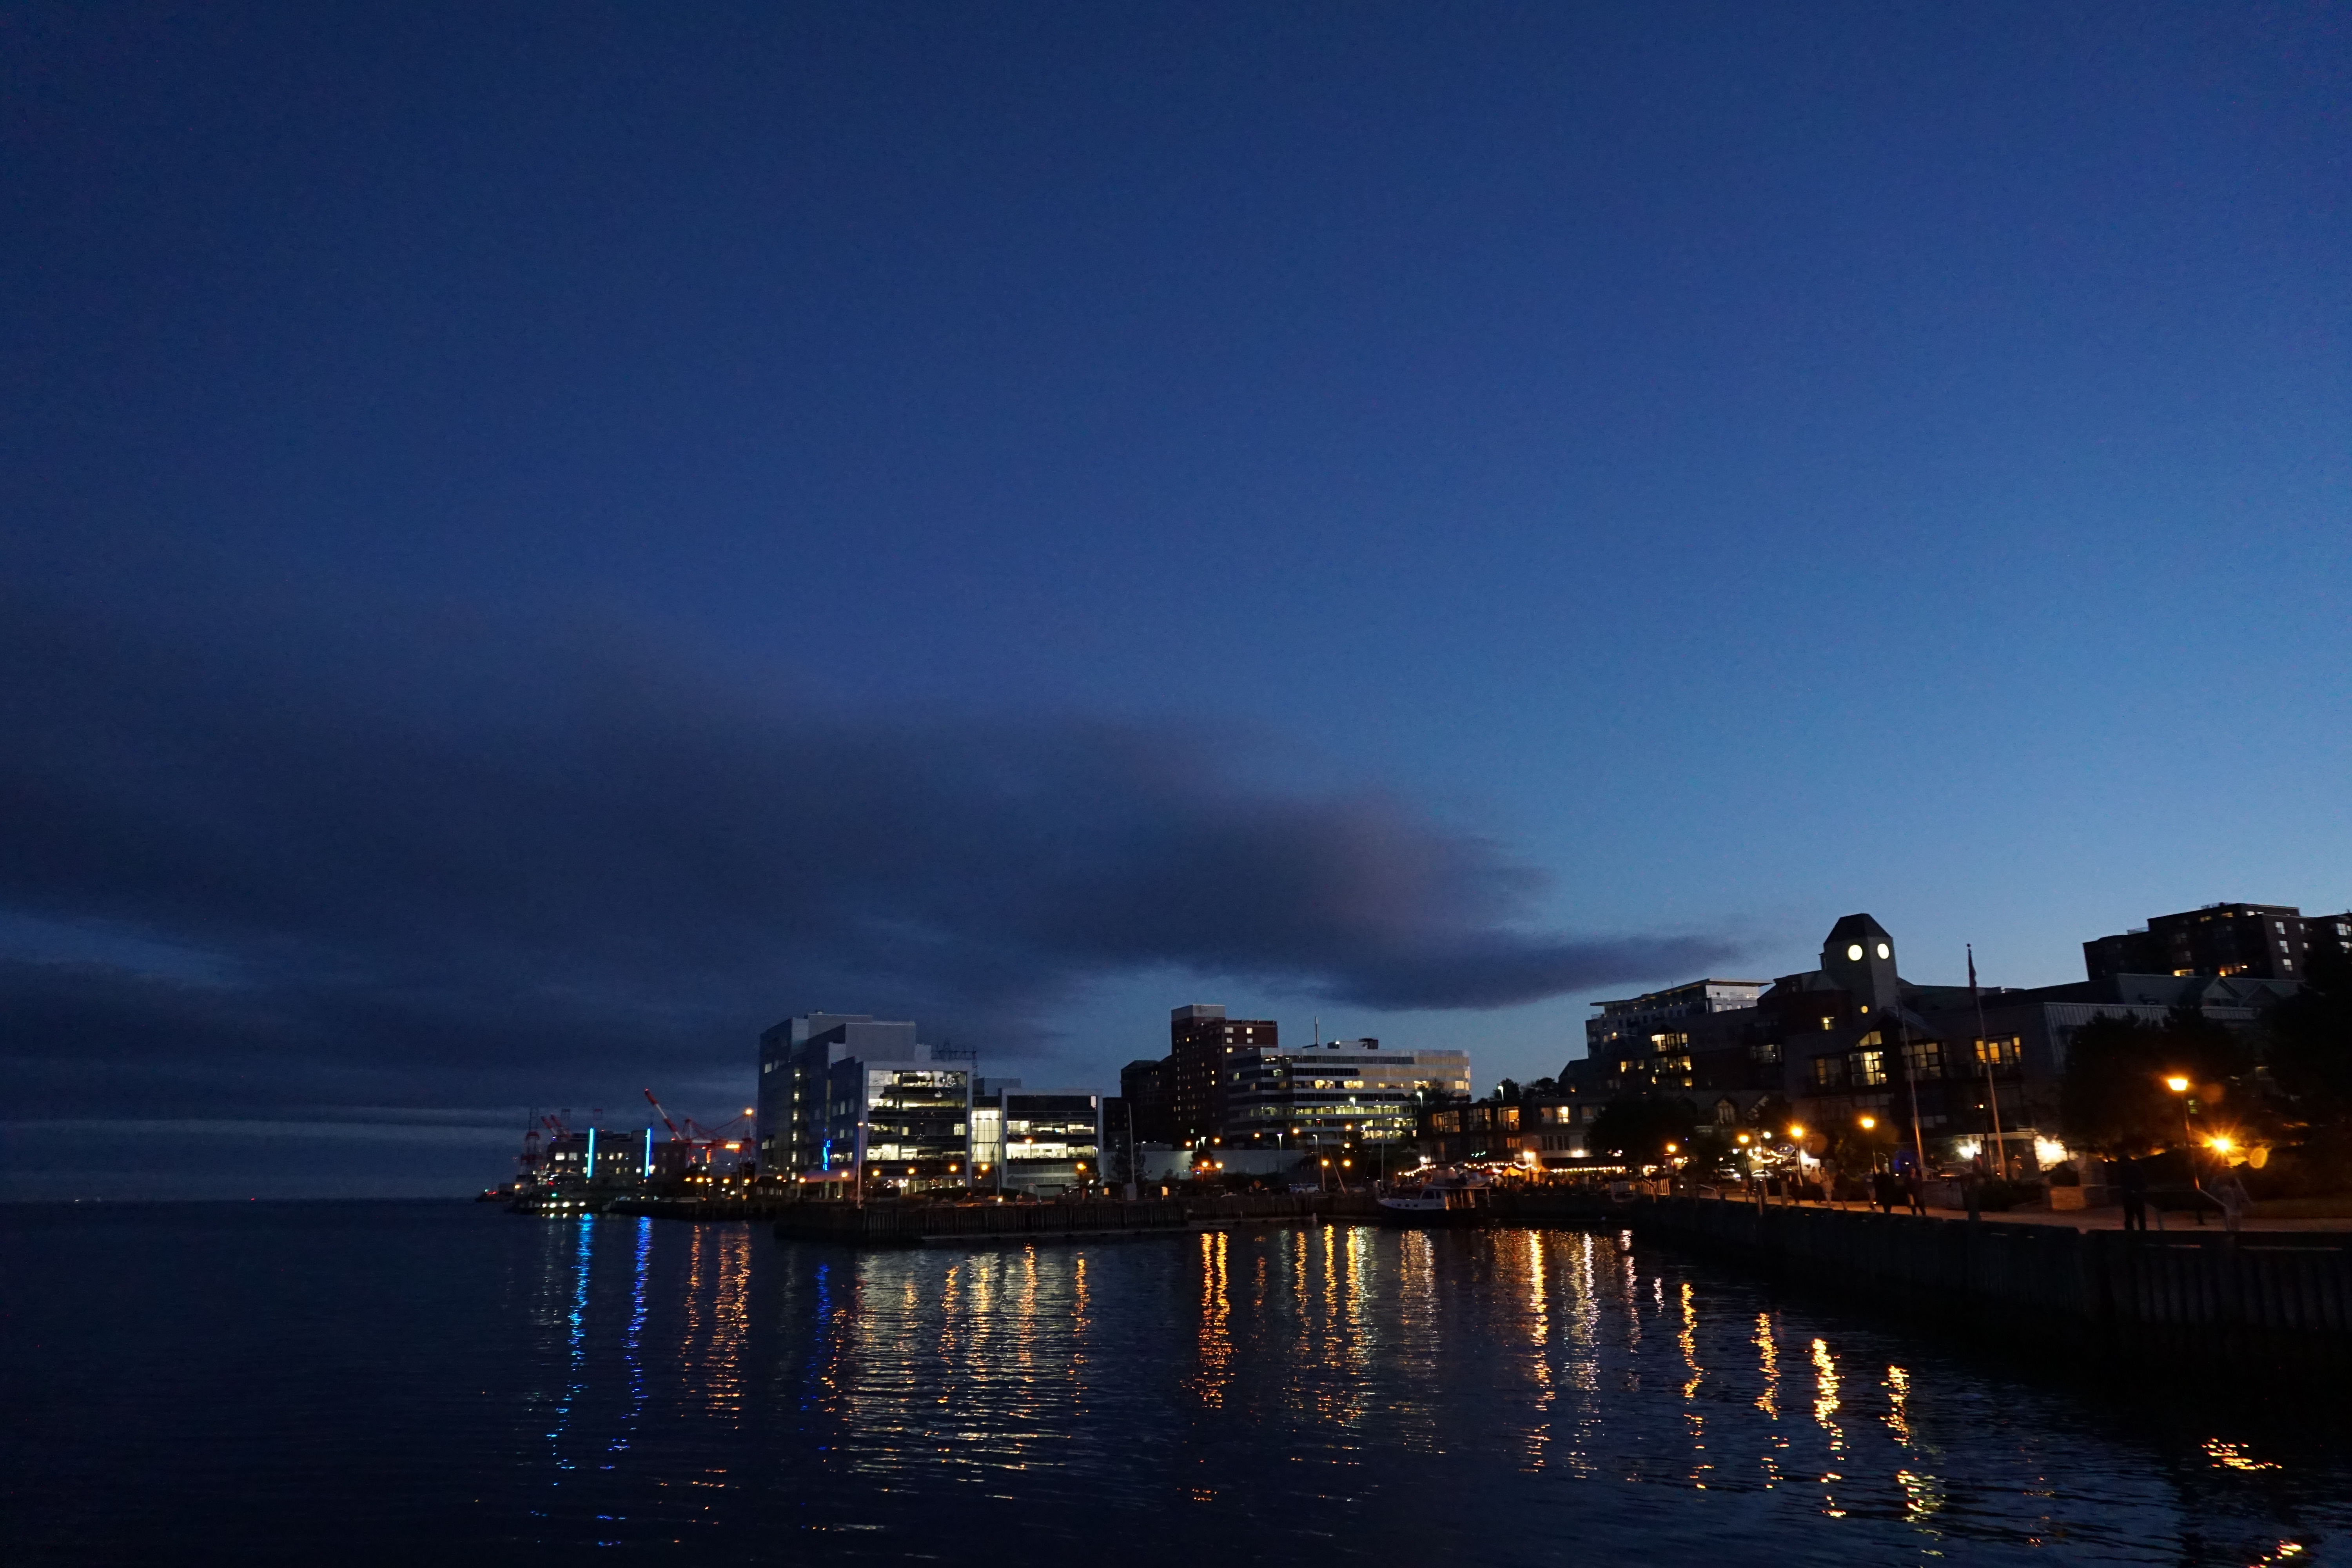
There’s always lots happening in my city:

http://www.vancitybuzz.com

http://www.eatlocal.org

Can you decipher the message? It echoes my sentiments towards “Raincouver”…

(Maggie, thank you for being the coolest teacher)

IMG_9329

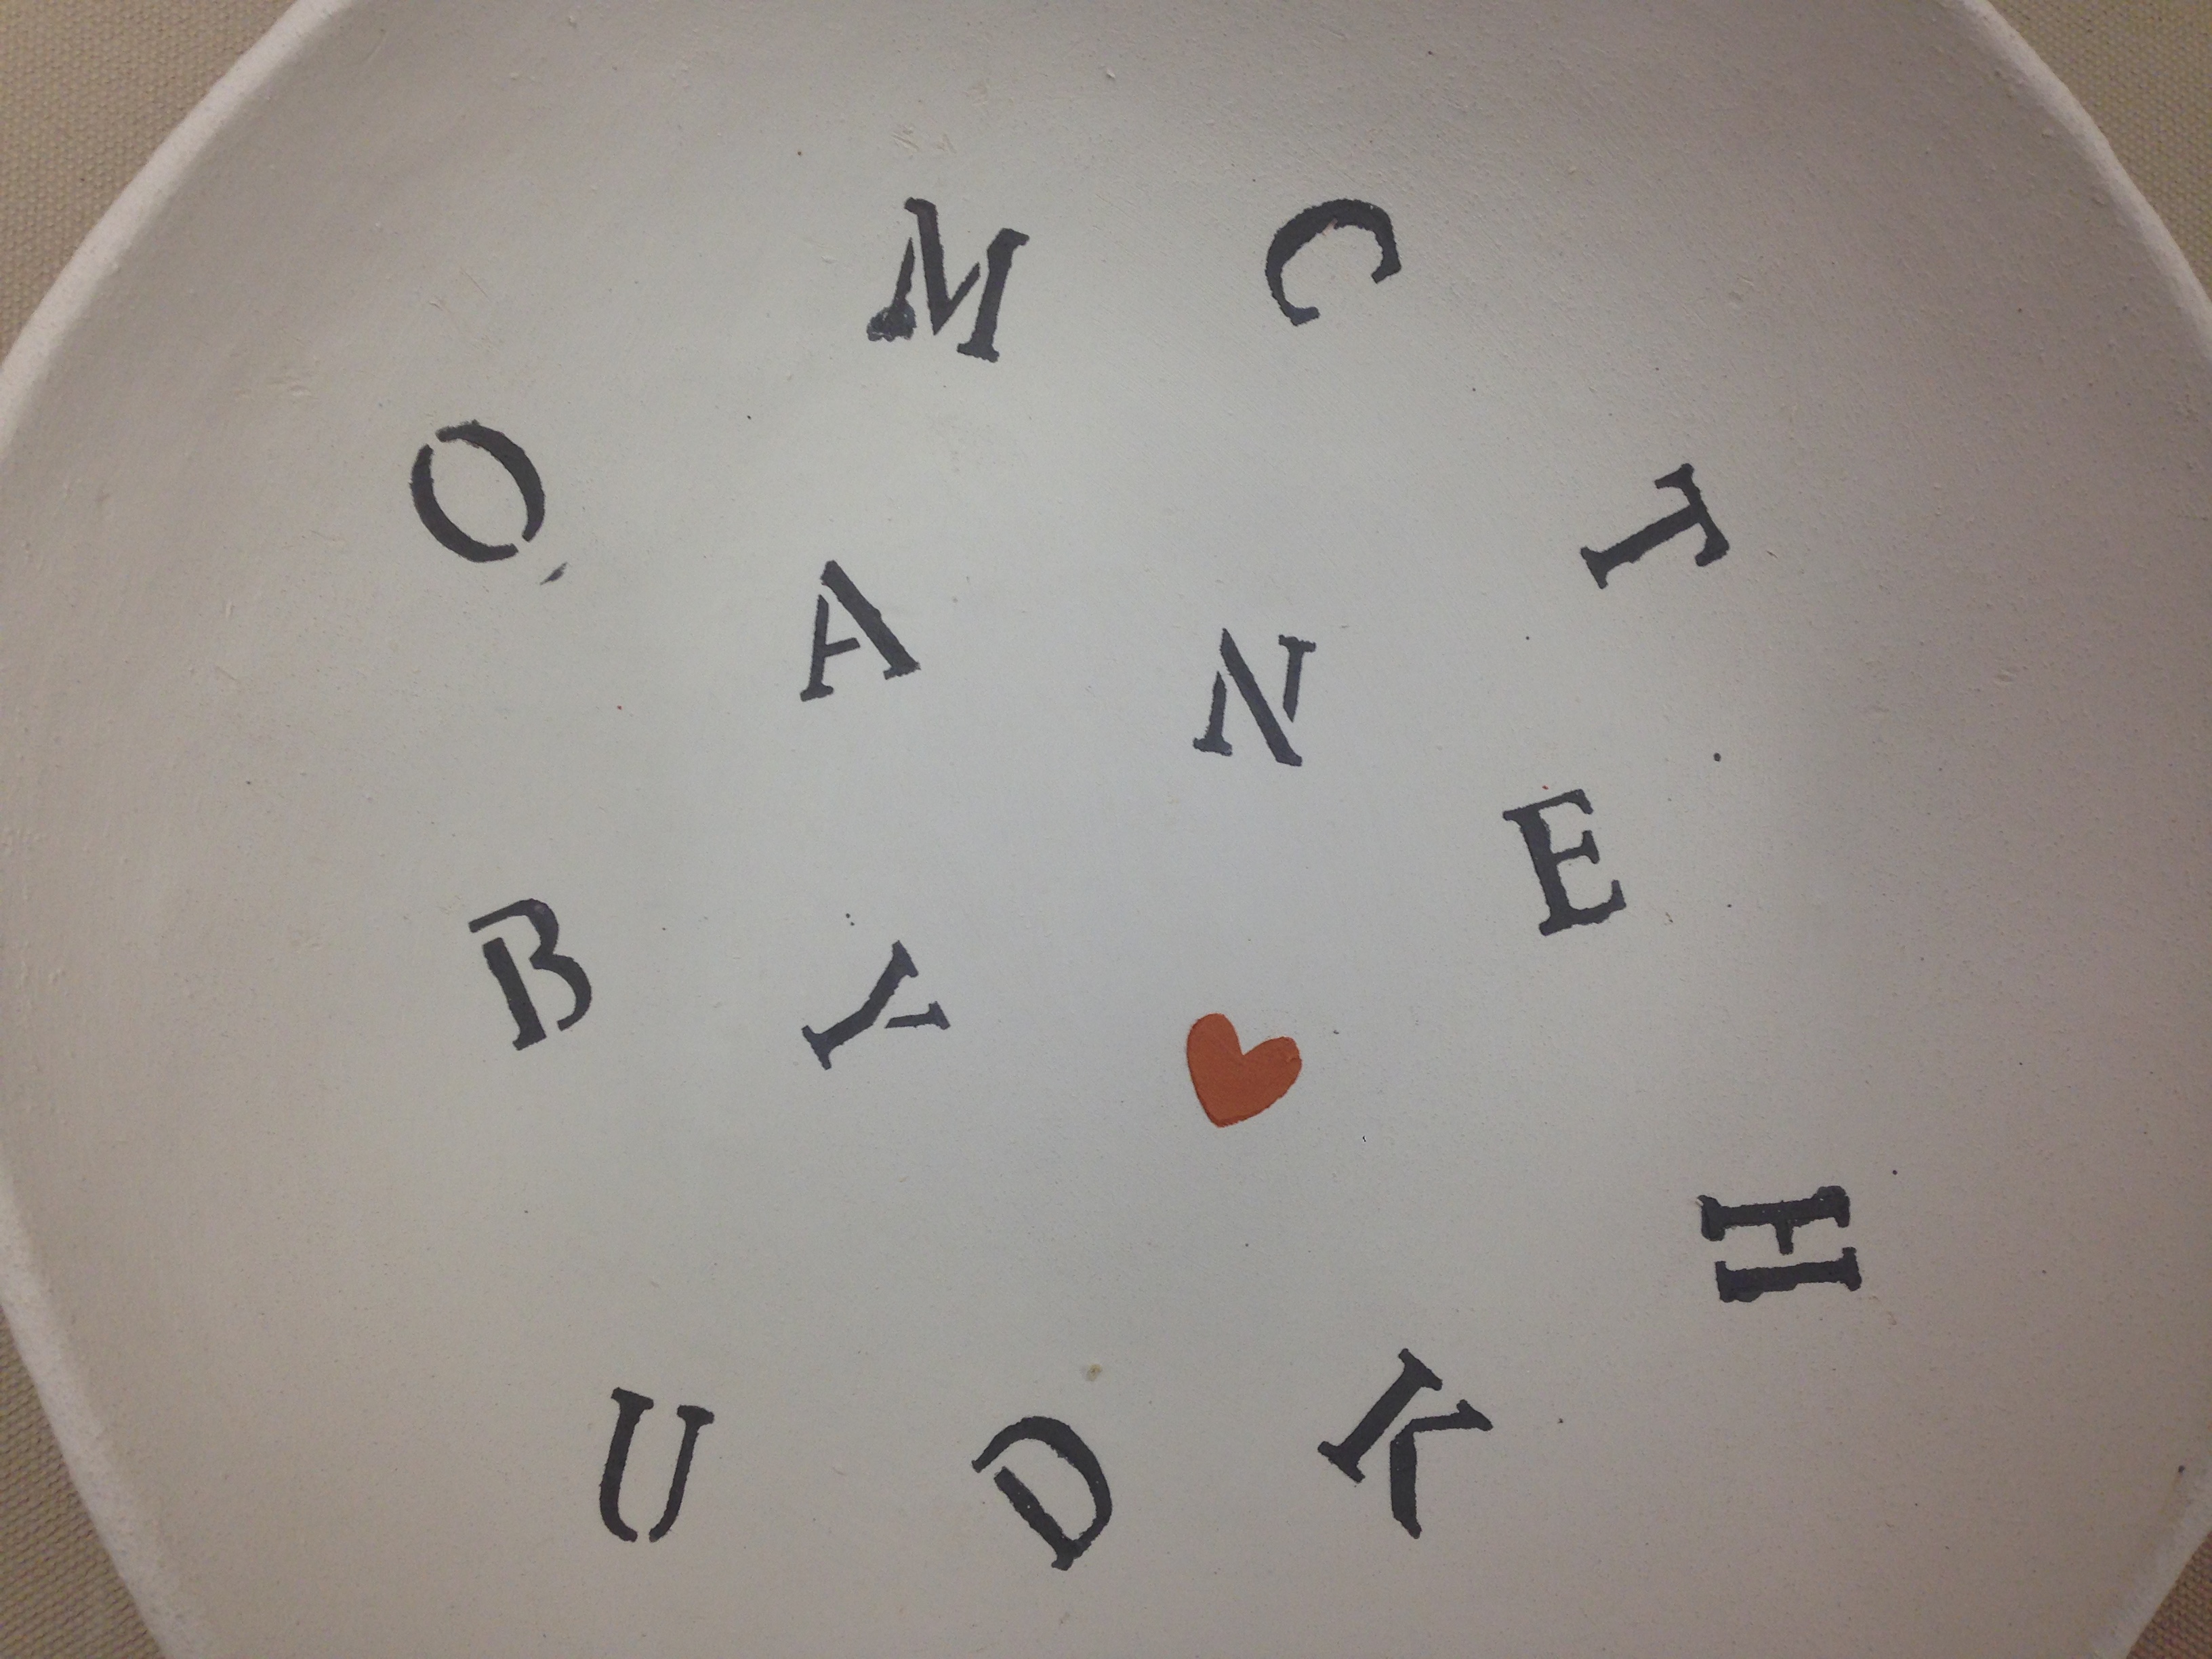
LOVE YOU TO THE MOON AND BACK….


A Sweet and Savoury September

DSC00244
Peggy’s Point Lighthouse

A Sweet and Savoury September..and a dream came true…”if it has to be, it is up to me”

Sharing: I had the best time learning how to make relish and canning with Jo and friends..

IMG_8474

A humbling and fulfilling experience as Kitchen Help Volunteer at Union Gospel Mission..

IMG_8567

Visiting friends and kids: Homemade kid friendly sushi salad lunch at home…

IMG_8536
Lunch with old friends and kids at home : A homemade kid friendly sushi salad – sushi rice, canned tuna+shredded crab meat+kewpie+Ojai lemonaise, boiled egg (or Japanese egg omelette), braised shiitake mushrooms, Japanese pickled radish (takuan) and seaweed. Broccoli and radish salad with ginger apple dressing, store-bought salt pepper roast chicken.

Had a fabulous dinner with hubby at Kinome Japanese Kitchen (2511 West Broadway, Vancouver, BC), this picture was published in the Province Gastropost Vancouver!

IMG_8504
Japanese pumpkin (kabocha) and edamame Korokke (panko crusted) with side salad at Kinome Japanese Kitchen

Dear friends delivered the Wickedly delicious creme brulee from Crackle Creme (245 Union Street, Vancouver Chinatown) to our home:

http://www.cracklecreme.com

IMG_8576
Take your pick: Yuzu, Salted Caramel, Vanilla Bean or Organic Matcha ?

And a travel dream came true – Snapshot by the Sea: My Maritime memories in Halifax, Nova Scotia (sneak peek of upcoming blog post)

http://www.novascotia.com

2.5 hours of Fun and Tasty Downtown Somo (South of Morris Street) Food Tour with Local Tasting Tours (Thank you Emily!)

http://www.localtastingtours.com

http://www.storiesdining.com

http://www.selwoodgreen.com

http://www.cafechianti.com

http://www.smilinggoat.ca

http://www.theuncommongroup.com

http://www.foxhillcheesehouse.com

DSC00122

DSC00189
Cherry Yogurt Gelato at Seaport Farmers Market – Foxhill Cheese House
DSC00149
Smiling Goat Coffee and Pastry (15 ingredients) and Mexican Chiapas Coffee
DSC00128
Pan Seared Rice paper wrapped scallop at Stories

Delicious seafood risotto at The Bicycle Thief Italian Restaurant…

http://www.bicyclethief.ca

DSC00214

After dinner stroll along the sea walk….

DSC00202

A dream came true: I made it to Peggy’s Cove!

http://www.grayline.com

DSC00268
Beautiful and quaint…beyond words can describe
DSC00263
Scotsman and the lobster

Simple and delicious lunch at Mckelvies: Pan seared Local rainbow trout with tarragon sauce 

http://www.mckelvies.com

DSC00227

One hour harbour cruise on Tall Ship Silva (old pirate ship) around the harbour:

http://www.tallshipsilva.com

DSC00394
An old pirate ship: the brave and strong can try to pull the sails

A quick visit to the Nova Scotia Art Gallery: do you know who is Maud Lewis? She’s a famous Canadian folk artist, we learn something new every day…

http://www.artgalleryofnovascotia.ca

IMG_8697DSC00478

Lobster roll (yes more food) at Seaport Farmer’s Market

http://www.halifaxfarmersmarket.com

DSC00492
Goldwater lobster shack at the Seaport Farmers Market
IMG_8701
Lobster roll: Fresh baked bun and home made mayo with succulent Nova Scotia lobster meat..

And on my way home…quick stopover in Toronto to visit an old friend…and a quick visit to the St. Lawrence Market..yes it’s all about friendship and food..

http://www.stlawrencemarket.com

http://www.upexpress.com

DSC00497
St Lawrence Market, Toronto
DSC00514
Lunch at Le Papillon on Front: Love the spinach salad with feta and raspberry vinaigrette, I also enjoyed their Jean Pierre crepe (broccoli, spinach, onion, feta, tomato sauce – picture not shown)

When I returned to Vancouver…we enjoyed an Italian meal with my friends, Peter (@pastaboypeter on twitter) and James (house historian) who now lives in Italy and came back for a visit..

Stringozzi (shoestring fresh handmade pasta at home), bruschetta with concord grape compote/ricotta/pancetta bits and mozzarella di buffala with cherry tomatoes, salt baked sea bass, Avonlea cheese from PEI, warm savoy cabbage salad

http://www.seafoodcitygi.com

http://www.cioffisgroup.com

IMG_8753

IMG_8755
Beautiful sea bass from Seafood City, Granville Island, my favourite seafood shop. 400F and 20-25 minutes later..

Warm Savoy Cabbage and radicchio salad, with toasted pine nuts, dried cranberries, fried pancetta bits (optional for non-vegetarians), shavings of Parmesan Reggiano with home made Manuka honey balsamic vinaigrette,  I took the main elements from the salad I had at the Bicycle Thief (Halifax Bishop’s Landing) and added my own touches, recipe coming!

http://www.eatlocal.org

http://www.cranberriesnaturally.com

IMG_8792
Homemade Warm Savoy Cabbage and Radicchio Salad

And today I’m on AM 1470 Fairchild Radio Ms. Deborah Moore’s show sharing my experience with all of you..Thank you Deb M for having me on your show, and thanks everyone for tuning in!

My wish for everyone: La Dolce Vita.

IMG_8884

August 19th, 2015 Radio Show

IMG_8884I will be on Ms. Deborah Moore’s radio show on AM1470 this morning 10:30am sharp!  Really look forward to chat with her about food and anything else! Content is subject to change, depends on the flow of the program.  Thank you very much for tuning in!

Cool down with “real food” – Hiyashi Chuka (Japanese Chinese Cold Noodle)

Here’s my version of the Dipping sauce: 200 ml dashi stock (or chicken stock), 120 ml organic soy sauce, 100 ml rice vinegar, 1 Tablespoon sesame oil, maple syrup (sugar is normally used, adjust to taste)

Heat dashi, soy sauce and maple syrup in saucepan, bring to a boil and turn off the heat.  Add the rice vinegar while mixture is hot, then finish off with the tablespoon of sesame oil.  Pour mixture into clean glass bottle, refrigerate after it cools down.

IMG_8107
My version of hiyashi chuka: Boiled prawns, fish cake, cherry tomatoes, seaweed, braised shiitake mushrooms, cucumber , kinshi tamago (egg omelet), and Chinese noodles, served with homemade dipping sauce and japanese mustard
IMG_8101
skewer the prawns with bamboo sticks when blanching

Pork Belly Garlic Scape wraps with “shogayaki” sauce:  (full recipe coming soon); I served this with cauliflower “fried” rice and it was a delicious combination.  Thank you PPQ for inspiring this dish!

Ginger apple sauce: mirin, soy sauce, grated onion, grated granny smith apple, grated ginger root (ratio 1-1-1-1-1) and sake or water (1), maple syrup (to sweeten, adjust accordingly)

IMG_8255

IMG_8312

Food Finds on East Hastings:

Mr. Red Cafe: Northern Vietnamese cuisine, friendly service, delightful dishes prepared with lots of care and love, great prices

address: 2234 East Hastings Street, Vancouver, BC.

IMG_8288
Traditional Vietnamese sticky rice with mung bean and fried shallots
IMG_8272
Appetizer: Steamed pork and shrimp tapioca dumpling wrapped in banana leaf

Basho Cafe: Quaint and cozy Japanese cafe serving savory lunch sets and the cutest baked goods with In-house Coffee Master 

2007 East Hastings (and Victoria)

http://www.bashocafe.com

IMG_8280
Tiny tasty baked goods on display at Basho: mochi cakes, lemon loaf, matcha brownie., kabocha muffin…just to name a few..and we want to try them all!

Pear Tree: 17 years on East Hastings..it’s great to revisit old favourites in town http://www.peartreerestaurant.net

In April I celebrated my birthday at Pear Tree restaurant and had the most delicious vegetarian carrot risotto ever..I had to ask our server three times to check if indeed it was vegetarian…

Are you sure this is a vegetarian dish?

Chau Veggie Express: 5052 Victoria Drive (between 34th and 35th): Serve primarily Vietnamese inspired vegetarian and vegan dishes, casual communal dining.

http://www.chowatchau.ca

IMG_8090
Insanely delicious taro chips with spicy dip (made from tofu)

Must try: To Die For lemon Loaf, made by hand in Vancouver, BC 

http://www.itstodiefor.ca

IMG_8342


Food waste:  What can we do?

The new organics/recycled bylaw and volunteer stints at UGM makes me rethink more about the way we live..

Coincidentally last month I came across this interesting post on Twitter which led to an old article posted through Chef Marcus Samuelsson’s website…

http://www.marcussamuelsson.com/news/165-billion-in-food-waste-what-can-you-do

June 24th, 2015 Radio Show

IMG_8884 How’s your summer so far? I will be on Ms. Deborah Moore’s radio show on AM 1470 Fairchild Radio this morning at 10:30am Sharp! Below is the outline for today’s segment; content is subject to change according to Ms. Moore and flow of program; I look forward to chatting with her about food and everything else (OO)  Thank you for tuning in!

TKC Gourmet Kitchen: Three weeks ago I had my first formal Japanese cooking lesson (I’ve always learnt  through cookbooks, my Japanese friends or my Mother-in-law)! Our instructor, Mr. Hasegawa taught us how to make a teriyaki sauce which we can use as a base and transform into different dishes:  Chicken Teriyaki, Sukiyaki, Saba Nitsuke, Japanese style Roast Beef.  Have you ever had vanilla ice cream with teriyaki sauce? It was absolutely delish! Hasegawa-sensei, thank you very much, I had the best time!  Look forward to joining another class in the near future! It was a very educational 2 hour demonstration class followed by sampling of the dishes at Guu Otokomae (in Gastown, Vancouver, BC).  English and Japanese classes are available, check their Page on Facebook for schedule.   IMG_7490

IMG_7270
TKC Gourmet Kitchen: Our lunch prepared by Hasegawa-sensei

Here’s the basic recipe for teriyaki sauce, courtesy of Mr. Hasegawa, TKC Gourmet Kitchen:

Soy sauce 400 ml + 100 ml (add in the end as finishing touch)

Sake 500 ml (Drinking sake, for example Gekkeikan)

Mirin 500 ml

Sugar 150 g (you can adjust the amount to adjust the level of sweetness)

Water 200 ml

Garlic 2 cloves (thinly sliced)

Ginger 5 grams (thinly sliced)

Onion (about 200 g, half or one small onion), skin on)

green onion (1 bunch – green part only)

Carrot (about 50 g, half piece)

Kelp (about 5 g)

– In medium size pot,  rehydrate kelp in 200 ml of water at least for 10 minutes

– Add all the ingredients (except 100 ml of soy sauce) into the pot

– Using high heat, bring sauce to a boil

– Reduce heat to low setting (make sure there’s no “bubbling” action) and cook sauce for another 30 minutes

– Add remaining 100 ml soy sauce to finish the sauce, turn off heat

– Strain the sauce, let it cool down completely before storing in refrigerator (*store in clean glass container up to 1 month)

Father’s Day Dinner: Fresh Seafood from Seafood City, Granville Island – Vancouver, BC Last weekend I had the best time shopping at the Trout Lake Farmer’s Market and Granville Island, searching for ingredients and new ideas for Father’s Day Dinner.  I went to Seafood City to buy the mackerel to prepare the “Saba Nitsuke” dish which I learned earlier from Hasegawa-sensei at #TKC Gourmet Kitchen.  While I was standing in front of the counter waiting for my mackerel, these beauties “stared” at me.. I simply could not resist but purchase one of them and got the most helpful cooking tips from one of their staff, William (a million thanks!).  Service is always great as they are all very passionate about food: http://www.seafoodcitygi.com 

IMG_7429
“Itoyori” Threadfin Bream from Japan – I couldn’t help myself and made the purchase.

Using the basic teriyaki sauce, I prepared the “Saba Nitsuke”, a traditional Japanese fish dish, stewed in ginger and sauce;  will be posting the recipe shortly!

IMG_7464
Father’s Day Dinner: My version of Saba Nitsuke

And here’s a picture of our family dinner: I’ve also prepared my duck breast dish; I changed things up a bit with the saucing (check out my recipe published in September 2014); eggplant “pickled” in shiso plum dressing, Asian green salad with simple lemon olive oil dressing, mixed rice (Japanese/brown/Black Gaba) and the beautiful tender broiled bream fish.  Recipes coming soon! IMG_7461 Got room for ice cream? Check out Rain or Shine, new location on Cambie (Original location on West 4th near Burrard) http://www.rainorshineicecream.comIMG_7483 Anytime for good reads? Marie Kondo: The life changing magic of tidying up The enlightened kitchen: Vegetarian dishes Harumi Kurihara’s cookbook: Chinese version

http://www.tidyingup.com

http://www.yutori.co.jp/en/about_harumi/

IMG_7488

Two weeks ago,  my #Ask of Luigi #brunch photo entry won the picture of the week!  I’ve won a $25.00 gift certificate from Ask for Luigi restaurant in Railtown; it’s fun to participate in these interactive contests through Instagram:IMG_7094

 I love Vancouver! Lots of events this summer and I will be back as market host at the Trout Lake market next month.

http://www.foodcartfest.com

http://www.carfreevancouver.org

http://www.italianculturalcentre.ca

http://www.eatlocal.org

http://www.greekday.com

RECIPE: Wafu Whole Tomato Rice

IMG_2879
Wafu Whole Tomato Rice with Fried Egg


As soon as I saw Hong Kong food blogger “Foods Sensei”‘s  (also on Facebook) Wafu Tomato rice posting, I wanted to make it immediately! Apparently the original Japanese Whole Tomato Rice recipe by “Ochikeron” is a huge internet sensation on YouTube (her page also on Facebook).  

It is nutritious and easy to make: using only the rice cooker, this is the Japanese version of rice pilaf. There’s only one catch: you must account for the water content from the tomato and reduce the quantity of cooking liquid (whether you are using water or dashi) by approximately 20% (it all depends on what type of rice or tomato variety you use, there are no set rules).  I have used even less liquid because I added an onion.

My version is a combination of both recipes; I have used a white+brown rice mix and added the onion; my garnishes are green scallions and seaweed. I had the rice for lunch with a sunny side up fried egg, the egg yolk oozed and blended so well with the rice, it was a very satisfying and delicious meal.

Thank you very much to Foods Sensei and Ochikeron for your wonderful original recipes! (OO)

Ingredients: (serves 2)

1 large tomato, 1/2 small yellow onion, 1/2 cup long grain jasmine rice, 1/2 cup long grain brown rice, 1 Tablespoon olive oil, 1 cup Japanese dashi broth, 2 teaspoons organic soy sauce, 2 teaspoons Japanese mirin, 1 fried egg (optional), nori and chopped green scallions for garnish.

*As usual I used my own homemade dashi, you can get dashi powder at Japanese food stores.

Preparation:

– Wash the jasmine rice grains and brown rice grains thoroughly

– Using the pot from your rice cooker, measure the dashi up to the mixed rice setting level (in this case it’s for 1 cup mixed rice); I then poured the dashi broth into a measuring cup and remove approximately 25% (or up to 30%) of the liquid; then pour the rest back into the rice pot.

– Add the rice grains, stir in olive oil, soy sauce, mirin and black pepper, mix very well.

– Wash the tomato and remove the stem; peel and slice the onion, then place them into the pot

IMG_2776
Place the ingredients!


– Put the pot back into the rice cooker, you must choose the right setting (mixed rice) and start to cook

– When rice is ready, using the rice paddle, “slice” through the tomato and onions, toss and mix the ingredients with the rice lightly.

IMG_2801
Rice is ready!


– When rice is almost done, prepared the sunny side up fried egg **this is optional.

– Serve the rice in dish or bowl, garnish with nori and chopped green scallions.

Notes:

Here are the links to the original recipes; Foods Sensei is a Chinese food blog. Enjoy (OO)

http://foods-sensei.com/2014/11/16/

http://createeathappy.blogspot.ca/

RECIPE: Wafu Kabocha Soup (Japanese Pumpkin Soup with Toasted Seaweed)

IMG_2737 - Version 2

RRRRRR…It’s only mid-November yet it feels like we are already “deep” into the winter season; it might be chilly but I am not complaining as we have enjoyed some fine sunny days, which is quite unusual here in Vancouver…

So out come the Dutch oven and my Blender as Hearty Soup season is in full swing!

We don’t have kabocha very often in our household as it is not Andy’s favorite, I cooked it only once in a while for my own enjoyment, prepared either in Japanese (simmered in dashi and soy) or Chinese way (stewed with pork and soy).

I was so inspired by my friend Haruko’s creation; she made the most delicious and elegant version by keeping things simple, using fresh in-season ingredients (kabocha, onion, homemade chicken stock, milk)  and let them shine; I feel this is always the best way to cook.

I decided to incorporate my favourite “Wafu” style (yes again) into this recipe; the idea of the toasted nori came from Canadian food blogger “The First Mess”; she adapted the kabocha + chestnut soup recipe from Amy Chaplin’s cookbook ” At Home In the Whole Food Kitchen”, this cookbook is on my Christmas wishlist…any takers?? (OO)

Ingredients: (serves 2 – 4)

1 medium size kabocha, seeded, peeled, chopped into small cubes, 1 large yellow onion (thinly sliced), 2 garlic cloves (thinly sliced), 1 Tablespoon sake kasu (optional), 2 Tablespoon olive oil, 3 1/2 cups Japanese dashi broth*, 1 to 1 1/2 cups regular almond milk, 2 teaspoons Japanese mirin, 1-2 Tablespoons organic soy sauce, sea salt and freshly ground pepper for seasoning to taste, nori seaweed (**optional, toasted for garnish). 

Preparation:

– Prepare the kabocha squash: sliced it open into two halves. Remove the seeds, then cut into thin wedges; remove the skin then cut them into small even pieces

– Prepare the onion: peel and slice thinly

– In a 4 quart pot reheat the dashi broth, bring to a boil, lower heat and keep it simmering (if you are using pre-packaged dashi powder, prepare the stock according to instructions on package)

– Using a different heavy pot, heat the olive oil using medium high heat.  Add the onions and saute until they become soft and golden (6-8 minutes), add the sliced garlic and saute until it becomes fragrant.

– Add the kabocha to the same pot, add 1 teaspoon mirin and gently mix all ingredients; add reheated dashi broth, 1 Tablespoon of sake kasu and bring mixture to a boil. Once boiling, lower the heat (medium low) and simmer until kabocha is tender (you can use a fork to test the texture), approximately 20 minutes.  Using a slotted spoon, skim off any scums.

– While soup is simmering, prepare the nori – remove from package, lightly brush them with olive oil/mirin (1:1 ratio) mixture. Using medium low heat, place seaweed on small fry pan and toast them lightly using dry heat. The seaweed should be toasted on both sides, be very careful not to overheat and burn them.  Set aside.

– Using an upright blender, working in small batches, process and puree the soup until smooth (be mindful to fill blender jar less than half way). To prevent the liquid from splattering, remember to allow heat to escape by removing the blender’s lid centre insert (cap), hold a kitchen towel over the top when blending.

– Return puree soup to stock pot, over low heat, stir in the almond milk slowly till mixture is combined, do not let the soup boil.

– Season with sea salt and pepper to taste.

–  To serve: ladle soup in bowls and garnish with toasted nori.

*Notes:

Dashi is a fundamental ingredient to many Japanese dishes; it is used in miso soups, noodle soup, stews (oden) and sauces.

For your convenience, you can purchase the instant bonito stock packages which are readily available at Japanese food stores, and follow the instructions.

I choose to make my own awase dashi (basic stock) on a regular basis as I used it quite often as a substitute in many recipes. It is a combination of kombu (kelp) and katsuobushi (bonito flakes) and I have been using the recipe from Practical Japanese Cooking (by Shizuo Tsuji and Koichiro Hata) ; you can also find recipes available online.

You can substitute dashi broth with either vegetable stock or kombu stock (without the bonito flakes) to make the soup a completely vegetarian dish, or use chicken stock.

Sake kasu is optional, it adds lots of flavour to soups and stocks.  In Vancouver you can purchase at Fujiya Japanese Food Store or Artisan Sake Maker (Osake) in Granville Island.  

Always taste and change the ingredients according to your liking and dietary needs.

Here are links to other versions of kabocha soup:

http://www.thefirstmess.com/2014/10/29/vegan-kabocha-squash-chestnut-soup-kale-sesame-leaves-recipe/

http://www.justonecookbook.com/recipes/kabocha-squash-soup/

RECIPE: Faux-Omurice (Japanese Omelet Rice “Omurice” -)

IMG_2505

You must wonder what’s with the faux “Omurice” and Tomato Caramelized Onion “Jam-chup” (see other posting)?

Last month’s cauliflower “fried rice” was a food “jackpot”; I decided to continue to run with the idea and see what other variations I can come up with…

Over a dinner gathering with friends, we were talking about childhood comfort foods and our favours we love..my hubby Andy mentioned “Omelet Rice”….and voila!

I must give him full credit for coming up with this idea; It’s not a surprise at all as the Japanese “yoshoku” omelet is one of his all time favourite comfort foods! As an adult his tastes may have evolved in many ways but some things just never change – wonderful food memories and tastes just stay with us forever, we all have our own short list of “go-to” comfort foods.

As for the choice of vegetables: I picked carrots, corn and zucchini for their crunchy texture!  Although we are treating the cauliflower as “fried rice”, overall the texture is still a bit soft, it needs the “crunch” to add textural interest. The onions adds a sweet flavour and the Canadian back bacon lends a subtle smoky flavor, it is also leaner and I added just enough to satisfy a meat lover’s (like my husband) craving.

Canadian back bacon is also one of Andy’s favourites; this dish actually celebrates who he is, and pays homage to both his Japanese and Canadian roots.

The Tomato caramelized onion jam “jam-chup” (Andy calls it as it’s a replacement for ketchup, just a play on words) is a very lucky find (Serious Eats), I’m so happy and proud that I “tweaked” the original recipe and made it work for my dish.

You may wonder how I came up with this Deconstructed version in a bowl? Aesthetically this works beautifully; it’s practical and easy to serve. The cauliflower “rice” is actually quite filling and since it’s in small bits, you need to put a lot to “stuff’ the omelet to make it “full”, I think the serving will become too big.

Besides…It’s time for me to practice flipping omelets!! Enjoy (OO)

Ingredients: (serves 2-4)

1 small head of organic cauliflower, 3-4 teaspoons grapeseed oil, 1 medium yellow onion (finely diced), 1 large carrot (peeled and finely diced), 2 ears of fresh corn (husked and kernels removed), 1 large zucchini (finely diced), 2 slices of Canadian back bacon (diced), organic eggs (1 for each serving), unsweetened almond milk (1 Tablespoon for each portion), 2 Tablespoons of stock (I’ve used homemade Japanese dashi stock, you can substitute with chicken broth or vegetable broth), organic Japanese soy sauce (season to taste), sea salt and ground black pepper, chives for garnish (optional).

**For a vegetarian version – omit the Canadian bacon, substitute the Japanese dashi stock (from kelp and bonito flakes) vegetable broth.  I find the dashi adds a very nice flavor to this dish.

Preparation:

– Clean the cauliflower,core and trim the florets off the stems, cut off any blemishes (sometimes there are brown spots!).  Process florets in the food processor until they resemble the texture and size of rice grains.

– Chop the onion finely, dice carrot and zucchini finely, husked and removed corn kernels, set aside.

– Slice and dice the Canadian back bacon into small bits separately, set aside.

– In a large pot (I used a 5 quart pot with lid) or wok/saute pan, using high heat, heat 2 teaspoons of grape seed oil; add 1/2 the diced onion and cook until they become soft and translucent.  Add carrots, saute for 2 minutes; add corn and saute for another 2 minutes; add zucchini and 1 Tablespoon of dashi stock (you will hear a “sizzling” sound), saute and mix the vegetables well (takes approximately 2-3 minutes).  The entire process takes less than 10 minutes; vegetables should be cooked yet crunchy in texture.  Remove from pan and set aside.

– Using the same pot, adjust to medium low heat, add another teaspoon of oil, add the remaining diced onion, again cook until they become soft and translucent.  Add cauliflower, stirring gently for 5 minutes until the oil is evenly distributed and each “grain” is coated.

– Add 1 Tablespoon of dashi stock, put the lid on, adjust to low heat (to avoid burning) and “steam” the cauliflower for 3 to 4 minutes.  If you like it softer, cook a little longer.

– Remove the lid, readjust to medium high heat, add Canadian back bacon bits, saute for 2 minutes; return carrot/corn/zucchini mixture to pot. Using spatula, gently fold and stir fry ingredients until mixture is slightly browned, taste and season with soy sauce and black ground pepper, Turn off heat and set cooked mixture aside.

IMG_3348
Filling ready to go!

– Whisk the egg, add a pinch of sea salt and almond milk (1 Tablespoon to 1 egg) together in small bowl, you are preparing each portion individually.

– Lightly greased a small frying pan (I’ve used an 8 inch), coat the surface with a thin coat of grape seed oil.

– Heat the pan over medium high heat, when pan gets hot, pour the egg mixture and tilt to cover the pan evenly; once the egg has set, turn off and remove from heat.

– Gently remove “omelet” from frying pan and lay in a round bowl (find one that fits the omelet perfectly!), ladle the filling on top of “omelet”. (At this time you can decide whether you would like to make this version or a real omelet**).

– Garnish with chives (optional) and serve immediately with tomato caramelized onion jam “jam-up” (see separate recipe).

Notes:

Namiko Chen’s website “Just One Cookbook” has an excellent “traditional” Japanese Omelet Rice Recipe with very clear instructions and excellent demonstration on how to assemble the omelet.

http://www.justonecookbook.com/recipes/omurice-japanese-omelette-rice/

– I always try to keep oil usage to minimum; you can always add a little more to adjust.

– In a regular omelet rice recipe, ketchup is added to rice directly.  It’s my humble opinion that it will not work and make the cauliflower soggy and taste funny, besides we don’t use ketchup much these days and decided to look for a healthier option.

– This is an anything goes recipe; You can choose whatever vegetables you have or to your liking to substitute the corn, zucchini or carrots. I chose them because they add a crunchy texture. Feel free to use chicken (in regular recipe) instead of back bacon. Be creative!

– To all Moms: this may be a great option to encourage (or “fool”) your kids into eating more vegetables (OO). It makes a great bento box lunch and a wonderful one-dish dinner.

– I choose Canadian back bacon as it is leaner. If you are using regular bacon, render the fat and use it to saute the vegetables to add more flavor.  As bacon is salty, adjust the seasoning as required.

– As always, remember to taste and season according to your liking and dietary needs!


RECIPE: (Japanese flavor) Fresh Tomato and Caramelized Onion Jam – “Jam-chup”

IMG_2442

I really do spend much of my free time watching cooking shows, reading and researching about food and recipes; collecting a lot of information and “tuck them away” (as my hub Andy would put it) into my little “memory drawers”. Besides my IPHONE and IPAD, I always carry an old fashion notebook with me. Hey you just never know whenever an idea hits and what you need to find in order “connect” the missing “food links”…

This was one of those times when an idea hit so quickly!

As I was “conceptualizing” my faux “omurice” dish, I was looking for a “ketchup” replacement – Besides the fact we rarely use ketchup at our household, I knew ketchup will not work as a seasoning to the “cauliflower rice”, it will make it mushy.  I needed something more “adult” and sophisticated to “elevate” the dish! Through my weekend experiment, my “jam-chup” (Andy came up with this name) complimented the final dish beautifully, it was my own “Top Chef” moment (LOL)

The recipe is adapted from a great posting by Joshua Bousel (the caramelized onion method by J.Kenji Lopez-Alt), published on Serious Eatsone of my favourite online food communities.  The difference is I’ve used Japanese dashi stock instead of water to “deglaze” and also add another subtle layer of flavor; I made the “switch” specifically to make it “Japanese” in order to go with my faux-“omurice” (Omelet Rice) dish.  If this doesn’t work for you, please feel free to switch back and stay true to the original recipe.

I have used an organic coconut palm sugar (an absolute personal preference, I don’t use any refined white sugar), reduced the quantity and it worked just as well.  I just love using fresh ingredients and watch all the flavours blend together harmoniously.  It is through experimentation you will improve your kills, understand your tastes and put your own signature on any dishes.

My “jam-chup” is long-term keeper ..now what else can I use it for? (OO)

Ingredients: (yields approximately 1 cup)

1 pound yellow onions (finely sliced), 1 Tablespoon grapeseed oil, 2 pounds organic roma tomatoes (peeled, cored, seeded and finely chopped), 1/2 cup organic coconut palm sugar, juice from 1 lemon, 2 Tablespoon apple cider vinegar, 6 to 8 Tablespoon Japanese dashi (homemade, or you can use packaged stock powder), 1 teaspoon kosher salt, 1/2 teaspoon red chilli pepper flakes

Remember, always adjust your seasoning according to your liking and dietary needs.

Preparation:

– Peel, core, seed and finely chop the tomatoes (see picture with below for peeling method).  Set aside.

IMG_3365
Use a sharp knife and slice a shallow “X” into the bottom of the tomato (opposite to stem side); place them in boiling water, you will see the “X” split open, it’s very quick (only 20-25 seconds). Remove them from hot water and place them in “ice” bath to cool off.


– Add grapeseed oil to large heavy bottomed stainless steel saucepan over high heat.  Add onions and cook, stirring frequently, until bottom of the saucepan is glazed in a pale brown fond (takes approximately 5 minutes – you will see it).

– Add 2 Tablespoons of dashi stock and scrape up fond with wooden spoon or spatula.  Continue to cook, and keep stirring frequently, until fond has built up again (that’s another 2 minutes). Add another 2 Tablespoons of stock and scrape up the browned bits.  Repeat cooking, add stock, and scraping until the onions are completely softened and caramelized (a deep dark brown colour), approximately 15 minutes in total.

– Add tomatoes, coconut palm sugar, lemon juice, apple cider vinegar, salt and chilli red pepper flakes to the sauce pan, stir to combine with the onions.

– Bring mixture to a boil, then reduce to low heat and simmer, stirring occasionally, until tomatoes have broken down and “jam” has thickened and developed a “jam” like consistency, this takes 1 to 1 1/2 hours.

– Remove from heat, transfer to an airtight container, let it cool completely and refrigerate (according to original recipe, this can store in refrigerator up to two weeks, for an extended period, ladle into sterilized jars and process in a hot water bath for 10 minutes to seal for self storage.


Duck Breast Lettuce Wrap

IMG_2173
My lettuce wrap platter – “Pinkish” tone achieved!

The idea for this recipe spawned from three years ago when my friend “VG” brought back a bag of really delicious perilla flavored tea plums from her hometown (Kaohsiung); the moment I tasted the plums I immediately thought of using them for cooking and pair with duck, green tea and lychee to create an entree.

This was a work in progress and went through a few different versions, the idea of serving as lettuce wrap came this summer when I had a “Asian Food Fest ” gathering with some of my friends! I think by far it’s the best way to serve this duck breast and let it be the star with the perfect “supporting casts”. As I am  only an amateur home chef, the measurements are approximate and cooking methods are based on the knowledge I acquired through my home cooking experiments and the few cooking classes which I’ve attended.  Feel free to “tweak” it any way you think works best, and let me know if you have other suggestions.  Enjoy (OO)!

Ingredients: (Serves two as main course)

2 duck breast (small to medium size), 1 English cucumber, Bunch of green scallions, Head of butter lettuce 

Ingredients for the brine (which will be used to braise the duck breast and create the dipping sauce): 8 cups of cold water, 8 Tablespoons Organic Soy Sauce, 1 small knob of ginger (grated), 2 green scallions (roughly chopped), 1 green tea bag, 1 Tablespoon brown sugar (I’ve used rock sugar),I  8-10 lychee (fresh or canned, roughly chopped), 10-12 Taiwanese tea plums (remove seed, roughly chopped), 1-2 Tablespoons whole black peppercorn, juice and zest (grated) of 1 lemon,1-2 Tablespoons Japanese rice wine (sake), sea salt (for seasoning as required), 1-2 Tablespoons Taiwanese plum juice (optional)

IMG_1821
Left: Taiwanese Tea Plums (I found this at the Taiwanese supermarket in Richmond BC); Right: Taiwanese Tea Plum Concentrate (optional as it is difficult to find)

Preparation:

The day before: 

– Prepare the brine: With the exception of the green tea bag, put all brining ingredients into a 6 quart sauce pan. Using medium high heat, bring mixture to a boil.  Reduce to medium low heat, let the mixture simmer and reduce for at least 45 minutes to an hour, it will become more concentrated.

– Turn off the heat, add the green tea bag and let it steep for 10 to 15 minutes.  Remove from heat, remove tea bag, stir the mixture and let it cool down completely.

– Prepare the duck breast for brining: Place the duck breast on the chopping board skin side up, using a sharp knife, score the skin in a diagonal direction (45 degree angle), be careful not to cut into the flesh. Turn the duck breast around and score in the opposite direction.  Pat skin and flesh side dry and set aside.

This is a very important step as scoring the duck breast for cooking helps to render out the fat from the skin more effectively. It is best to score the skin of the duck breast when cold, as it becomes more difficult once the skin warms up.

– Pour cooled down liquid (including all ingredients) into a non-reactive container (BPA free plastic or glass with lid). Submerge the duck breasts into brining liquid, cover with lid and refrigerate overnight.

 Cooking Day:

In the morning:

– Remove the duck breasts from brining liquid, pat dry thoroughly (It must be completely dry) with paper towel, cover and refrigerate.

– Strain the liquid through a fine strainer, press hard on the solids to ensure you get every bit of the liquid.  Run it through a few times to remove any small bits.

– Sauce preparation: Pour liquid into 4 quart sauce pan, using medium high heat, bring liquid to a boil, reduce to medium low heat, and let it simmer and further reduce to approximately 2 cups, the consistency should only be a little “syrupy”.

When ready to cook and serve:

– Take the duck breasts from the refrigerator and let them come towards room temperature prior to searing.

– Wash all vegetables thoroughly: Pull of pieces of butter lettuce gently, wash thoroughly and pat dry with paper towel. Julienne the cucumbers (cut in thin slices) and shred the green scallions.

– Reheat the sauce, keep in low simmer (don’t let it burn).

– On different stove top, place duck breasts skin side down on cold dry skillet, do not add any cooking oil. Place the pan over medium to medium low heat, and slowly render down the fat, it will take approximately 6 to 8 minutes, using a spatula (be careful not to burn yourself), gently flip over and check if skin is browned evenly. Using a spoon, remove the duck fat.

IMG_2143
Duck breast skin side down on cold dry pan

– When duck breast is ready, flip over (skin side up) and remove from skillet, finish cooking by “braising” in the sauce (as shown in picture below), skin side up.  Adjust to medium low heat, Using a spoon, “spoon” the sauce constantly over the breast (this will help to cook the breast evenly), the liquid should be gently boiling (you can see bubbles).

IMG_2146

– Let them cook for approximately 5 to 6 minutes (depends on the thickness of the duck breasts), flip them over skin side down and cook for another 2 to 3 minutes. To test its doneness, the breasts should feel firm but tender, or you can should a

– Remove from heat, set aside and let them “rest” for at least 10 minutes prior to slicing.

– To finish the sauce, add a little duck fat (which you rendered earlier when browning the skin), Japanese sake and lemon juice, stir and mix well, taste and adjust the seasoning if required, finish off with a few grinds of black pepper. Strain the sauce one more time for a smoother texture.

– Slice the duck breasts thinly, it should be “pinkish” in colour.

– Assemble the platter and serve immediately.

Notes:

– I purchased the duck breasts from Armando’s at Granville Island.  The smaller ones are not as thick and easier to cook.

– This website has lots of good duck recipes and references:

http://www.greatbritishchefs.com/


Wafu “French” Onion Soup

IMG_2230 - Version 2
Bon Appetite!

I love soups; I basically can have soup every day as a meal especially during the Fall and Winter season. This idea came from a wonderful Japanese soup cookbook, I’ve combined the recipe (and translated into English) with some elements from a classic French onion soup preparation; the base is made with Japanese soup stock (dashi) which is a great option for non-beef eaters; Japanese rice cake is used instead of classic baguette toasts. You will be pleasantly surprised…Enjoy (OO)!

Ingredients (serves 2 as a hearty meal, 4 as a starter)

Two medium size yellow onions (thinly sliced), 1 teaspoon unsalted organic butter, 2 teaspoon olive oil, 1 bay leaf, Japanese mochi (store-bought packaged rice cake – 2 to 4), Gruyère cheese (finely grated – 1 to 2 Tablespoons), 4 cups dashi (I made my own using kombu (kelp) and katsuobushi (bonito flakes), can use instant bonito stock packages), Japanese sake 2 Tablespoon, 2 Tablespoon organic soy sauce, pinch of sea salt and ground black pepper to taste

***see my June 16th ” Napa Shiitake Mushroom Tomato Soup” notes on Japanese soup stock (dashi)

Preparation:

– In a 6 quart pot over medium heat, melt butter and add olive oil.  Stir in the onions and season lightly with sea salt and few grinds of black pepper.

– Reduce to low heat, press a piece of foil onto the onions to cover them completely and cover the pot with the lid.  Stir occasionally (lift the foil) and cook until the onions are very soft but not falling apart, it takes approximately 30 to 40 minutes.  Remove the lid and foil, raise the heat to medium high and add Japanese sake (rice wine), gently stir often and cook onions until they are deeply browned (not burnt), approximately 10 minutes.

– Over medium high heat, add dashi broth, soy sauce and bay leaf to the caramelized onions and bring the soup to a boil. Reduce heat to medium low and simmer for 15 to 20 minutes to blend the flavours. Discard the bay leaf, season to taste with sea salt and black pepper.

IMG_2140
Soup is Simmering and Flavours developing!

– While soup is simmering, prepare the Japanese mochi – remove rice cake from individual packages, using a paring knife, make a small “slit” (or X mark) in the middle of each rice cake.

Fill the saucepan (make sure it’s big enough for 2 to 4 mochi and there’s enough room they won’t stick together) with cold water, submerge the mochi and turn on the heat to medium high. Gently stir and move the rice cakes around to ensure they don’t stick to the pan.  Once the water comes to a boil, turn the heat to medium low and let it simmer for a couple minutes.  Take them out when they begin to melt.

– Place the rice cakes in shallow baking dish and be sure to allow sufficient space between them without touching (the rice cake will expand as it bakes in the oven). Sprinkle the grated Gruyère cheese over the rice cakes,  place baking dish in oven, position the rack from the broiler and heat broiler to high. At this point you have to be very careful not to burn them; keep very close watch and after a while they will start to puff, broil until they are browned and bubbly. Remove from oven.

– Ladle the hot soup in each bowl and gently place baked rice cake on top. Serve immediately.

Notes:

– The soup can be made up to 2 days ahead and store in refrigerator; reheat soup and bake Japanese rice cake when ready to serve.

– You can find the rice cakes at Japanese food stores; in Vancouver, my go to place is Fujiya (912 Clark Drive, Vancouver, BC ).

– As always taste the dish while you’re cooking and adjust the seasoning according to your own taste and dietary requirements. For cheese lovers, be generous with the Gruyère!  I bought my aged Gruyère from one of my favourite stores, Les Amis Du Fromage (843 East Hastings Street, Vancouver, BC).

IMG_2213
Packaged Rice Cake