RECIPE: Triple C Chowder: Cauliflower, Chicken and Corn Chowder

IMG_2893 - Version 2

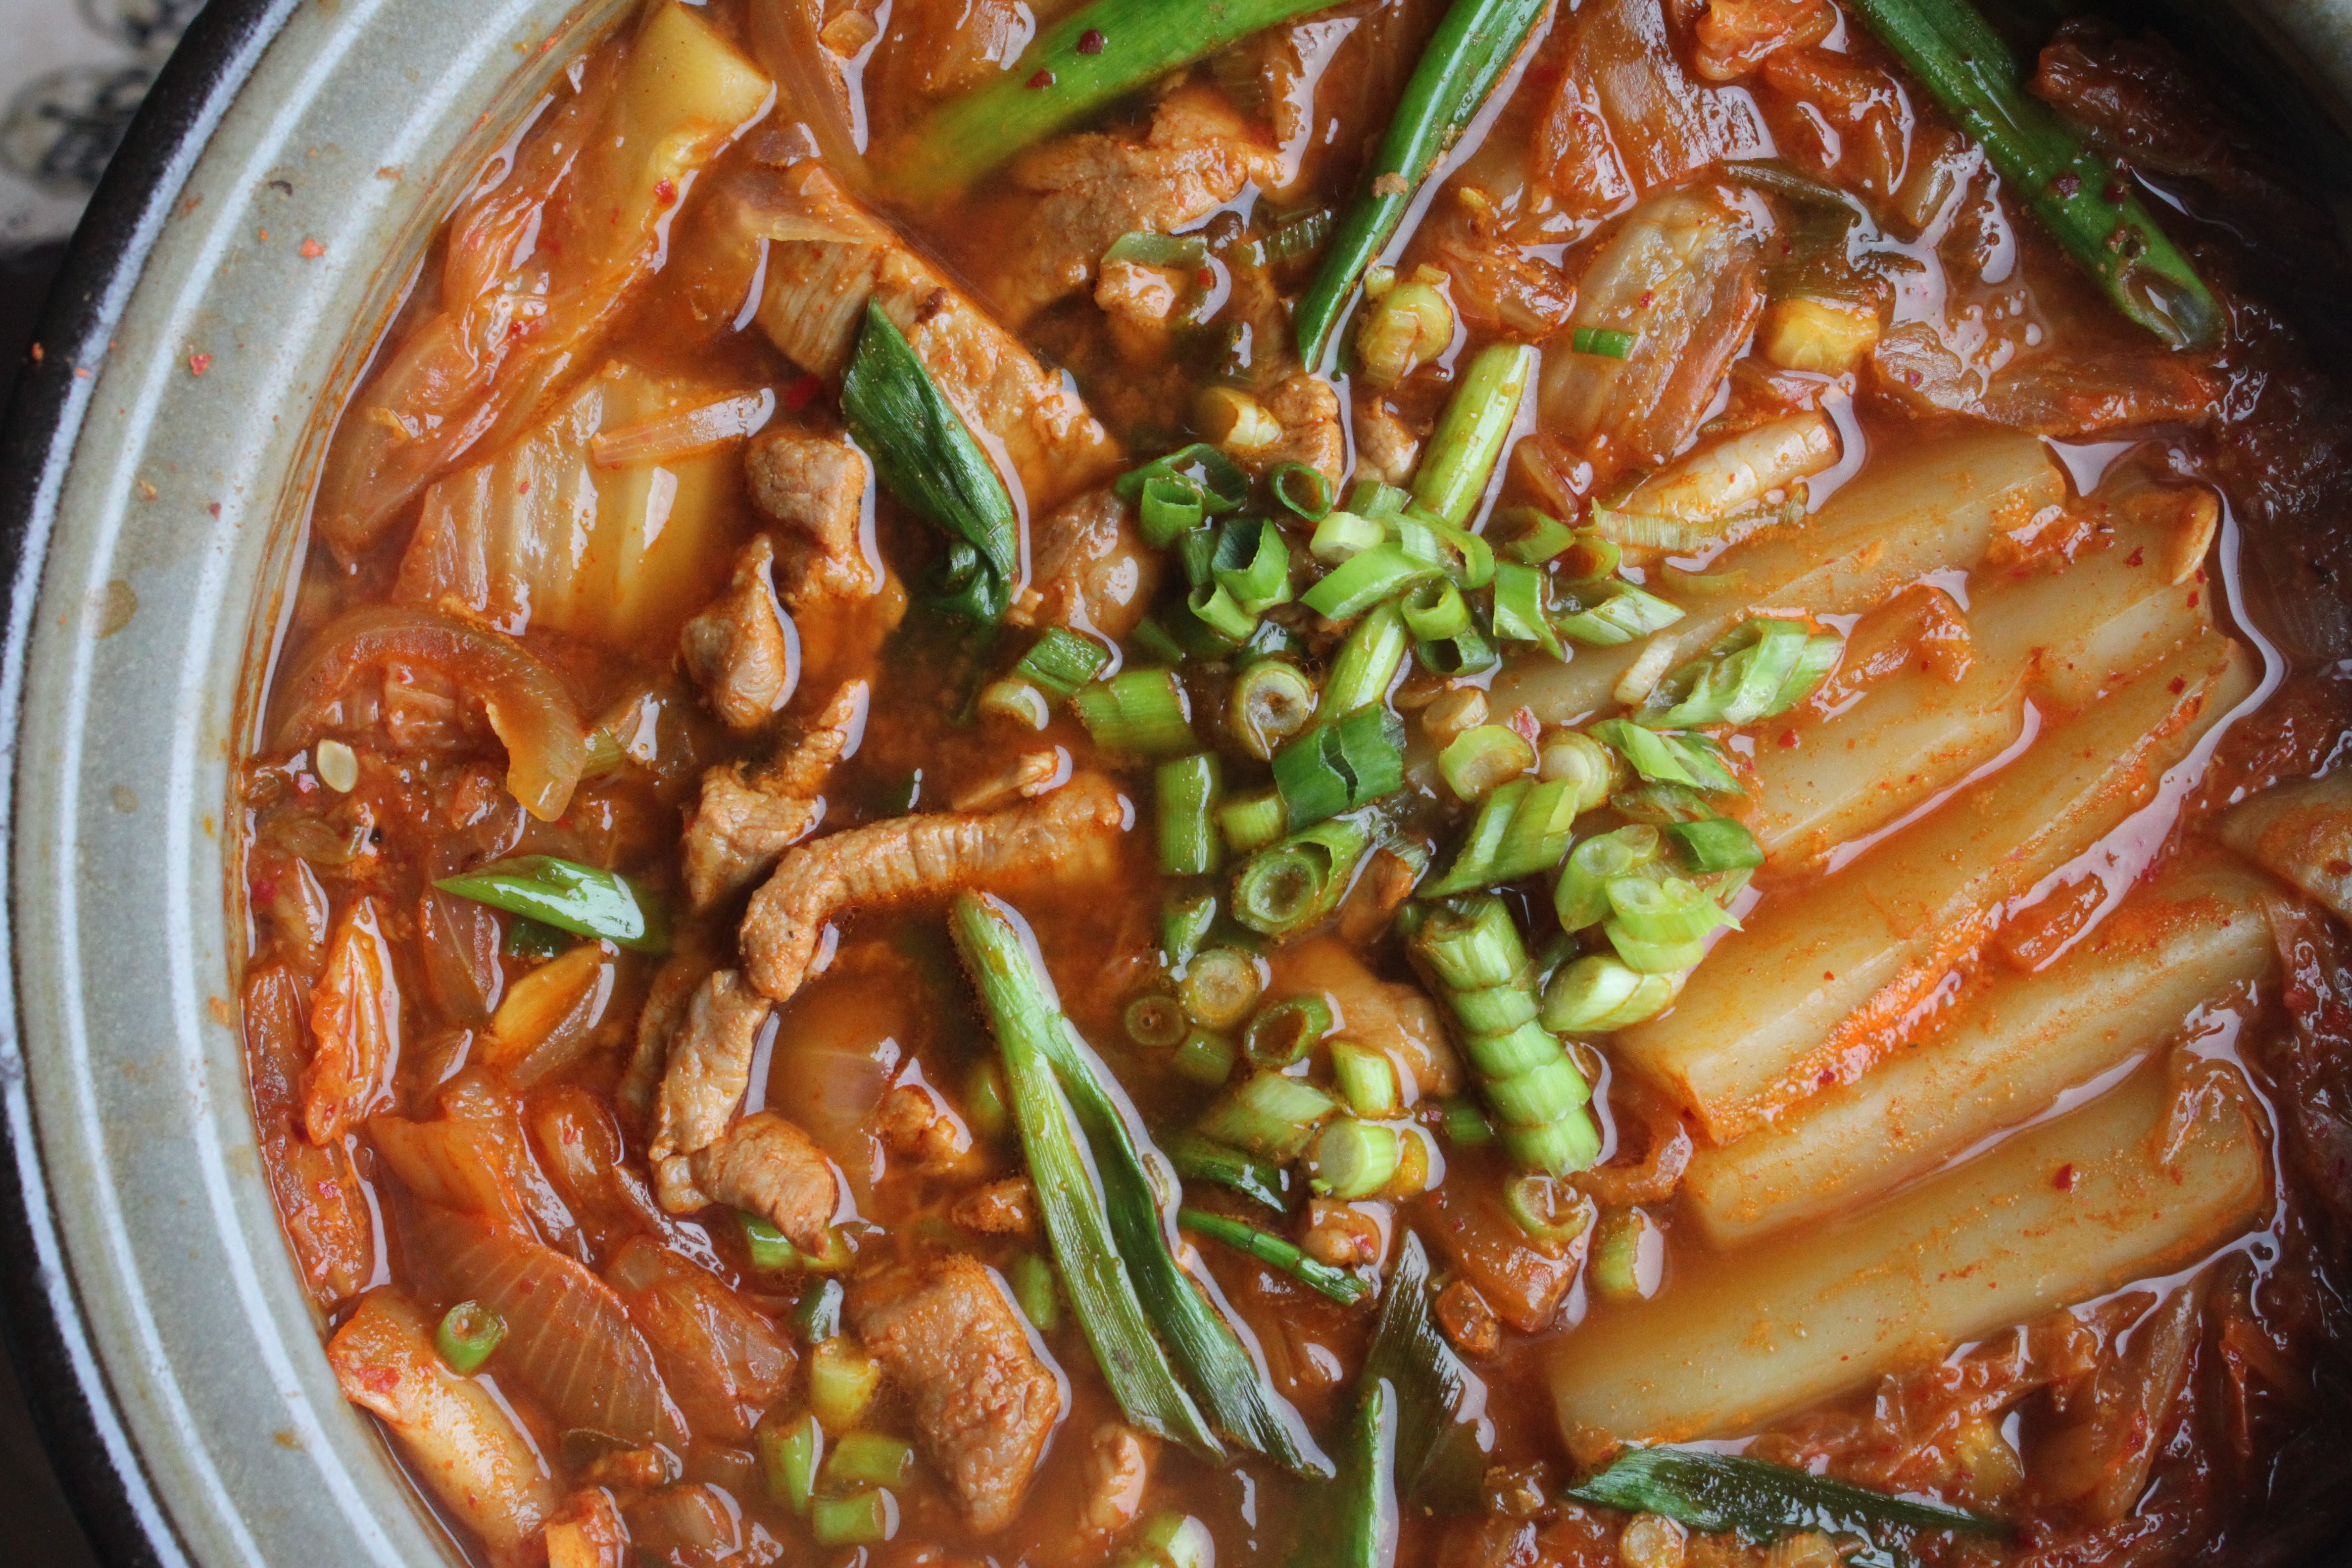
Late in October I was really thrilled when JJ and TT (many thanks again!) brought me some Hungarian paprika as souvenir from their European trip; I admit this is not the spice I use very often in my cooking, I had to give it some serious thought…

Rewind back to early October when I went for my haircut at Fab’s; my hair colouring session is the time when I catch up on my magazine reading; we are mostly digitized (twitter, Facebook, instagram) these days, so I rarely buy hard copies of any magazines unless it’s some special edition which I would like to keep. I was flipping through the October issue of Canadian Living magazine and came across their wonderful cauliflower corn chowder recipe; I love the idea of using cauliflower or potato in soups to add the texture without the need for whipping cream.  As usual, I took a snapshot and “tuck” it away in my cookery files…

So here you go; here’s my own version – the end result? It’s a lighter and healthier chowder, and certainly makes a hearty weeknight meal.  Please feel free to change things up anyway you like to suit your own taste and dietary needs.

There’s still paprika left in the pantry, so what’s next? Perhaps a Hungarian goulash for my dear friends? (OO)

Ingredients: (Serves 4-6, parts of the recipe adapted from Canadian Living’s Cauliflower Corn Chowder)

2 Tablespoon olive oil, 1 large yellow onion (diced), 4 cloves of garlic finely minced, 2 Tablespoon chopped fresh thyme, 1 1/2 Tablespoon smoked sweet paprika, 4 corn cobs (husked, kernels removed, save the cobs), 1 small head cauliflower (cut into bite size), 2 boneless chicken breast (skinned and cut into bite size), 3 cups low sodium chicken broth*, 1 to 1 1/2 cups unsweetened almond milk*, 1 large sweet pepper (seeded and cut to bite size), 2 Tablespoons lemon juice, sea salt for seasoning to taste and sliced green scallions (or chives) for garnish (optional).

*almond milk and using mostly organic produce is my own preference; I’ve used homemade chicken stock as the soup base.  To add some heat – add 1 chili pepper to soup mixture or just use hot sauce in the end when ready to serve.

Preparation:

– In small bowl, prepare marinade for chicken; whisk together 1 Tablespoon olive oil, 1 Tablespoon lemon juice, 1/2 Tablespoon paprika and pinch of sea salt.  Add chicken breast cubes to mixture and marinate for at least 20 minutes.

IMG_2791

 In a small pot using medium low heat, add the cobs to the chicken stock, let mixture simmer for approximately 15 to 20 minutes.  Turn off heat and set aside.

– In Dutch oven or large heavy pot, using medium high heat, saute the chicken breast until the meat is slightly browned and half-cooked, about 2 to 3  minutes.  Remove chicken meat from pot.

– Using the same pot, heat remaining olive oil, add onion, garlic, chopped fresh thyme and remaining paprika; saute until onion is softened, this takes approximately 3 minutes.  Stir in 1/2 the corn kernels, cauliflower, pre-heated chicken stock, sea salt and 1/2 cup water, bring mixture to boil.  Reduce heat, cover and simmer until cauliflower is tender, approximately 10 minutes.

– Using an upright blender, working in small batches, process and puree the soup until smooth (be mindful to fill blender jar less than half way). To prevent the hot liquid from splattering: remember to allow heat to escape by removing the blender’s lid centre insert (cap), hold a kitchen towel over the top when blending.

– Return puree soup to pot, add remaining corn kernels, red pepper and half-cooked chicken breast cubes, bring soup to boil.  Reduce to low heat, stir in almond milk, let it simmer and stir occasionally until red pepper is tender and chicken cubes are cooked through.  Season with sea salt to taste. Turn off heat, stir in lemon juice.

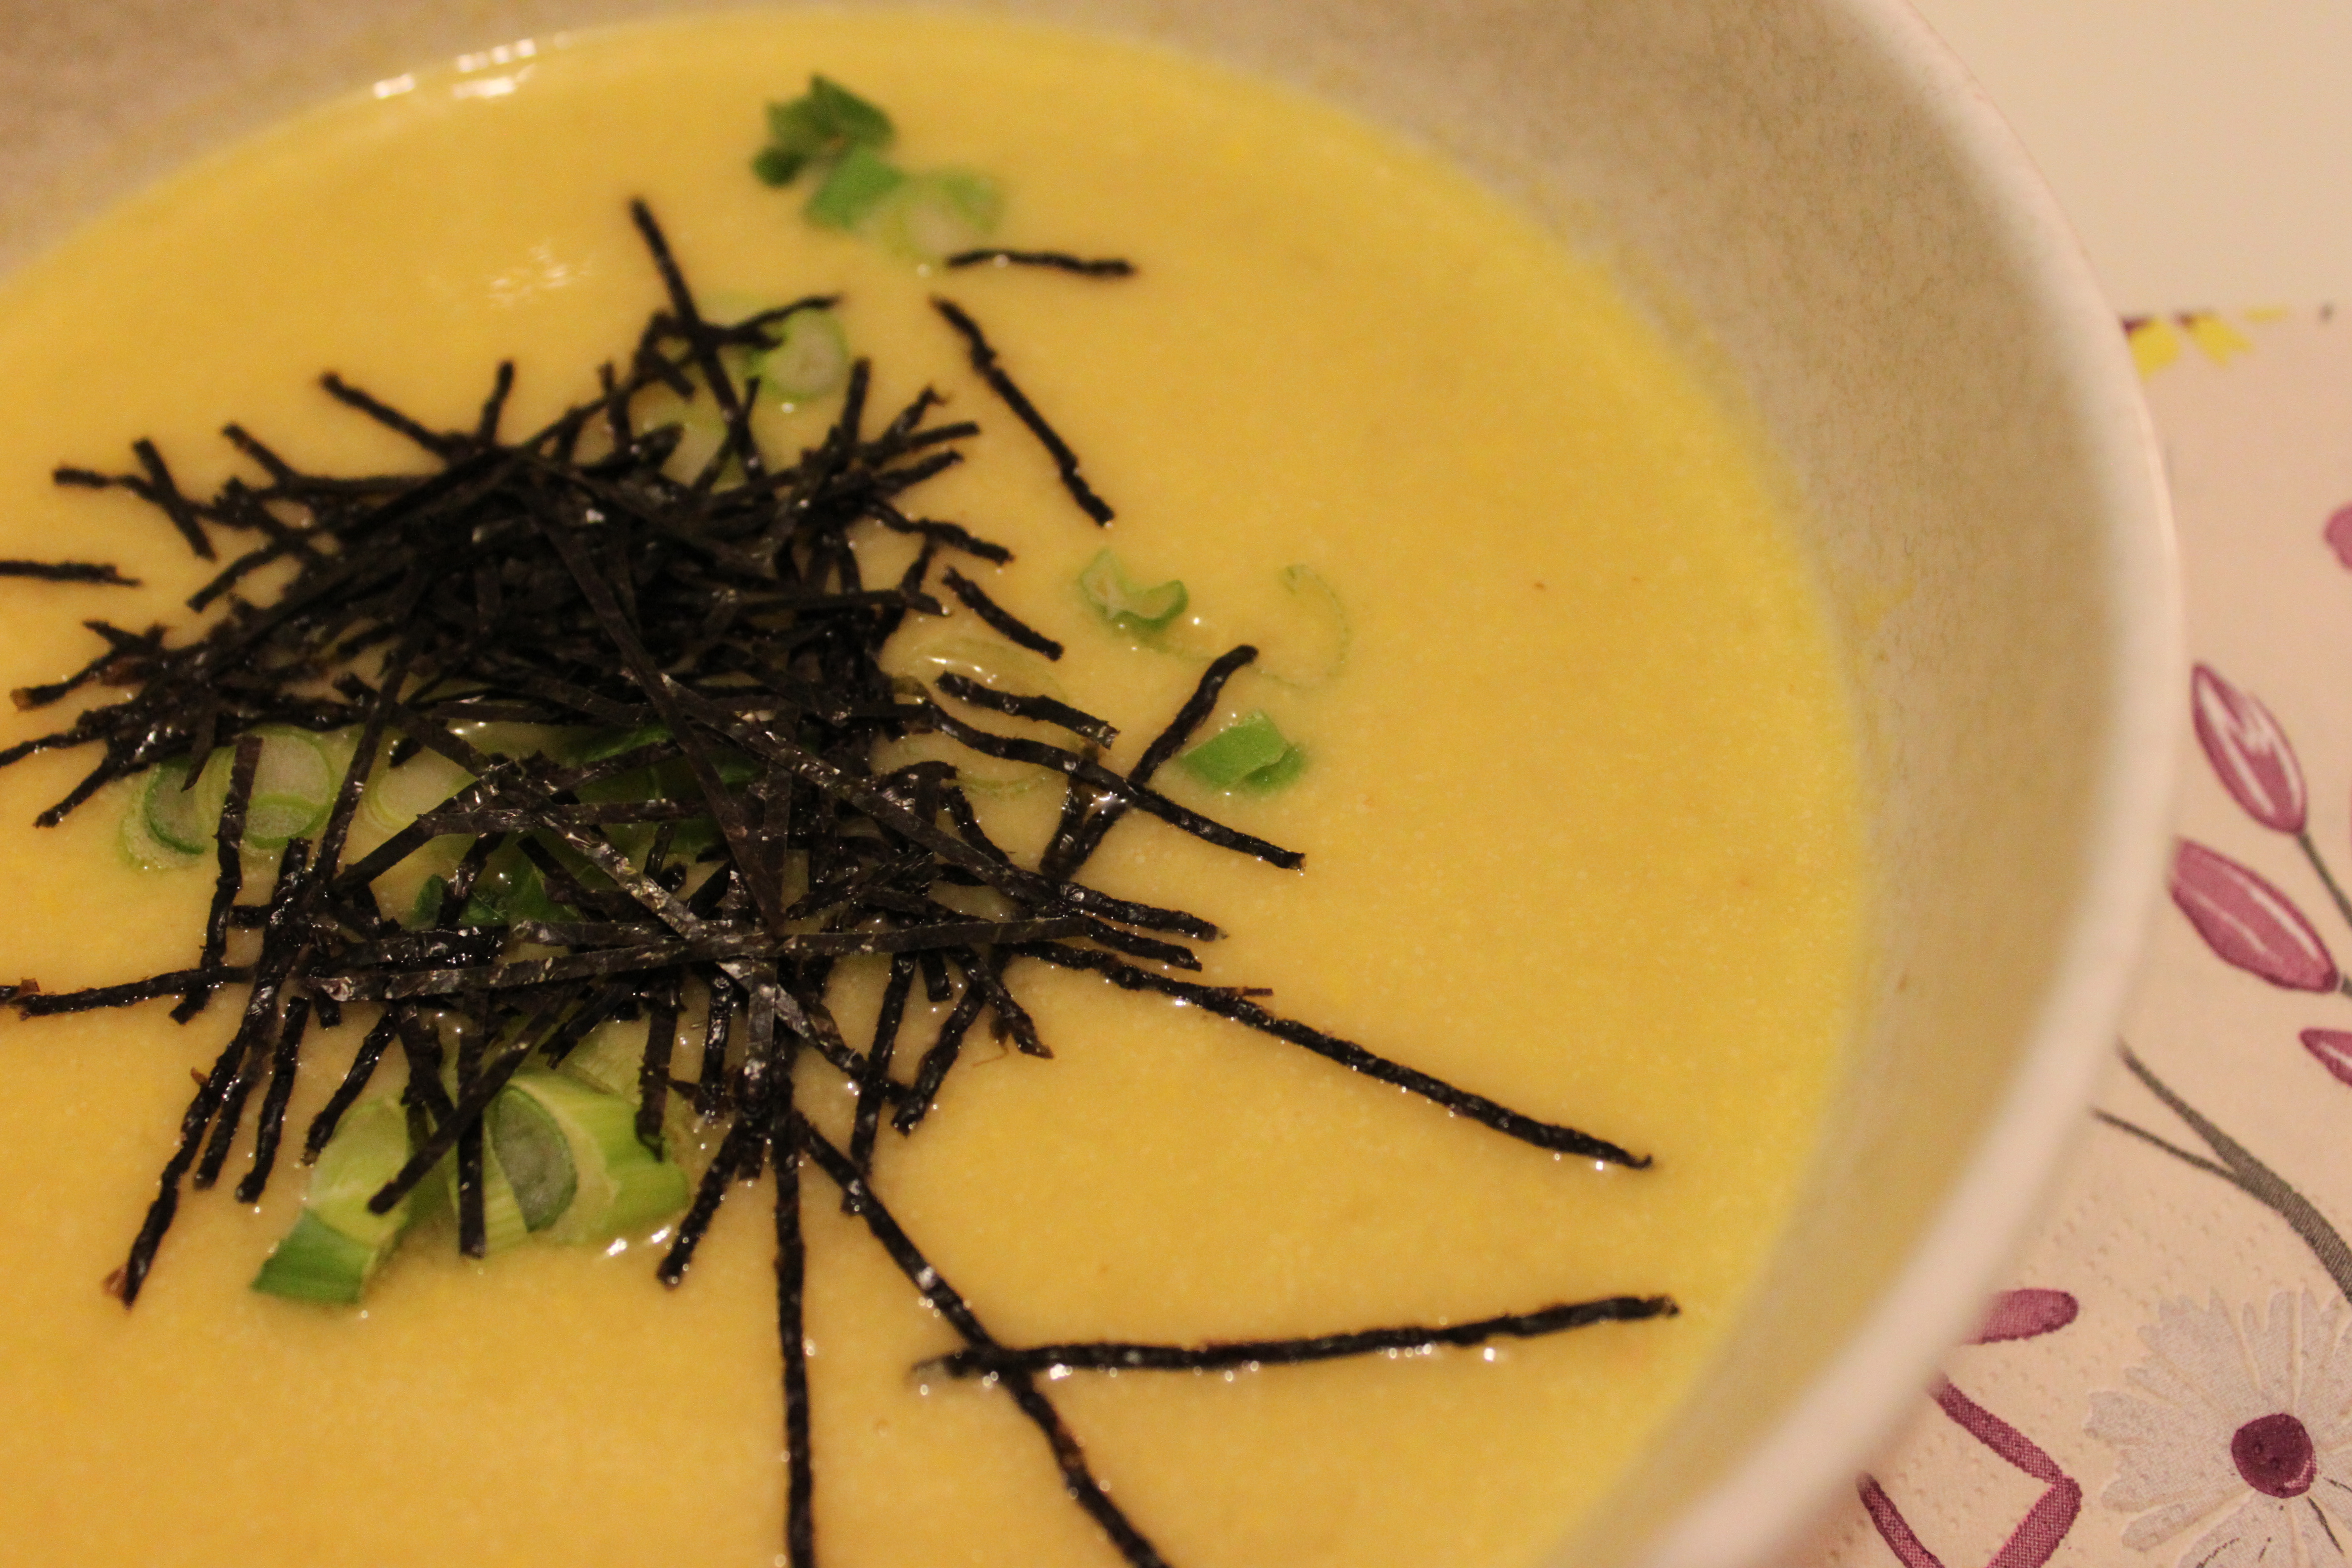
– When ready to serve, ladle soup into bowls, add hot sauce (optional) and garnish with chopped green scallions or chives (optional).


RECIPE: KIMCHI JJIGAE (Kimchi Soup with pork)

IMG_2587

Korean Food Wave Revisited: Two weeks ago on the Thanksgiving long weekend, I went “work-clothes shopping” with my friend “Mui Mui”, a fairly level-headed “youngster” who recently got a new job and need a little assistance with wardrobe selections.

She can only have soup or congee (braces!!); we popped into H-Mart food court (on Robson Street) for a casual dinner (shopping is just about the only time I’m willing to forgo a proper “sit down” meal, taste is important still); it was great to revisit Wang Ga Ma food stand, where I had one of my all time favourite Korean dish, Kimchi jjigae. It was absolutely delicious, just “hit the spot”, perfect dinner on a rainy Friday night.

I like Jjigae for its simplicity and heartiness, it is what it is. Unlike SoonDuBu (Tofu soup), this dish is not readily available anywhere. Whenever I have a sudden craving, I must make my own at home. It’s my “go-to” dish during the gloomy Vancouver winter months.

The taste brought back many fond memories, the years (since 2005) of my absolute fascination with my third “adopted” culture (behind Japanese/French)…Korean language classes (at SFU Continuing Education)…My three trips to Seoul, especially travelling with my language class schoolmates (who remained in touch as good friends until this day)…dinner outings to different establishments with our wonderful teacher Anne…Korean cooking classes…

Upon returning home, I “dug out” an old cookbook – “Korean cooking” by Han Chung Hae; In 2005 and 2007, I was very fortunate to have had the opportunities (yes twice!) to attend her cooking school while I travelled to Seoul for leisure! I’ve learnt some interesting basic dishes – kimchi jjigae (by special request), Japchae, Bulgoogi (secret marinade), seafood pancake, just to name a few!  The cookbook and a few copies of recipes written in Korean (yay have not forgotten everything entirely!) are prized souvenirs, I treasured most the experiences and friendships, they will always remain very dear to my heart.

IMG_3432

Last night on the way home we made a quick stop at T & T (Asian supermarket) to pick up the pork and konnyaku (kimchi is always in our fridge!)…Here you go!

잘 먹겠습니다

!!! (OO)

Ingredients:

2 cups (packed) kimchi (readily available at most supermarkets, chopped in bite size), 150 grams organic pork shoulder (thinly sliced or bite size, trim excess fat), 1 small onion (thinly sliced), 3 teaspoons grated ginger, 1 teaspoon finely minced garlic (can always add a little more),  1/2 cup kimchi juice (squeezed from kimchi), 2 to 2 1/2 cups of anchovy stock (*similar to Japanese dashi made of dried kelp and dry anchovies boiled in water), 2-3 teaspoons of gochujang (Korean chili paste), 150 grams konnyaku, 2 scallions (thinly sliced for garnish), 2 teaspoon grapeseed oil, 1-2 teaspoon of soy sauce (preferably Korean, Japanese soy will work also) for marinade and season to taste; 2 teaspoon Japanese sake (rice wine).

*You can use water if you do not have any stock handy, the anchovy stock adds more depth and flavour to the soup.  I always have Japanese dashi stock (kelp/bonito) ready at home and it works just as well.

It’s my personal preference to use mostly organic products, the pork shoulder (it’s less fatty) and konnyaku (a Japanese zero calorie product made of plant from taro family) instead of the usual tofu (OO).  For other versions, skip the meat and add other vegetables for vegetarian, or use canned tuna for chamchi jjigae.

Preparation:

– Slice onions, grate ginger, mince garlic and chop scallions, set aside.

– Trim excess fat off pork shoulder, slice thinly or bite size; marinade with 1 teaspoon of soy sauce, 1 teaspoon rice wine, 1 teaspoon of Korean chilli paste (gochujang), 1 teaspoon grated ginger and a smidgen of garlic at least for 30 minutes.

– Prepare the kimchi juice: Remove 2 cups (fully packed) kimchi from jar, squeezed hard into a bowl to obtain “juice” (approximately 1/2 cup), set aside.

– Bring a small pot of water to boil, add the whole block of konnyaku to parboil for approximately 10 minutes.  This will get rid of the “smell”,  slice konnyaku into 1/2 inch thick.

– Using medium high heat, heat a hot-pot (nabe – remember to follow instructions if you using one) or 5 quart heavy bottom stock pot, heat 1 teaspoon of grapeseed oil, when hot add the pork slices.  Saute for approximately 2 to 3 minutes (do not cook pork entirely) and allow the fat to render.  Remove pork from pot.

– Using the same pot (add a little more oil only if necessary) over medium high heat, add the onions, saute for 2 to 3 minutes until translucent, add remaining ginger and garlic and 1 teaspoon of gochujang, saute until the mixture is very fragrant.  Add the kimchi juice and a splash of Japanese sake to “deglaze” (you will hear it sizzling) and scrape off the little brown bits (don’t burn) from the bottom.

– Add kimchi, konnyaku and soup stock (or water) to the pot, stirring everything together to combine.

– Bring to a boil and taste for spiciness, adjust with gochujang (Korean chilli paste) if you want to increase the spiciness, season to taste with soy only if necessary.

– Turn the heat down to a low simmer and let the soup cook for at least 15 minutes. Let the flavours develop further.

– Return the half-cooked pork slices to the mixture, cook until meat is tender.

– Add the scallions and quickly stir to incorporate.  Turn off and remove from heat, serve immediately straight out of the pot with rice.  Enjoy!


Duck Breast Lettuce Wrap

IMG_2173
My lettuce wrap platter – “Pinkish” tone achieved!

The idea for this recipe spawned from three years ago when my friend “VG” brought back a bag of really delicious perilla flavored tea plums from her hometown (Kaohsiung); the moment I tasted the plums I immediately thought of using them for cooking and pair with duck, green tea and lychee to create an entree.

This was a work in progress and went through a few different versions, the idea of serving as lettuce wrap came this summer when I had a “Asian Food Fest ” gathering with some of my friends! I think by far it’s the best way to serve this duck breast and let it be the star with the perfect “supporting casts”. As I am  only an amateur home chef, the measurements are approximate and cooking methods are based on the knowledge I acquired through my home cooking experiments and the few cooking classes which I’ve attended.  Feel free to “tweak” it any way you think works best, and let me know if you have other suggestions.  Enjoy (OO)!

Ingredients: (Serves two as main course)

2 duck breast (small to medium size), 1 English cucumber, Bunch of green scallions, Head of butter lettuce 

Ingredients for the brine (which will be used to braise the duck breast and create the dipping sauce): 8 cups of cold water, 8 Tablespoons Organic Soy Sauce, 1 small knob of ginger (grated), 2 green scallions (roughly chopped), 1 green tea bag, 1 Tablespoon brown sugar (I’ve used rock sugar),I  8-10 lychee (fresh or canned, roughly chopped), 10-12 Taiwanese tea plums (remove seed, roughly chopped), 1-2 Tablespoons whole black peppercorn, juice and zest (grated) of 1 lemon,1-2 Tablespoons Japanese rice wine (sake), sea salt (for seasoning as required), 1-2 Tablespoons Taiwanese plum juice (optional)

IMG_1821
Left: Taiwanese Tea Plums (I found this at the Taiwanese supermarket in Richmond BC); Right: Taiwanese Tea Plum Concentrate (optional as it is difficult to find)

Preparation:

The day before: 

– Prepare the brine: With the exception of the green tea bag, put all brining ingredients into a 6 quart sauce pan. Using medium high heat, bring mixture to a boil.  Reduce to medium low heat, let the mixture simmer and reduce for at least 45 minutes to an hour, it will become more concentrated.

– Turn off the heat, add the green tea bag and let it steep for 10 to 15 minutes.  Remove from heat, remove tea bag, stir the mixture and let it cool down completely.

– Prepare the duck breast for brining: Place the duck breast on the chopping board skin side up, using a sharp knife, score the skin in a diagonal direction (45 degree angle), be careful not to cut into the flesh. Turn the duck breast around and score in the opposite direction.  Pat skin and flesh side dry and set aside.

This is a very important step as scoring the duck breast for cooking helps to render out the fat from the skin more effectively. It is best to score the skin of the duck breast when cold, as it becomes more difficult once the skin warms up.

– Pour cooled down liquid (including all ingredients) into a non-reactive container (BPA free plastic or glass with lid). Submerge the duck breasts into brining liquid, cover with lid and refrigerate overnight.

 Cooking Day:

In the morning:

– Remove the duck breasts from brining liquid, pat dry thoroughly (It must be completely dry) with paper towel, cover and refrigerate.

– Strain the liquid through a fine strainer, press hard on the solids to ensure you get every bit of the liquid.  Run it through a few times to remove any small bits.

– Sauce preparation: Pour liquid into 4 quart sauce pan, using medium high heat, bring liquid to a boil, reduce to medium low heat, and let it simmer and further reduce to approximately 2 cups, the consistency should only be a little “syrupy”.

When ready to cook and serve:

– Take the duck breasts from the refrigerator and let them come towards room temperature prior to searing.

– Wash all vegetables thoroughly: Pull of pieces of butter lettuce gently, wash thoroughly and pat dry with paper towel. Julienne the cucumbers (cut in thin slices) and shred the green scallions.

– Reheat the sauce, keep in low simmer (don’t let it burn).

– On different stove top, place duck breasts skin side down on cold dry skillet, do not add any cooking oil. Place the pan over medium to medium low heat, and slowly render down the fat, it will take approximately 6 to 8 minutes, using a spatula (be careful not to burn yourself), gently flip over and check if skin is browned evenly. Using a spoon, remove the duck fat.

IMG_2143
Duck breast skin side down on cold dry pan

– When duck breast is ready, flip over (skin side up) and remove from skillet, finish cooking by “braising” in the sauce (as shown in picture below), skin side up.  Adjust to medium low heat, Using a spoon, “spoon” the sauce constantly over the breast (this will help to cook the breast evenly), the liquid should be gently boiling (you can see bubbles).

IMG_2146

– Let them cook for approximately 5 to 6 minutes (depends on the thickness of the duck breasts), flip them over skin side down and cook for another 2 to 3 minutes. To test its doneness, the breasts should feel firm but tender, or you can should a

– Remove from heat, set aside and let them “rest” for at least 10 minutes prior to slicing.

– To finish the sauce, add a little duck fat (which you rendered earlier when browning the skin), Japanese sake and lemon juice, stir and mix well, taste and adjust the seasoning if required, finish off with a few grinds of black pepper. Strain the sauce one more time for a smoother texture.

– Slice the duck breasts thinly, it should be “pinkish” in colour.

– Assemble the platter and serve immediately.

Notes:

– I purchased the duck breasts from Armando’s at Granville Island.  The smaller ones are not as thick and easier to cook.

– This website has lots of good duck recipes and references:

http://www.greatbritishchefs.com/


RECIPE: Corn Potage (Japanese Corn Soup)

IMG_1010

Over the weekend I hosted a bridal shower for my dear friend Virginia (Congrats!) and she specifically requested to have corn soup on the menu! I choose to make my favourite recipe, adapted from Jane Lawson’s Yoshoku – Japanese food western style with slight modifications (added chicken stock, omitted sesame oil). This is very easy to make; it’s great as a starter or a meal on its own, Enjoy (OO).

Ingredients: (Serves 2 – 4 (as small starter)

4 cups kombu stock, 1 cup organic low sodium chicken stock (optional), 4 cobs fresh sweet corn (peaches and cream); 1 oz organic unsalted butter, 1 teaspoon grape seed oil, 1 medium leek (white portion only, thinly sliced), 1 celery stalk (finely chopped), 1 to 2 garlic clove (crushed), 1 teaspoon finely grated ginger, 1/4 (60 ml) cup mirin, 1/2 cup (125 ml) cream, salt and pepper to taste, nori flakes and thinly slice green scallions (optional for garnish).

Preparation:

– Cut the kernels from the corn cobs, set kernels and cobs aside.

– Prepare the kombu stock; in a separate saucepan, bring chicken broth to boil, turn off heat and set aside.

Kombu stock: (1 piece of kombu (around 20 g – gently cleaned and wiped with damp cloth), 4 cups of cold water

– Put the kombu and 4 cups of cold water in a large saucepan.  Heat up the water slowly on medium low heat; just before it starts boiling, remove the kombu.

– When kombu stock is ready, add corn cobs and hot chicken stock to the pan and return to the boil. Reduce to simmer and cook for 15 to 20 minutes, remove from the heat, discard the corn cobs and set aside.

– In a separate 8 quart stock pot, add butter and grape seed oil, melt over medium heat.

– Add leek, stirring regularly, cook for approximately 5 minutes or until lightly golden.  Add celery, garlic and ginger, cook until fragrant (approximately 1 minute); stir in corn kernels, mix well with other ingredients and cook another 1 to 2 minutes.

– Add stock and mirin to corn and leek mixture, and bring to boil over high heat, then reduce to simmer and cook for 20 minutes.

– Using an upright blender, process and puree the soup in small batches (be mindful to fill blender jar less than half way).To prevent the liquid from splattering, remember to allow heat to escape; remove the blender’s lid centre insert (cap), hold a kitchen towel over the top when blending.

– Return puree soup to stock pot, stir in the cream and heat gently over low heat, do not bring to boil.

– Season to taste with salt and pepper; to serve, sprinkle with nori flakes and green scallions (optional).

Notes:

– I added the organic chicken broth (optional) for more flavour; the original recipe calls for 4 cups of kombu stock only, because I’ve added the additional cup of chicken broth, the soup is not as thick. If you want a thinner soup, add more cream.

– For a smoother and more refined texture, push the puree soup mixture through a fine sieve before stirring in the cream.

– I opted to use a light cream and seasoned the soup with sea salt from Okinawa (a precious gift from my friend “FanFan”, thank you very much!!).

IMG_0892
Corn Soup in “Pink Striped” Icecream paper bowls for the bridal shower

– For the bridal shower, I served them in little “ice-cream” cups:)