RECIPE: Giampiero’s Trofie con Cariofi (Trofie Pasta with Artichokes)


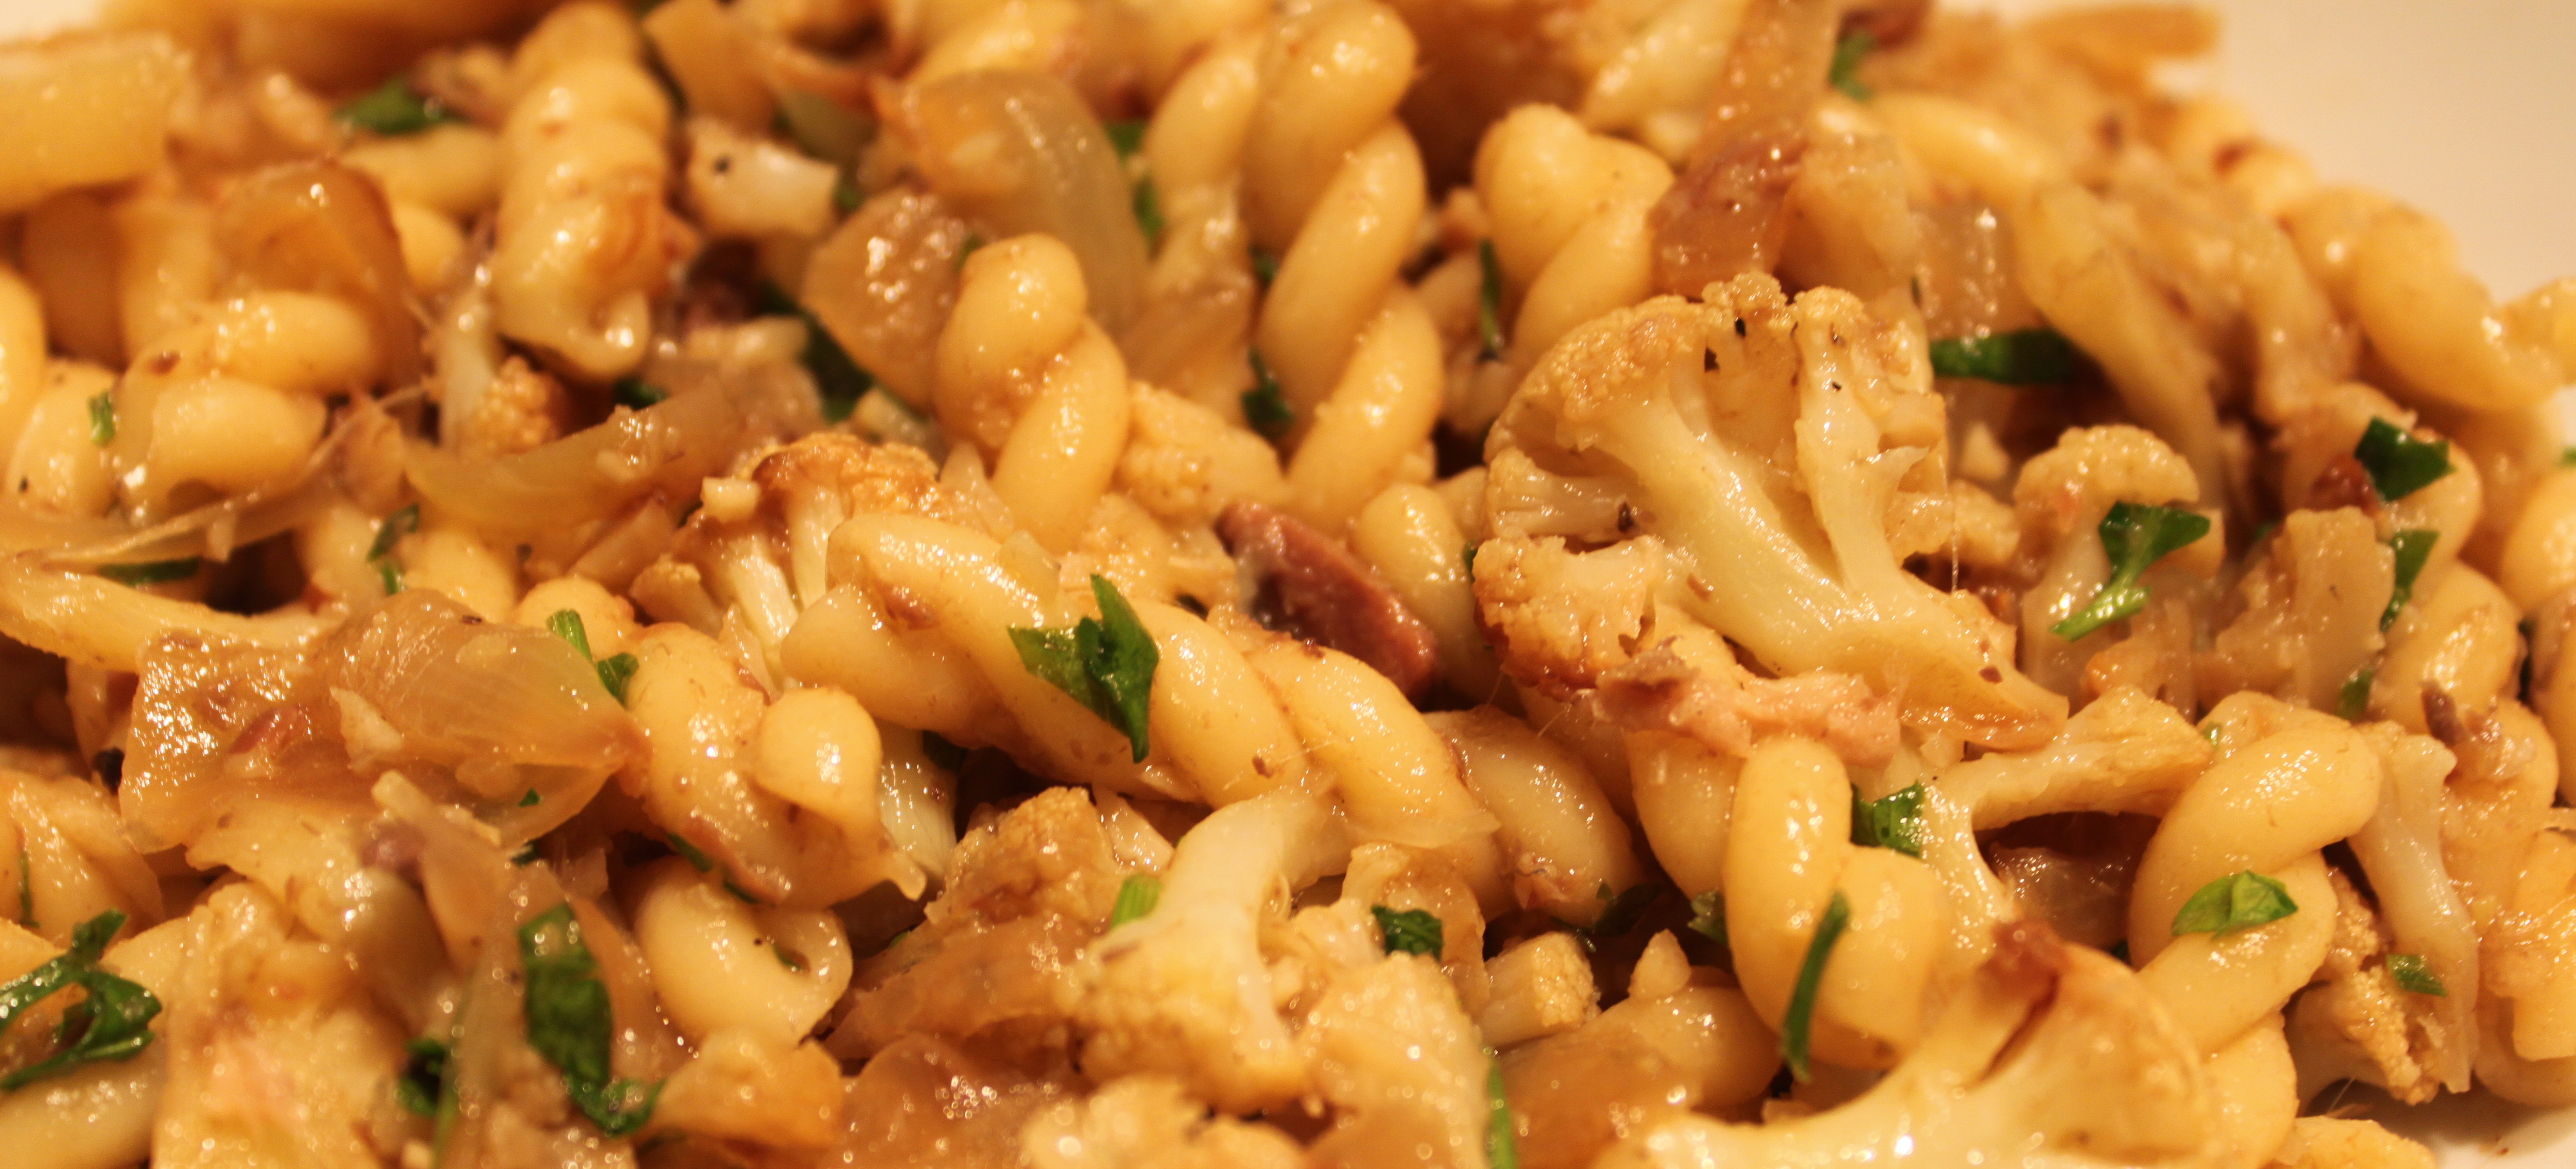
Italian Supper Club I:  Here’s the very delicious Artichoke and Trofie Pasta Recipe; courtesy of my friend’s James’ Italian friend Giampiero ; Grazie and Mangiamo!

Ingredients: 2 Lemons 4 to 5 Artichokes (firm, tight, green, preferably Romanesco type)2 to 3 cloves of garlic, peeled 1 to 2 tsp Peperoncino (red chili pepper) flakes,  2 to 3 Anchovies (preserved in oil),  1-2 cups Warm Chicken soup stock (homemade or store-bought*),  1 cup dry white wine, 500 gr Trofie dry pasta, grated Parmigiano-Reggiano and Pecorino Romano cheese, 3 to 4 Tablespoons extra virgin olive oil, sea salt (for pasta cooking and seasoning).

*Vegetarian stock can replace chicken stock to make this dish vegetarian; chicken or vegetarian stock cubes can be used also.  Anchovies are used to “season” the dish so adjust the salt accordingly (OO).

TIPS: This recipe serves 5 (100g pasta each as an appetizer); the usual size 500 g package of pasta is good for 5 to 6 people, depends on what is being used to go with it.

We used the same recipe, omit the pasta and turn the artichokes into antipasti; we just quartered the artichokes and serve it room temperature.   The lemon water prevents oxidation; it also removed the somewhat “muddy” flavor of artichokes and add brightness to the dish. Trofie pasta is selected as the shape goes with the sliced artichokes.

Artichokes as Antipasti!

Method:

  1. Zest the two lemons and reserve the zest in a small bowl for later use.
  2. Prepare a large bowl with cold water. Cut the two zested lemons in half and carefully squeeze the juice into the water being careful not to include the seeds. Drop in the seedless peels in as well.  The lemon water is to prevent the artichokes to oxidize.

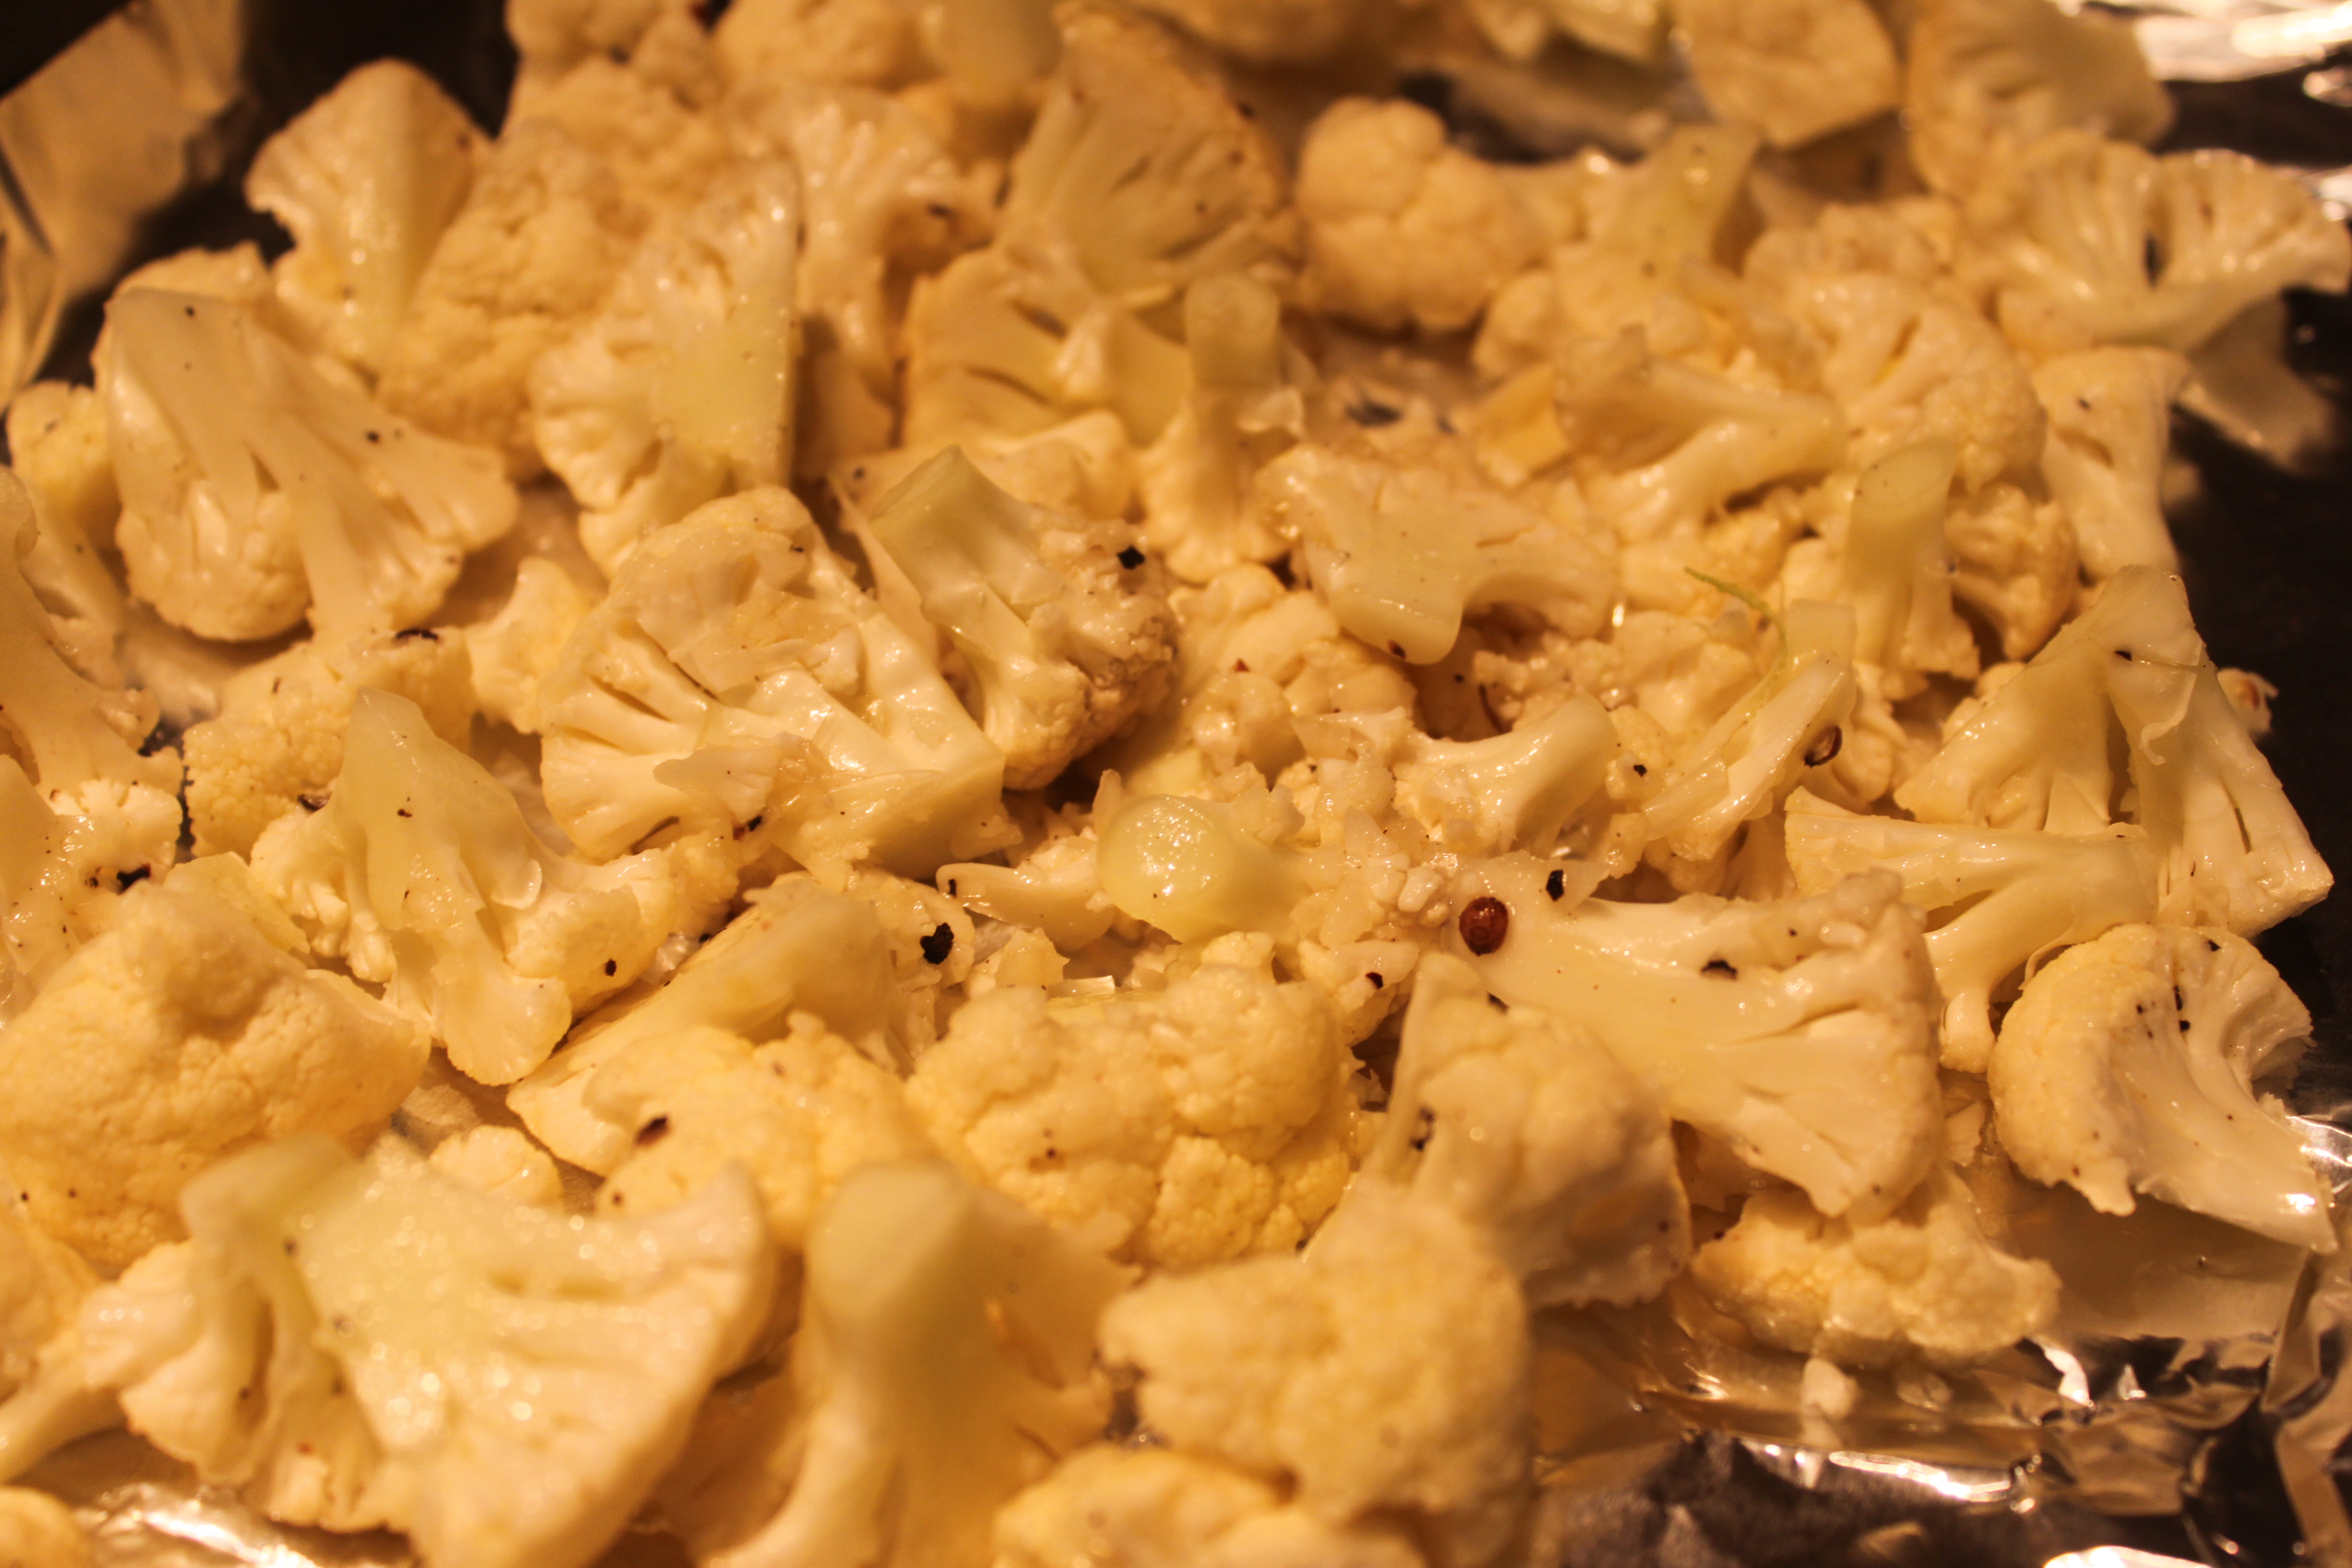
3. Using a paring knife, carefully clean and trim the artichokes, pulling away the dark and hard outer leaves. Cut off the end of the stem, slice away the darker green outer layer of the stem. Carefully pare away any remaining dark green layer between the peeled stem and the edge of the base. Cut off about 1/3 to a half of the pointy leaf ends.  Be careful when paring and not to cut yourself.

4. Slice the trimmed artichoke in half lengthwise and then into quarters and carefully remove the hairy choke, pulling out any pointy interior leaves in the process. Drop the trimmed artichoke (carciofi in Italian)  in the cold lemon water and repeat the process until completed.  When all of the  have been properly trimmed and quartered, take each quarter and slice thinly lengthwise, returning the sliced artichokes into the acidulated water immediately.

5. Put a large pot of salted water (sea salt) on to boil.

6. Warm the chicken / vegetarian stock in the sauce pan; keep it in low simmer (this step will be omitted if you are using chicken /vegetarian stock cube and those can be added directly into the pan for flavoring).

7. Using low heat, add 2 (to 3 TBS) olive oil to a large saute pan or wok (in Italy they have a large rounded pan with a handle called a Salta pasta);  gently saute the garlic and peperoncino (red pepper flakes).

8. Add the drained artichoke slices and raise the heat to medium, Stir constantly (without breaking the artichokes).  After 2 to 3 minutes, add the anchovies to the side of the pan, carefully mashing them so that they completely dissolve in the oil.

9. Add the warm soup stock a little at a time (when cooking always add warm stock to avoid temperature fluctuations)  and stir in the white wine.  The stock will add another level of flavor to the artichokes; let hte mixture simmer in low heat.  The artichokes will absorb the liquid, you don’t want the sauce to be “watery”.

10. While sauce is simmering, throw the trofie pasta in to the boiling water and cook for at least one to two minutes less than indicated on the instructions.  Do not Toss the pasta water!

Trofie pasta purchased at La Grotta Del Frommaggio on Commercial Drive

11. Reduce the heat a bit lower (medium low) for the artichokes,  cover and cook until the artichokes are almost tender. They should be al dente by the time the pasta is ready. Taste the artichokes and see if they need any salt, the anchovies should be enough for flavoring, otherwise add a little salt if needed.

12. Using a strainer or a spider to lift the al dente pasta out of the cooking water and toss into the pan with the artichokes.  Add a ladle or two of the pasta cooking water (acqua di cottura), stir and fold gently to ensure the water mostly evaporates.  The cooking water is what makes the sauce creamy!

13. Add a couple of handfuls of grated parmesan and pecorino cheese to the artichoke /pasta mix. Stir gently to integrate the cheese with pasta, then serve hot in individual bowls. Top each with some of the lemon zest, a drizzle of extra virgin olive oil and more of the grated cheese if desired.  Mangiamo!

RECIPE: Vegetable Curry Udon

DSC00843

A bowl of savory and mouth-watering curry noodle soup on a cold Vancouver winter day!

My recipe is loosely based and adapted from Japanese Soul Cooking (By Tadashi Ono and Harris Salat), one of my great recent cookbook finds!  They use soba broth (it’s called kake soba broth) to enhance the flavor of curry;  I added turmeric (when sautéed the onions and vegetables), diced apple and fukujinzuke, commonly used to serve with Japanese curry rice, are used as garnish (in addition to green onion) to a hint of sweetness and add “crunch” to the dish, the end result is much more flavorful.  Leftover curry taste even better the next day, add more vegetables or meat then serve with rice as a donburi (you can always add crispy fried pork cutlet (tonkatsu),  or simply freeze it ready for use anytime for quick ready-to-go weeknight dinner; Enjoy (OO).

Serves 2-4:

Ingredients:  4 bricks of fresh-frozen sanuki udon, 1 large onion (thinly sliced), 1 small head of cauliflower (florets roughly chopped), 1 medium zucchini (diced), 4 small bunched carrots (peeled and chopped), 3 Tablespoons of ground turmeric, 1 Tablespoon of mirin, 1 Tablespoon extra virgin olive oil, 1 package (110g) Japanese curry roux (I used Glico Medium Premium),  6 cups of katsuobushi dashi, green scallions (white part only, thinly sliced on an angle), kosher salt (light seasoning when cooking vegetables).

Note:

To make the dish completely vegetarian, simply substitute the katsuobushi dashi with kombu dashi broth

For Meat Lovers: Thinly sliced pork or minced pork goes very well with the curry,  I used the a bit of ground ginger and apple, turmeric powder and kaeshi to marinade the pork (minced or thinly sliced) night before if I am adding protein to the curry.

You can use curry powder and potato starch instead of the instant curry roux.

Check out Ms. Namiko Chen’s  Just One Cookbook, she has a great pork curry udon recipe.

Here’s a picture of the fukujinzuke!

IMG_0252

*Recipe for kaeshi (makes 2 1/2 cups) – from Japanese Soul Cooking

Prepare 2 to 3 days in advance this recipe : Add 2 cups Japanese soy sauce (I used only 1 1/2 cups + 1/2 cup katsuobushi dashi to make it less salty), 1/2 cup mirin, 3 Tablespoons sugar (I used coconut nectar instead, adjust the sweetness accordingly) – Add all ingredients into saucepan and bring to boil over high heat.  Turn off the heat and allow mixture to cool off to room temperature.  Refrigerate for 2-3 days to allow the flavors time to mingle, store in glass bottle and refrigerate up to a month.

**In Japanese Soul Cooking – they prepare the kake soba broth (combining the kaeshi and dashi and a lot of mirin) ahead of time, I did not combine the katsuobushi dashi broth and kaeshi, I add them separately into the curry and use a lot less mirin.  Check out their book, it’s filled with wonderful recipes, thank you very much for your inspiration.

Preparation:

  • 2 to 3 days before – prepare kaeshi (see recipe above, refrigerate in glass container ready for use)
  • Prepare dashi broth (can be done 1 to 2 days ahead, refrigerate in glass container ready for use)
  • Prep all the vegetables
  • In a large saucepan, reheat the dashi broth (if you did not make from scratch the same day) and keep it warm
  • In a different large heavy pot, heat 1/2 tablespoon olive oil using medium high heat, add cauliflower and cook for 2 minutes, then add carrot (cook for another 2 minutes) and zucchini, lightly seasoned with kosher salt and 1 Tablespoon ground turmeric, saute in total 5 to 6 minutes then remove from pot, set aside.
  • In the same pot, heat another 1/2 Tablespoon olive oil (medium high heat), add sliced onion and 1 Tablespoon of mirin and saute, stirring constantly for 2-3 minutes, until onion becomes soft and turn translucent (I let it caramelize a little).  Add the remaining 2 Tablespoons ground turmeric and cook, stirring constantly and mix well, be careful not to burn the turmeric!
  • Add the warm dashi broth and 1/2 cup of kaeshi to the pot , scrape the bottom of the pot,  cook for 2-3 minutes and bring to a boil.  Skim off any scum and fat from the broth.  Reduce heat then let the flavors mix and cook for another 10 minutes.
  • Turn off the heat, add the curry roux, using a strainer or chopsticks, melt the roux and blend nicely with broth mixture.
  • Turn on the heat to medium high, heat the curry, stir occasionally, making sure it will not stick and burnt on the bottom.  Using small fine mesh strainer, remove any scum.
  • Add cauliflower, carrot and zucchini mixture to curry, using medium low heat, let it simmer for another 15 to 20 minutes, gently stir occasionally to prevent sticking and don’t break the vegetables.  Keep it warm using low heat (and it will not burn), taste the curry and add seasoning (using kaeshi) if necessary.
  • Prepare garnish – diced apples (squeeze a bit of lemon juice to prevent it from turning “brown”) and scallions
  • Meanwhile using a separate pot, boil water to cook the sanuki udon (according to instructions approximately 1 to 2 minutes) – I prepare each serving individually
  • Turn off the heat, put udon into bowl, ladle the curry over noodles, garnish with diced apples, scallions and fukujinzuke, now ready to serve and enjoy!
  • If you are adding ground or sliced pork to this dish, lightly saute the pork in the beginning and set it aside, add the meat last when vegetables are cooked, bring curry to boil and turn off heat immediately, the meat will cook through and remain juicy!

Where to shop for ingredients in Vancouver: Fujiya (Japanese groceries, fukujinzuke is available – 912 Clark Drive, Vancouver, BC), Nikuya (11220 Voyageur Way, Richmond, BC – for sliced pork), T and T Supermarket (Various locations – for Sakura Farms ground pork), Japanese Soul Cooking (Available at Indigo, Amazon, I purchased mine from Crate and Barrel at Oakridge Centre).

“Lazy” Phnom Penh Dry Noodle

IMG_2008

“Phnom Penh” is one of our favourite Vancouver eateries; my friend “PPQ” came up with this “lazy” version (without soup) and recently I have fine tuned this easy recipe. The ingredients are simple and easy to prepare, it is also fun to prepare this for a “buffet” or potluck party, all you have to do is prepare the toppings and everyone can assemble their own noodle dish and spark an interesting dinner conversation! Enjoy (OO).

Ingredients: (Serves 2 – 4 as light meal/appetizer)

1 package of fresh Chinese rice noodle “Cheong Fun” roll (650g, with scallions and dried shrimp) (available at most Asian supermarkets),  Tiger prawns (approximately 3-4 each person for each serving, shelled, deveined, boiled), lean pasture raised ground pork (250g), fish sauce (for seasoning the pork), cilantro, fresh lime, 1 package of bean sprouts, green scallions (chopped), fried garlic and fried onion (you can make your own or purchase prepackaged product from Thailand), fresh Thai chilies (seeded and finely chopped, optional), Chinese “Tianjin” preserved cabbage (small handful)

For the sauce:  Indonesian Sweet Soy Sauce, low sodium chicken stock, dark soy sauce (1-1-1 ratio)

Other condiments: Store bought Sambal Olek Chilli Sauce, chopped Thai chillies mixed with white vinegar (optional), Homemade prawn oil (optional)

Preparation:

–  Cut the rice roll into bite size (approximately 1 inch lengthwise); then slice through the middle to make them thinner; sprinkle with cold water and reheat in rice cooker (leave them in rice cooker under  “keep warm” mode”).

– To prepare the sauce: mix all ingredients and bring to boil, adjust sweetness and saltiness according to your liking

– Instead of oil, add a little water to skillet and saute the ground pork in high heat, add a little fish sauce for seasoning, set aside

– To prepare the prawns: shelled and deveined (with tail intact), add water to medium size pot (enough to cover the prawns), add a slice of lemon and a few black peppercorn and bring liquid to a boil; add prawns and cook until just opaque throughout. Have an “ice” bath ready; when prawns are cooked, pour the prawns into strainer and “shock” in ice bath immediately to stop the cooking process.  Strained and set aside.

– Parboil the bean sprouts quickly, strain and set aside.

– Prepare the preserved cabbage – soaked in cold water for at least 15 to 20 minutes, squeezed dry and chopped finely; chop green scallions, cilantro, slice the limes.

– To serve, Place each ingredient in individual serving bowls, prepare a condiment tray and set up the self-serve noodle bar.  Enjoy!

Notes:

You can adjust the meat/vegetable quantity and taste according to your taste and dietary needs.  Steamed pork belly slices are also good addition to this dish.

Indonesian Sweet Soy Sauce – the brand which I’ve used is called “ABC”, it’s available at T & T Supermarket.  When making the sauce, I diluted the sweet soy sauce with low sodium chicken broth to lessen the sweetness.

I used the prawn shells and prepared my own oil (It’s simple and easy to prepare).


RECIPE: Gemelli Pasta with Roasted Cauliflower and Onion-Anchovy Sauce

IMG_9937
Simple pasta dish with lots of flavour

I am going through a major “cauliflower phase”.…Roast, steam or even eaten raw, it’s currently my favourite vegetable (last month was kale).  I was searching for different ways to turn this cruciferous vegetable into an entrée; Inspired by one of Lidia Bastianich’s recipes (Bigoli with onion anchovy sauce), I added the roasted cauliflower to the sauce and toss with gemelli pasta.  As this is my own recipe, the measurements are approximate; always adjust according to your own taste and dietary needs.

Ingredients: (Serves 2)

1 head cauliflower, 2 Tablespoons extra virgin olive oil, 3 cloves of garlic (finely minced), 1 small onion (finely sliced half-moon), 4 to 6 anchovy fillets (in oil, drained, finely chopped), 1/2 cup hot low sodium organic chicken broth, 120 g gemelli pasta, freshly ground black pepper and kosher salt

Preparation:

– Preheat oven to 350 degrees F, lined roasting pan with parchment paper or aluminum foil

IMG_9914
Roasted cauliflower

– Clean cauliflower and cut off the stems and leaves (discard); Cut the cauliflower into half, then slice florets and stalks into bite size. Place cauliflower in roasting pan, toss with 1 Tablespoon extra virgin olive oil and half of minced garlic, season with salt (lightly) and fresh ground black pepper.  Roast until golden and tender, approximately 25 minutes, turning half way.  Transfer to a plate lined with paper towel to drain.

– To make the anchovy sauce: Set the large skillet on medium high heat, add 1 Tablespoon extra virgin olive oil, stir in onions and remaining garlic, season with sprinkle of salt; let onions cook slowly. After 15 to 20 minutes, the onions will become golden and edge with brown, add the chopped anchovies, raise the heat, cook and stir until anchovies melt.

– Pour in the stock, bring to a bubbling boil; season generously with fresh ground black pepper and adjust salt to taste (add only if necessary – *anchovies are salty).  Remove from heat, return to simmer before you add the gemelli and cauliflower.

–  Cook the gemelli according to package instructions, until nearly al dente in boiling salted water.

– Toss the pasta and cauliflower into the simmering sauce; mix together for a minute in order to finish cooking and coat the pasta and cauliflower evenly. Turn off the heat, toss in the chopped parsley and serve immediately.  Enjoy (OO)!

Note:

The choice of pasta is my own personal preference.

It’s also a personal preference to have more vegetables than pasta. I adjusted the measurements of the original recipe accordingly and skipped the butter.  For the original recipe for the sauce: http://www.lidiasitaly.com/recipes/detail/885.

RECIPE: Wafu “Spaghetti Squash Spaghetti” with shimeji mushrooms and bacon

IMG_9912
Wafu “Spaghetti Squash” Spaghetti

We love Japanese “yoshoku” (Japanese style western food); there is always an abundance of Japanese ingredients in my pantry. This style of cuisine is very popular in Vancouver and there are few restaurants which serve this style of dishes. It is also very easy to find the ingredients to make our own version at home.  More than a week ago I was discussing this topic with my twin “Green Apron”, I decided to make my own version and added my own twist, Baked Spaghetti Squash.  Mushrooms and Squash are in season now; with this version we can enjoy more vegetables and feel just as satiated.  This is a homemade and light recipe, all measurements are approximate; always adjust according to your own taste and dietary concerns.

Ingredients (serves 2 – 4)

1 medium spaghetti squash (yields approx. 2 cups), 150 g pasta (1 cup cooked – spaghettini or angel hair), 2 strips of bacon (small bite size, I used organic), 3 cloves of garlic (minced), 1 small onion (thinly sliced),  2 packages of shimeji mushrooms (I used organic bunashimeji, approximately 300 grams), 2 teaspoons olive oil, 1 1/2 Tablespoons Dashi Soy Sauce, 1 1/2 Tablespoons Japanese Soy Sauce (I used low sodium organic), sake (one teaspoon), salt, shichimi togarashi**optional (Japanese seven flavoured chili powder) and/or black pepper **optional to taste, bonito flakes (katsuoboshi, handful), seaweed strips (handful)

Preparation:

– Pre-heat the oven to 375 degrees (F)

IMG_9873
Almost ready to scrape and scoop!

– Clean spaghetti squash and cut it in half (sharp knife required and be careful!), remove the seeds; place squash on baking sheet (lined with foil), cut side down.  Pre-cut squash cooks faster, baked until it’s done takes approximately 35 minutes.  Let the squash cool about 10 minutes then using a fork, scrape the sides of the squash lengthwise, scoop them out and place them in a bowl, set aside.  Handle with care as they are fragile.

– For shimeji mushrooms, slice about 1/2 inch off the cluster (discard) and separate them.

– Cook pasta in salted water (do not over salt) according to instructions, or until al dente

– Using deep skillet, Add 1 teaspoon of olive oil and lightly saute the bacon (for this recipe, the bacon is not crispy), remove bacon from pan and set aside;

– Using the same pan (with bacon oil and adjust the heat to high, add remaining olive oil, then onions, stirring occasionally and cook until lightly browned

– Add mushrooms, garlic and sake (just a splash), cook for approximately 2 to 3 minutes (you can hear the squeaky sound but no liquid release, fully cook mushrooms without browning), return bacon to pan, add half the dashi soy, season with black pepper (lightly).

– Lower the flame to medium, add cooked pasta to mixture, using tongs, toss well for a minute or two ; then gently incorporate the spaghetti squash, add remaining dashi soy and soy sauce, mix well.  Season with more soy sauce (if necessary to taste, black pepper and/or shichimi (optional).

– To serve, garnish with seaweed and bonito flakes. Enjoy!

Notes:

– Most of the Japanese ingredients can now be purchased at supermarkets or your local Japanese food stores (Vancouverites can visit Fujiya on Clark in East Vancouver or Izumi-ya on Alderbridge Way in Richmond).  Here in Vancouver Dashi Soy is only available at Japanese food stores.  For a healthier version and if you have time, you can prepare your own dashi soy; some other home cooks use tsuyu (Japanese noodle dipping sauce) as substitute.  To make it entirely vegetarian, skip the bacon.

– Instead of olive oil, using butter will add more flavour and round off the dish very nicely as it goes well with shimeji mushrooms.

– To keep it “wafu” style, you can omit the “heat” (no black pepper/shichimi), it’s a personal choice.

– Using the spaghetti squash is my own preference; at Cafe de L’Orangerie (1320 West 73rd Avenue, Vancouver), they add Japanese cabbage and use more pasta.  Do not over bake the squash as it gets mushy; I have yet to master the cooking time and scooping technique to get long strands (OO)

– There are many varieties of Japanese style spaghetti; you can find more recipes on Cookpad and elsewhere on the Internet, there are cooking demos on Youtube.